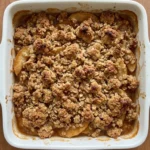


Fall Desserts for People Who Hate Pumpkin should still taste like the season, so these apple cider crumb bars lean on browned butter and tart apples instead. The edges turn crisp while the middle stays soft and jammy. No squash required.
I wanted a fall bake that smelled like a cider mill but didn’t depend on frosting or a heavy spice mix, and this version hits that mark with a reduced cider filling. Brown butter gives the oat crumb a toasted depth. Then sharp Granny Smith apples keep the sweetness in check.
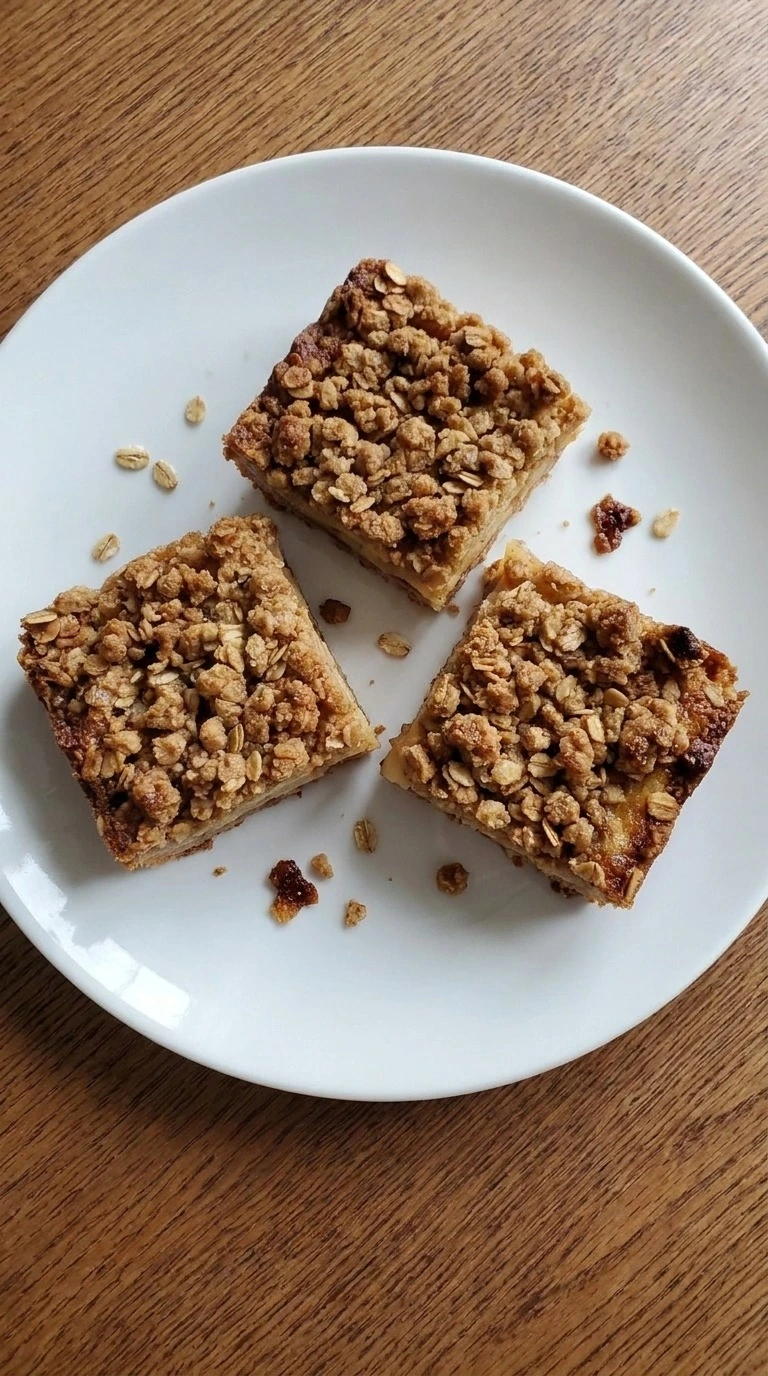
These pumpkin-free fall bars also travel well for potlucks and holiday trays. They cut cleanly after a full cool, but the filling still feels tender rather than gummy. And that contrast is the whole point.
Why This Recipe Works
Fall Desserts for People Who Hate Pumpkin work best when another seasonal flavor gets real depth, and reducing apple cider before adding the fruit keeps the filling bold without turning it watery. Par-baking the bottom crumb at 350°F for 10 to 12 minutes also gives it a head start, so the apple layer can’t soak straight through.
Brown butter matters too. Pull it when the milk solids turn chestnut and smell nutty because darker solids taste bitter, while a 60-minute cool lets the cornstarch gel set enough for neat slices.
Ingredients
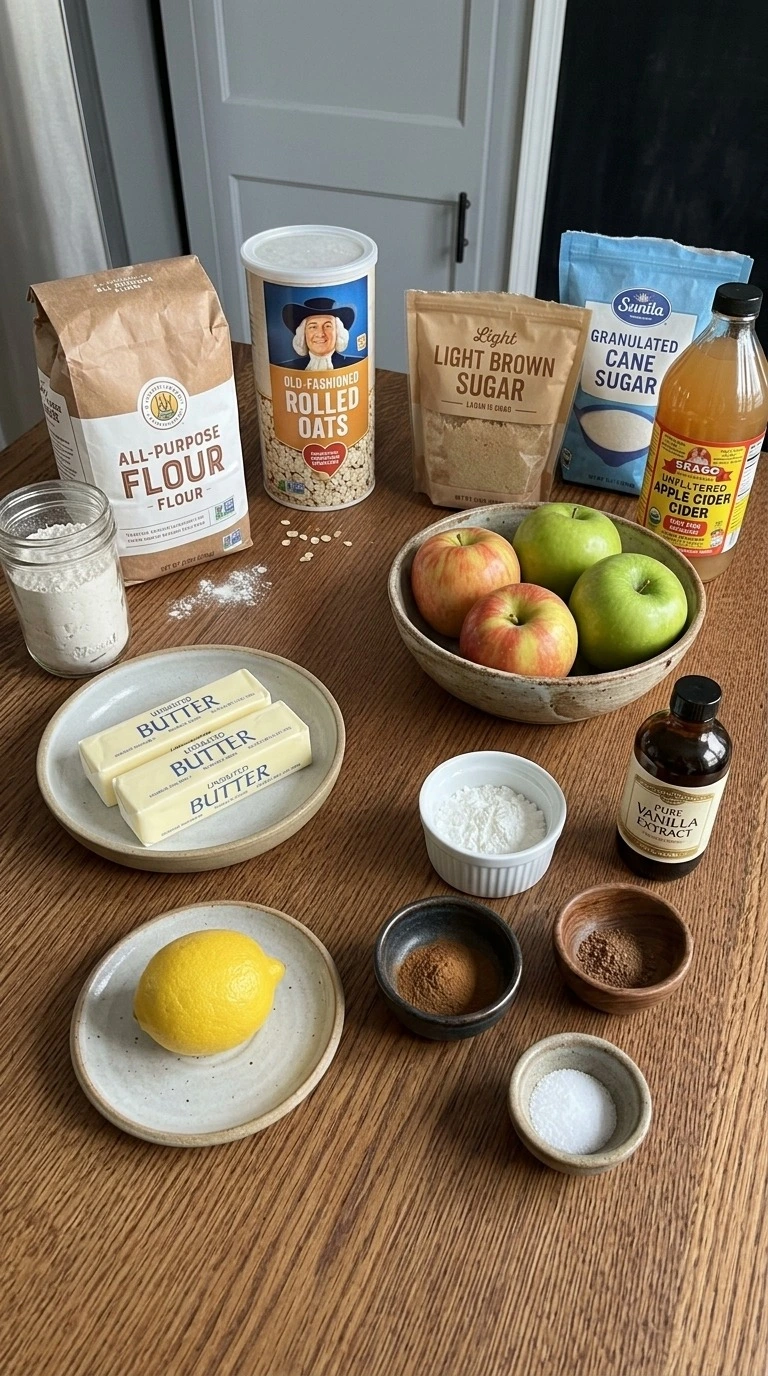
- unsalted butter: Browned until amber with chestnut milk solids to flavor the base and topping.
- old-fashioned rolled oats: Use whole rolled oats for a rough crumb that stays crisp after baking.
- all-purpose flour: Spoon and level it so the crumb stays tender instead of dry and packed.
- light brown sugar: Packed lightly to bring caramel flavor and moisture to the crumb.
- fine sea salt: Balances the sweet crumb and sharpens the browned butter flavor.
- Honeycrisp apple: Peeled, cored and sliced 1/4-inch thick so the sweet pieces soften without collapsing.
- Granny Smith apple: Peeled, cored and sliced 1/4-inch thick to add tartness and keep the filling balanced.
- unfiltered apple cider: Reduced by half before the apples go in so the filling tastes concentrated instead of watery.
- granulated cane sugar: Adds just enough sweetness to the tart apples without muting the cider.
- cornstarch: Coats the apple slices and thickens the reduced cider into a sliceable filling.
- ground Saigon cinnamon: Adds warm spice with a bold cinnamon aroma that stands up to the cider.
- ground nutmeg: Used lightly so it adds warmth without taking over the apple flavor.
- fresh lemon juice: Brightens the filling and keeps the apples from tasting flat after baking.
- pure vanilla extract: Stirred in after the apples cook to round out the cider and browned butter notes.
Equipment
- 8-inch square light-colored metal baking pan: A light-colored 8-inch square metal pan sets the crumb evenly and limits dark edges, while a smaller or dark pan can overbrown the base before the center sets.
- 2-quart heavy-bottomed saucepan: A heavy 2-quart saucepan gives the butter and cider enough surface area for steady browning and reduction, while thin metal can scorch the milk solids or sugar.
- Large mixing bowl: A bowl holding at least 3 quarts gives the oat crumb room to fold without compacting it, while a cramped bowl makes the mixture dense and greasy.
- Rubber spatula: A flexible heat-safe spatula scrapes browned milk solids and folds the crumb without crushing it, while a stiff spoon leaves flavorful bits stuck to the pan.
- Instant-read thermometer: A fast thermometer helps confirm the brown butter has cooled near 120°F before mixing, while guessing too warm can melt the sugar and make the crumb oily.
Instructions
Step 1: Brown the butter to chestnut
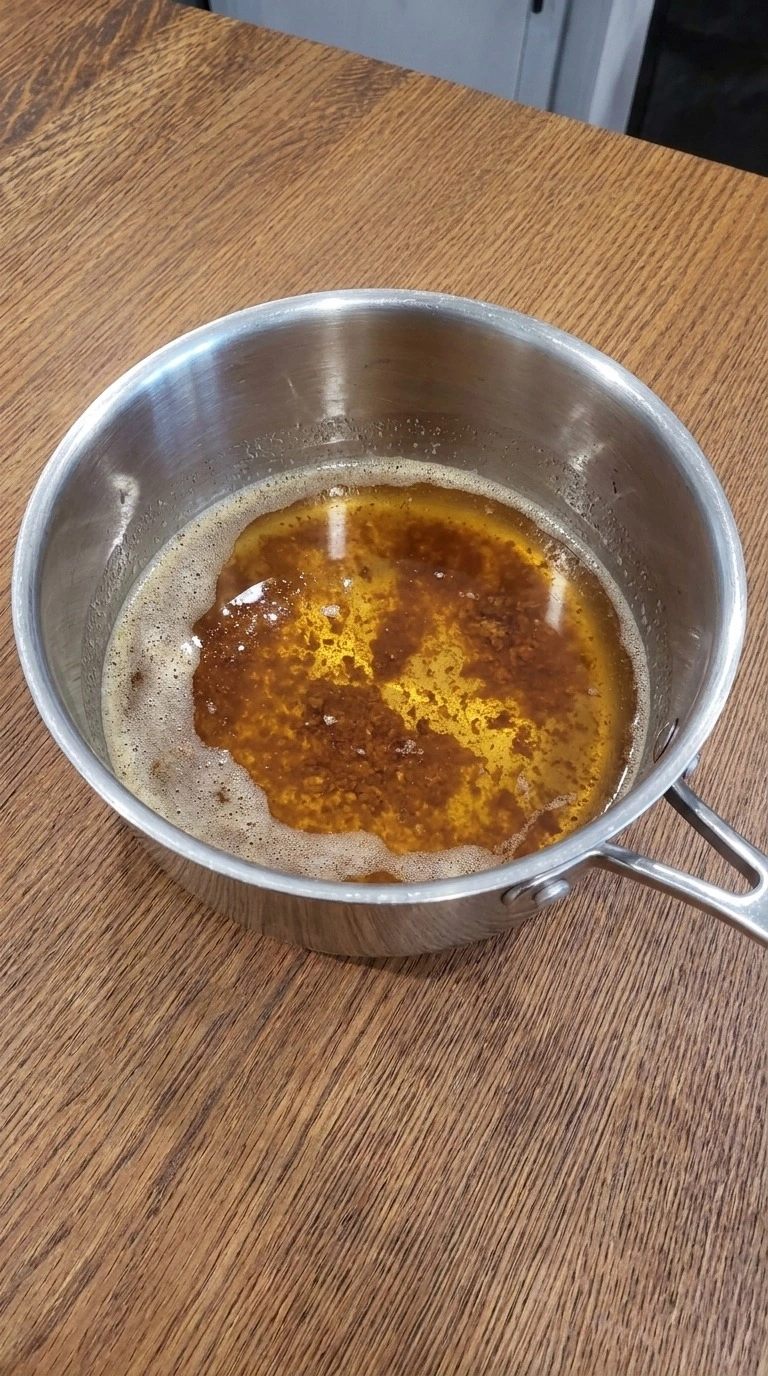
Melt the unsalted butter over medium-low heat, about 4 on a 10-dial, and stir every 20 seconds for 5 to 7 minutes. Keep scraping the pale milk solids from the bottom so they toast evenly as the foam rises and then thins, especially during the final 2 minutes. Stop when the butter turns amber and the solids look chestnut brown.
Watch the foam. Don’t push it another minute because those solids can burn fast. You’ll smell hazelnuts before the color looks very dark, and the sizzling will quiet as the water cooks off.
Pour it away from the heat at once. Brown only to chestnut because burnt milk solids make the whole crumb bitter.
Tip: Use a pale 2-quart saucepan if possible because it makes the chestnut milk solids easier to see during the final 60 seconds.
Step 2: Mix the rough oat crumb
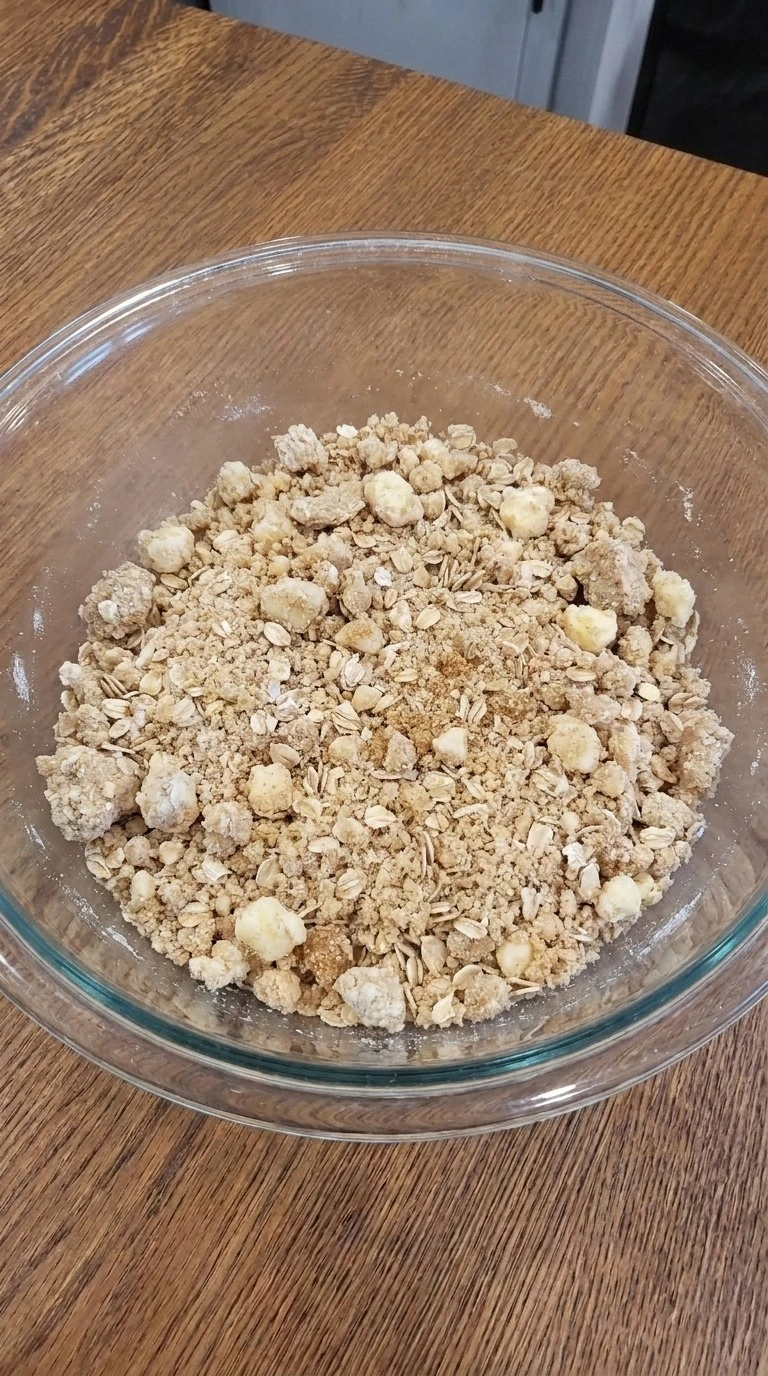
Let the brown butter cool to about 120°F for 8 to 10 minutes, then stir it into the old-fashioned rolled oats, all-purpose flour, light brown sugar and fine sea salt. Fold with a rubber spatula for about 45 seconds and press clumps between your fingers until some pieces are pea-sized while others stay sandy. Keep it rough.
This uneven mix gives Fall Desserts for People Who Hate Pumpkin a homemade crumb instead of a uniform crust. The mixture should hold when squeezed but break apart with light pressure. If it looks glossy or slumps, the butter is still too hot and the base can bake greasy.
Cool the butter first because warm fat coats the flour too heavily.
Tip: If your kitchen is warmer than 75°F, give the brown butter another 3 to 5 minutes to cool before mixing the crumb.
Step 3: Cook the cider apple filling
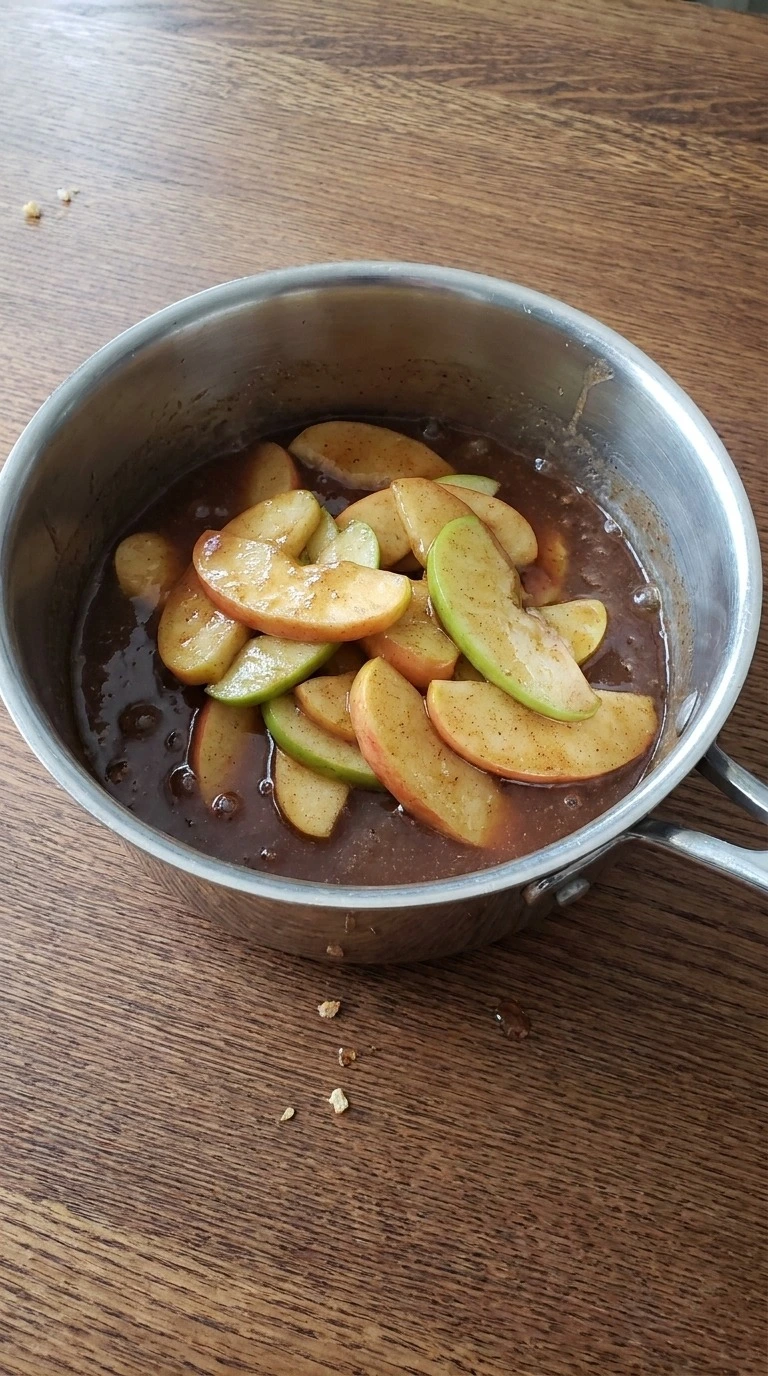
Set the apple cider over medium heat, about 5 on a 10-dial, and simmer 4 to 5 minutes until it shrinks from 1/2 cup to about 1/4 cup. Toss the sliced Honeycrisp apples and Granny Smith apples with granulated cane sugar, cornstarch, cinnamon, nutmeg and lemon juice, then add them to the reduced cider. Cook 5 to 6 minutes while folding from the bottom every 30 seconds, then stir in vanilla.
Keep the slices intact. The apples should bend without breaking and the glossy sauce should cling to each slice. Go much past 6 minutes and the fruit loses its shape, which makes the bars mushy.
Reduce first because concentrated cider adds flavor without excess water.
Tip: Keep apple slices close to 1/4 inch thick so all five apples soften at the same rate without turning into sauce.
Step 4: Press and par-bake the crumb base
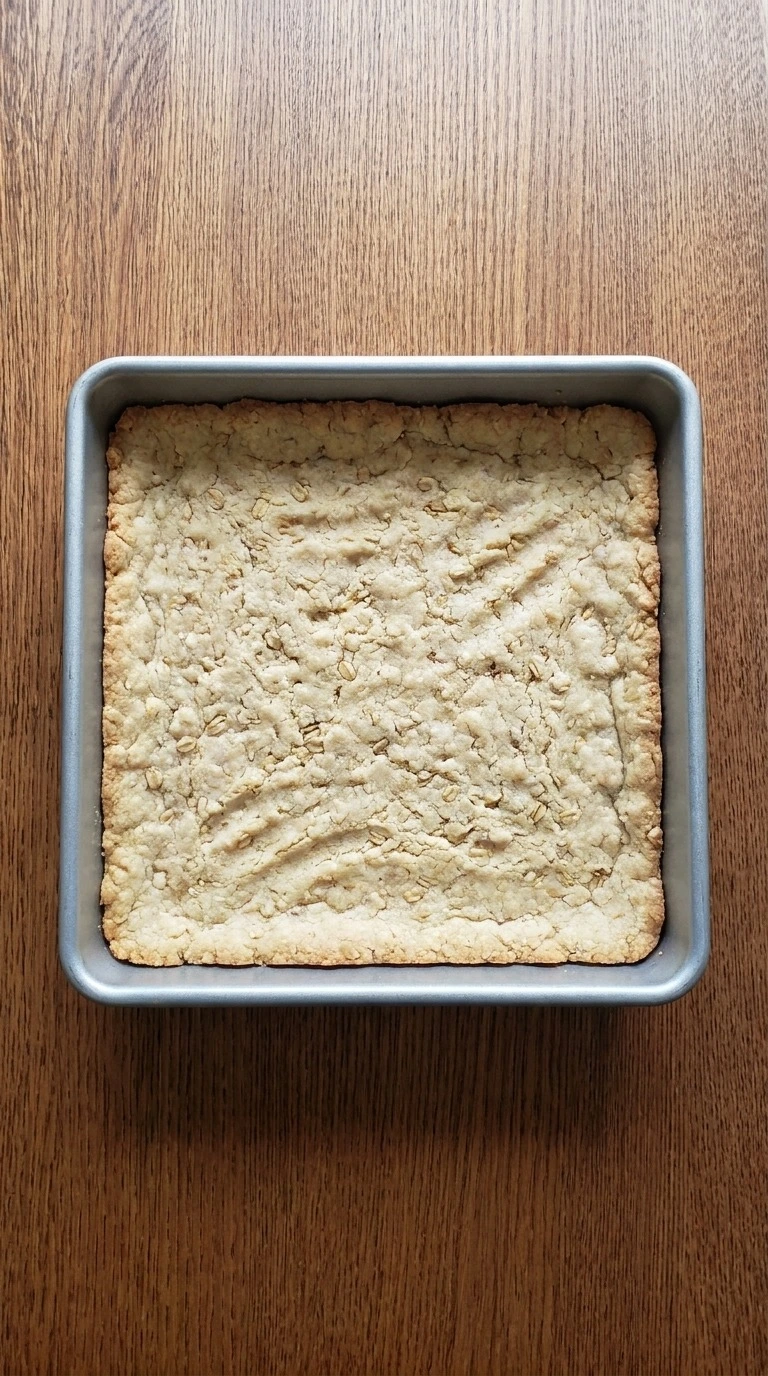
Heat the oven to 350°F and line an 8-inch square pan, then press about two-thirds of the crumb mixture into an even base with your fingertips. Pack the corners firmly but leave tiny ridges across the center, then bake for 10 to 12 minutes until the edges are pale gold and the middle looks dry rather than shiny. This gives Fall Desserts for People Who Hate Pumpkin a crisp floor under the soft fruit.
The crust should smell toasted but still look light. (I tested a darker par-bake once. The final edges became too hard after the second bake.
) Stop at pale gold because the base bakes again under the apples.
Tip: Leave about 2 inches of parchment above two opposite pan sides so the slab lifts out cleanly after the full cool.
Step 5: Layer the apples and bake
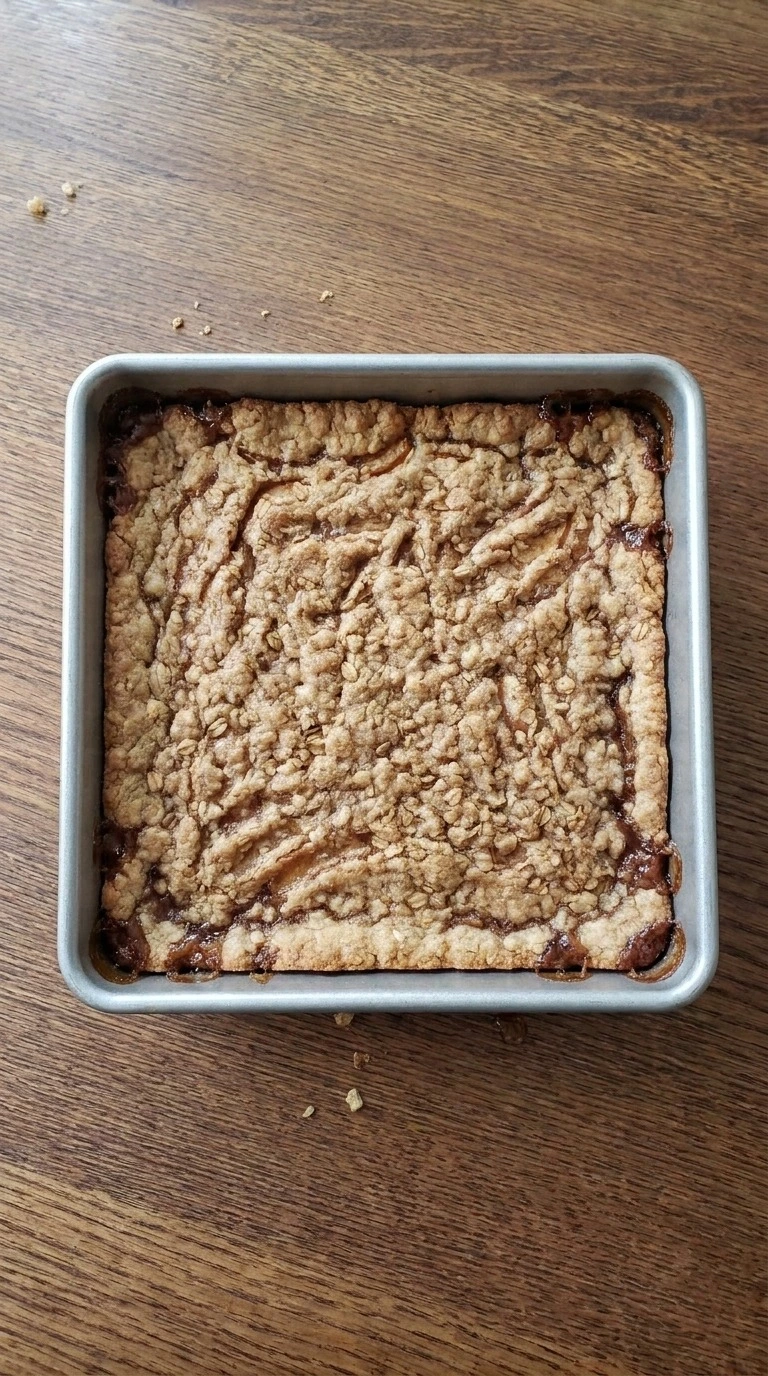
Spread the warm apple filling over the par-baked base in a loose layer, then pinch the remaining crumb into irregular clusters and scatter them across the fruit. Bake at 350°F for 28 to 32 minutes. At minute 20 rotate the pan 180 degrees, then keep baking until the topping turns deep golden and small bubbles appear at the edges.
Watch the edges. Don’t wait for the center to bubble hard because the fruit can turn pasty. The crumb should feel dry on top while a few apple edges stay visible through the gaps.
Fall Desserts for People Who Hate Pumpkin need that open crumb so steam can escape. Bake only until edge bubbles appear because overbaking toughens the oat topping.
Tip: Bake on the center rack with at least 2 inches of space above the pan so the crumb browns without scorching.
Step 6: Cool, cut and plate the bars
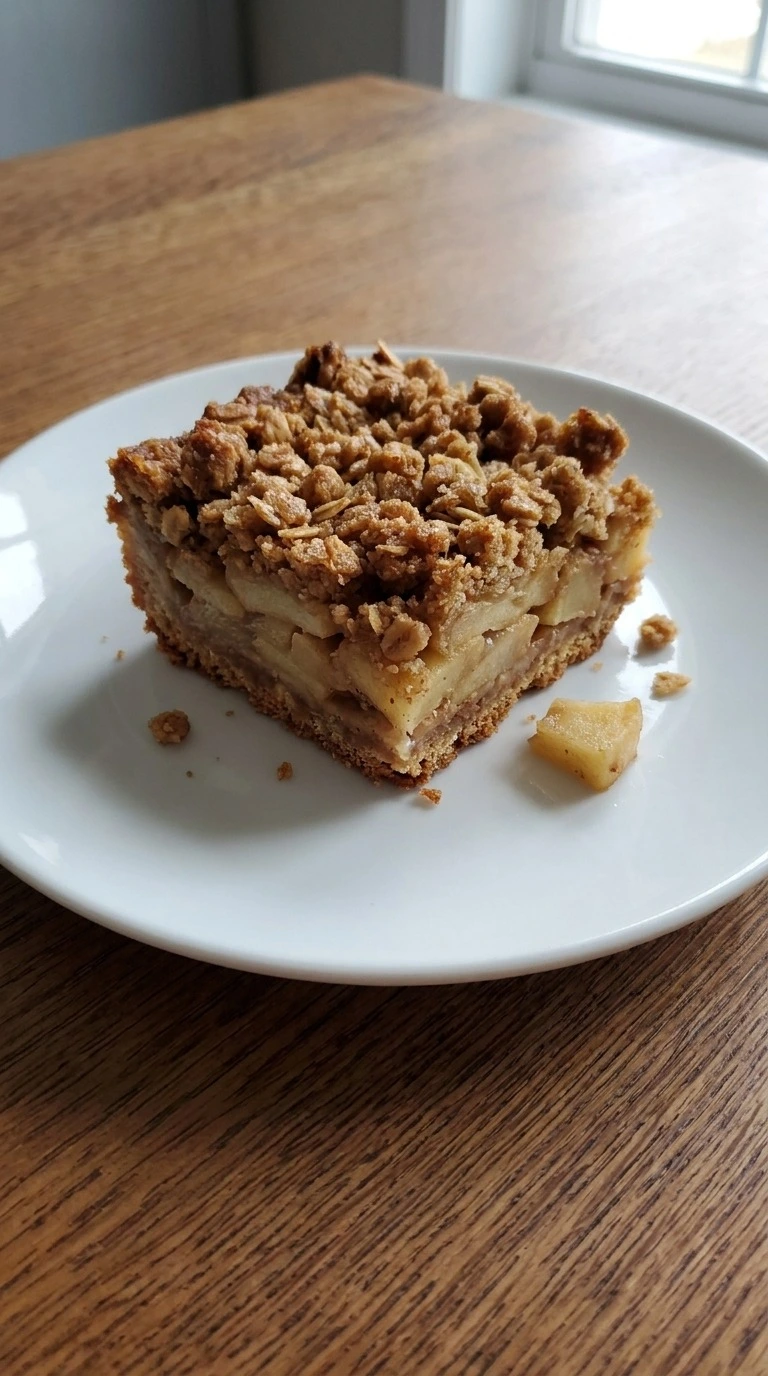
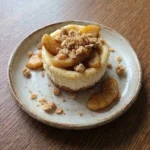
Cool the baked slab at about 70°F for 60 minutes before lifting it out and cutting nine bars with firm downward strokes. Wipe the knife after every two cuts, then place one bar on a plate so the apple layer stays visible between the browned base and rough crumb top. Keep the cuts decisive.
Let each piece sit for 5 minutes before serving so the crumb settles and the filling doesn’t drag against the knife. Slice sooner and the filling smears across the edges. The center should hold its shape but stay moist, with uneven apple slices at the cut edge.
Fall Desserts for People Who Hate Pumpkin shine here because soft fruit and crisp crumb stay distinct. Cool fully because cornstarch needs time to set the fruit layer.
Tip: For sharper nine-bar portions, use a thin straight-edged knife and wipe it clean with a damp towel after every two cuts.
Pro Tips
- Slice every apple about 1/4 inch thick so the pieces soften within 5 to 6 minutes without turning into applesauce.
- Cool the browned butter to about 120°F before mixing because hotter fat can dissolve the sugar and make the crumb greasy.
- Reduce 1/2 cup apple cider to roughly 1/4 cup before adding fruit. This concentrates apple flavor without flooding the crust.
- Use a light-colored 8-inch metal pan. Dark metal can brown the edges several minutes before the center reaches the right texture.
- Rotate the pan 180 degrees at minute 20 so the crumb colors evenly, especially if your oven has a strong rear heating zone.
- Cool the slab for a full 60 minutes before cutting. Warm filling will smear and pull the crumb away from the apple layer.
- For a deeper finish, add 1/4 teaspoon flaky sea salt over the warm topping after baking while the surface still feels slightly tacky.
- Add 1/2 cup chopped toasted pecans to the remaining crumb before topping the apples for more crunch and a roasted nut flavor.
- Replace two Honeycrisp apples with two firm Bosc pears and keep the same cooking time for a softer floral autumn filling.
- Mix 1/2 teaspoon ground ginger into the apple filling for a sharper spice profile that still keeps the dessert completely pumpkin-free.
- Add 1/3 cup dried cranberries with the apples and increase the cider by 2 tablespoons because the fruit absorbs moisture while baking.
Substitutions
- unsalted butter: Use 12 tablespoons vegan block butter at a 1:1 ratio. Choose a firm baking-style vegan butter with about 80% fat. The crumb will taste less nutty because plant butter doesn’t brown like dairy butter.
- all-purpose flour: Use 1.5 cups certified gluten-free 1-to-1 baking flour. Choose a blend containing xanthan gum and replace the flour at a 1:1 ratio. The base may be slightly more tender and crumbly.
- old-fashioned rolled oats: Use 1 cup certified gluten-free old-fashioned rolled oats. The amount and bake time stay the same. Certified oats prevent cross-contact while keeping the rough and crisp topping texture.
- eggs: No replacement is needed because the recipe is naturally egg-free. Don’t add flax egg or another binder. Extra moisture can make the crumb dense and soften the base during baking.
- unfiltered apple cider: Use 1/2 cup unsweetened apple juice plus 1 teaspoon apple cider vinegar. Reduce it to 1/4 cup just like cider. The flavor will be lighter and less spiced but the filling will still set properly.
Storage
Store fully cooled bars in a shallow airtight container in the refrigerator for up to 4 days. For freezing, wrap individual pieces tightly and place them in a sealed freezer container for up to 2 months.
Keep parchment between layers so the rough topping doesn’t stick or break. Reheat chilled bars at 300°F for 8 to 10 minutes and frozen-thawed bars for 10 to 12 minutes.
Discard them if the apples smell fermented, the filling turns unusually watery or any mold appears. Fall Desserts for People Who Hate Pumpkin taste best when the crumb is warmed just enough to crisp again.
FAQ
Yes. Bake the bars up to 2 days ahead and cool them for 60 minutes before covering. Keep them chilled, then let portions stand about 20 minutes before serving so the crumb loses its fridge firmness.
These bars keep well for 4 days in a tightly sealed container at 40°F or below. Put parchment between stacked layers so the crumb doesn’t stick and the apple filling stays intact.
Use a 1-to-1 gluten-free flour blend with xanthan gum and certified gluten-free oats for the flour and oats. For dairy-free bars, replace all 12 tablespoons butter with firm vegan block butter and expect less browned-butter flavor.
The cider probably wasn’t reduced enough or the apples released too much liquid. Reduce 1/2 cup cider to about 1/4 cup first, then cook the apples only 5 to 6 minutes before baking.
Yes. Double every ingredient and bake in a 9 by 13-inch metal pan at 350°F. Begin checking around 32 minutes and continue until the crumb is deep golden with small bubbles at the edges.
Serve each bar slightly warm with vanilla ice cream or lightly whipped cream. Reheat individual pieces at 300°F for 8 to 10 minutes so the topping crisps while the apple center stays soft.
Freeze cooled bars individually for up to 2 months after wrapping them tightly and sealing them in a freezer container. Thaw overnight in the fridge, then warm at 300°F for 10 to 12 minutes to refresh the crumb.
Reducing apple cider removes water and concentrates its natural sugars and acids. That gives the filling stronger apple flavor without making the crust soggy.