

Apple Crisp Mini Cheesecake brings together two favorite desserts in one small treat. The creamy cheesecake layer meets tender cinnamon apples and a buttery crumble that adds texture in every bite. These little desserts feel special without needing complicated techniques.
I love making a mini apple crisp cheesecake when I want a dessert that looks charming and tastes familiar. The apple filling stays soft while the topping keeps a light crunch. If you enjoy fruit desserts with simple ingredients, try our classic apple dessert ideas too.
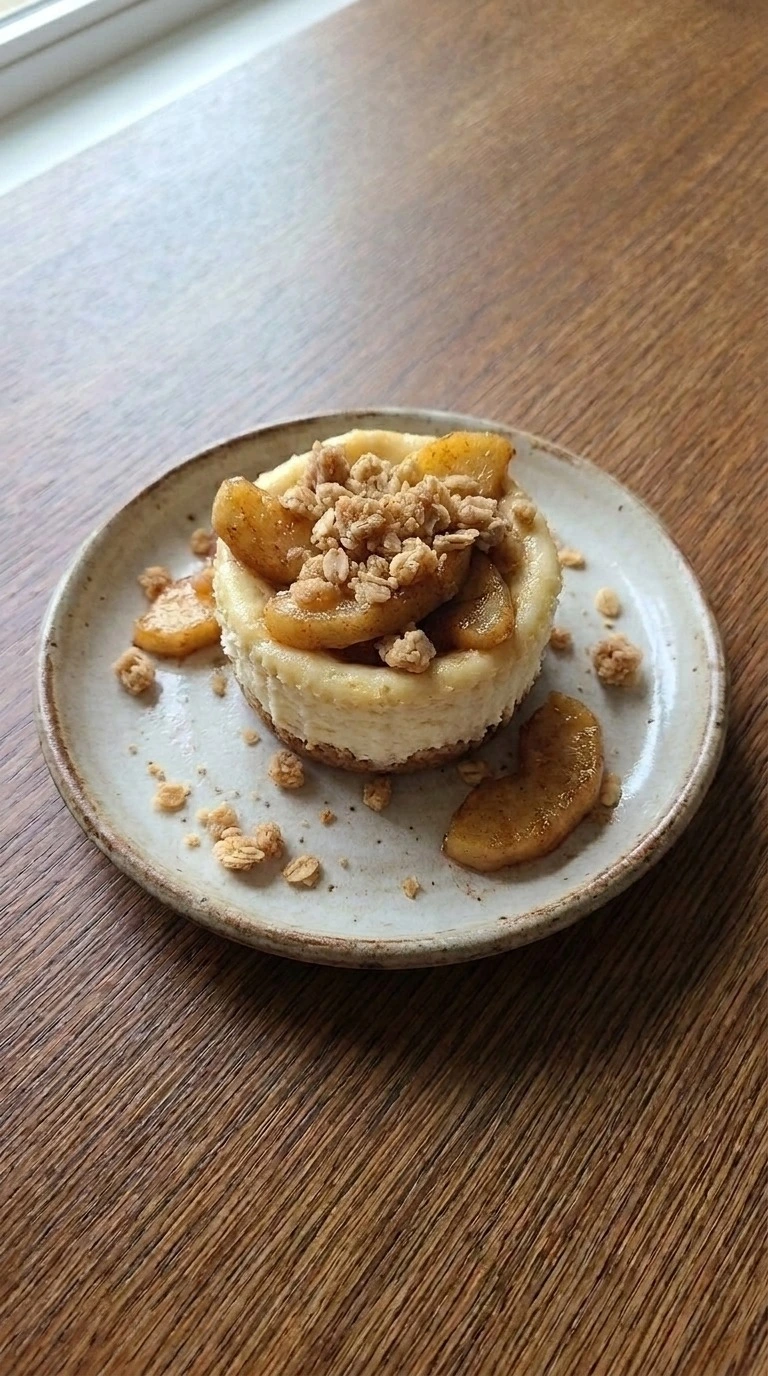
This recipe works well for gatherings because each portion is easy to serve. The apple crisp mini cheesecake flavor is balanced with tangy cream cheese and sweet apple notes, making it a great choice for family dinners or seasonal celebrations.
Why This Recipe Works
The cheesecake stays creamy because baking at 325°F gives the eggs time to set gently without tightening the filling. Cooking Honeycrisp apples for 8 to 10 minutes keeps their structure while the brown sugar creates a glossy coating.
The crumb topping works because cold butter coats the oats and flour before baking. For another fruit dessert idea, try our seasonal baked treats collection.
Ingredients
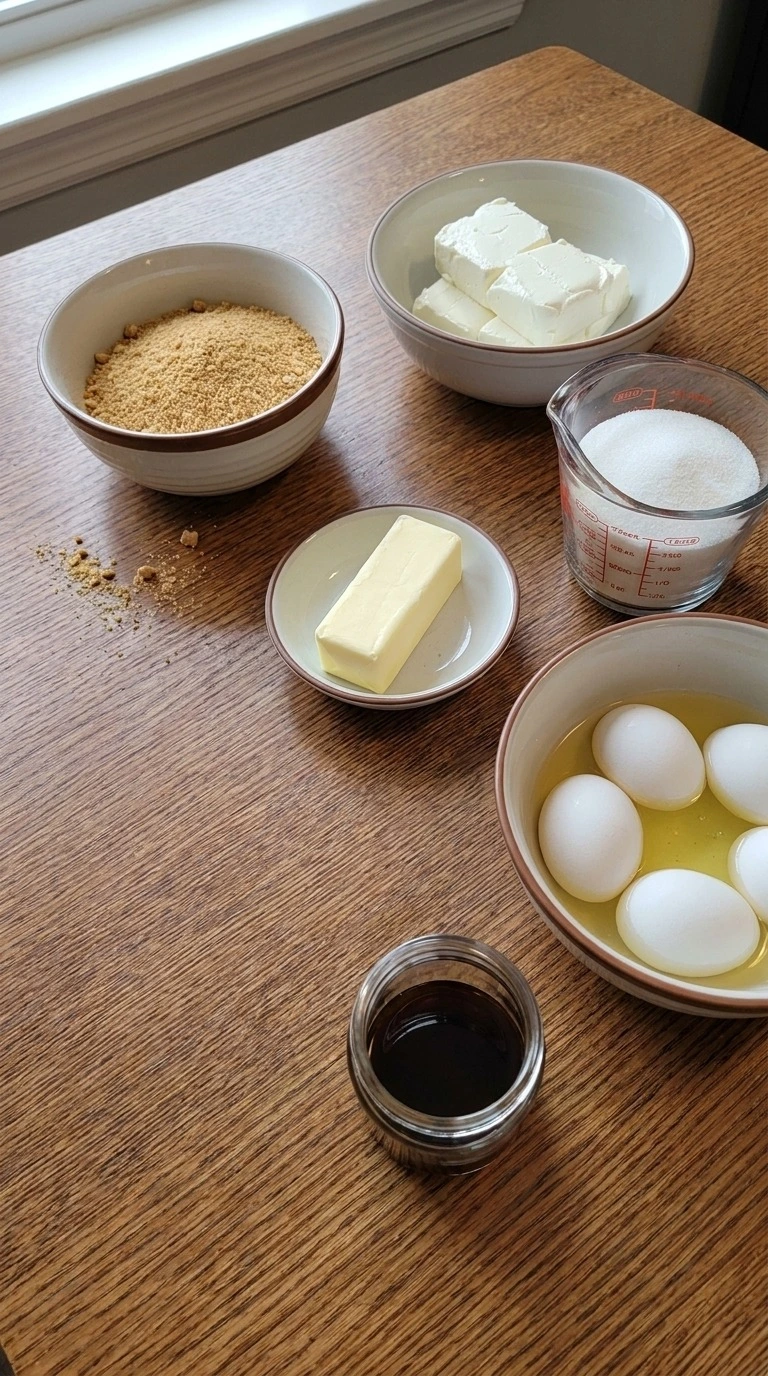
- graham cracker crumbs: Used as the crunchy cheesecake base with a fine crumb texture.
- unsalted butter: Melted for the crust and chilled for the crumble topping to create richness.
- granulated sugar: Adds sweetness to the crust and cheesecake filling.
- cream cheese: Softened before mixing to create a smooth creamy filling.
- large eggs: Brought to room temperature before blending for even texture.
- vanilla extract: Adds warm flavor to the cheesecake layer.
- Honeycrisp apples: Sliced into small pieces and softened for the apple topping.
- brown sugar: Used in the apple topping and crumb mixture for caramel notes.
- ground cinnamon: Adds warm spice to the apple layer.
- rolled oats: Combined into the crumble topping for texture.
- all-purpose flour: Helps bind the crumble pieces together.
Equipment
- 12 cavity muffin tin: A sturdy 12 cavity muffin tin shapes the mini cheesecakes evenly and should have a strong surface because thin tins can bake the crust too quickly.
- electric mixer: An electric mixer blends the cream cheese filling smoothly and should have adjustable speeds because high speed can add too much air.
- small skillet: A heavy small skillet cooks the apples evenly and should distribute heat well because thin pans can scorch the sugar.
Instructions
Step 1: Build the crumb base
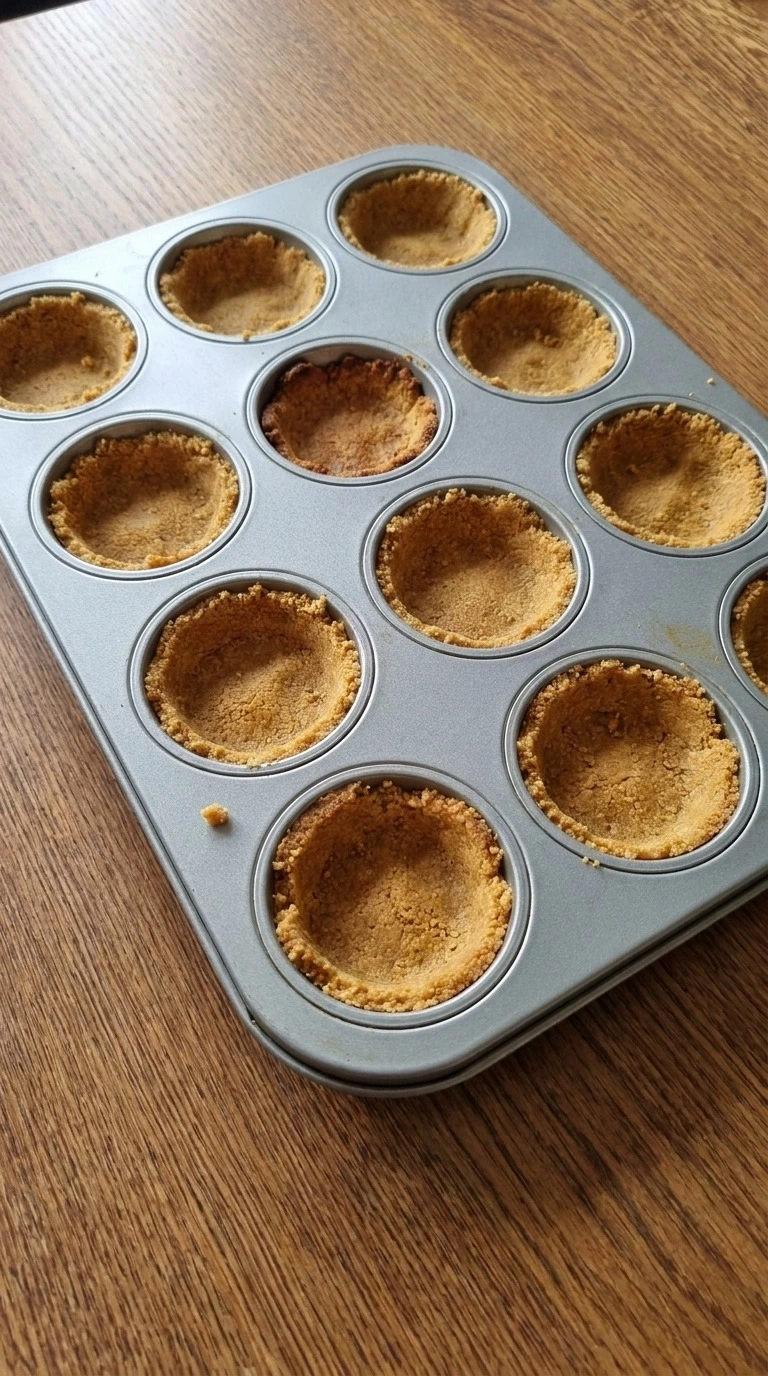
Combine 1 1/2 cups graham cracker crumbs with 5 tablespoons melted unsalted butter and 3 tablespoons granulated sugar. Press the mixture firmly with your fingertips into 12 lined cavities and bake at 350°F for 8 to 10 minutes until the edges turn golden. Use a gentle pressing motion.
Don’t rush. The crust should smell buttery and show a lightly toasted surface when ready. Skip the firm press and the base can crumble when sliced.
Bake at 350°F for 10 minutes because compression creates a stable cheesecake foundation.
Tip: Chill the baked crusts for 15 minutes before filling so the base keeps a clean shape during assembly.
Step 2: Mix the cheesecake filling
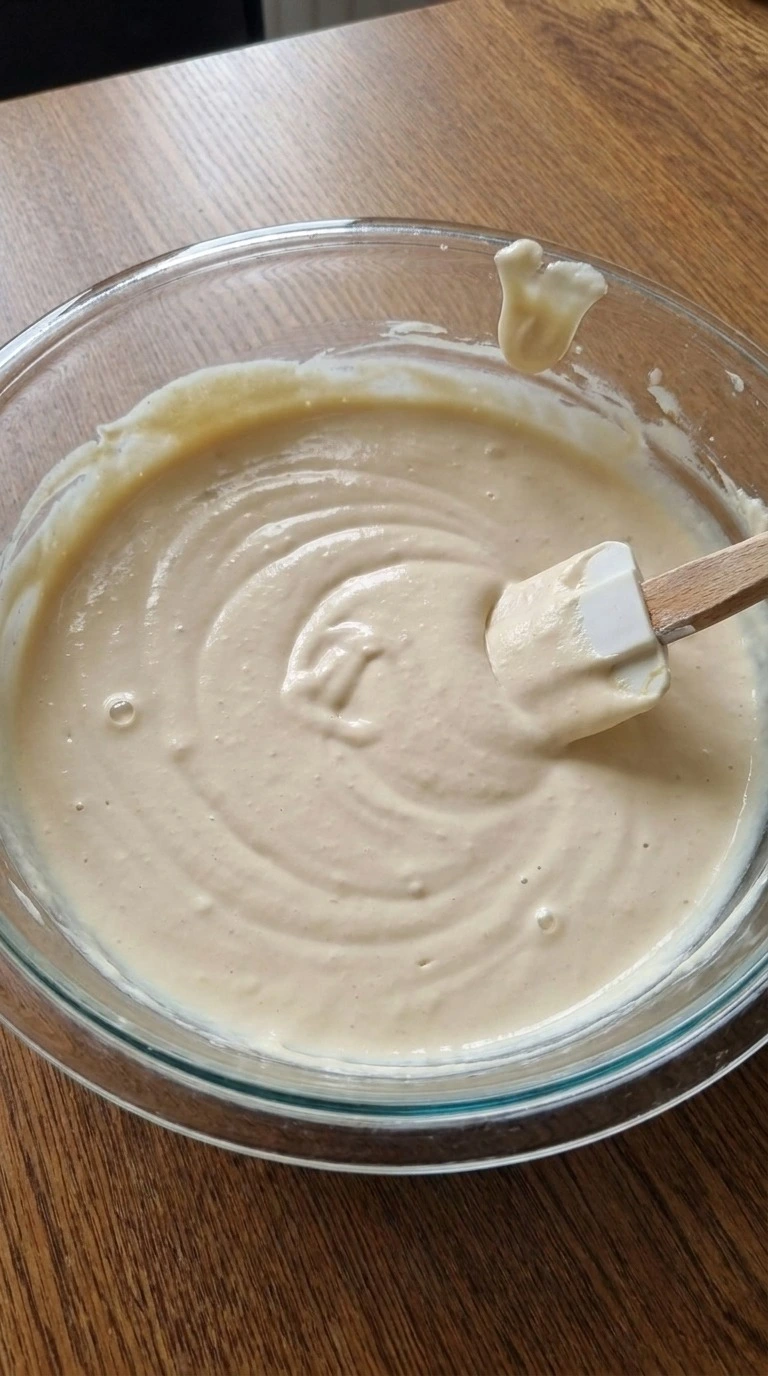
Beat 16 ounces softened cream cheese with 1/2 cup granulated sugar for 2 to 3 minutes at medium speed, then blend in 2 large eggs and 2 teaspoons vanilla extract. Scrape the bowl halfway through using a spatula and keep the mixture smooth. (I tested a colder cream cheese batch and it stayed lumpy.
Room temperature fixes it. ) The filling should look glossy and thick with no visible cream cheese pieces. You’ll notice a soft ribbon when it falls from the whisk.
Miss this texture and the cheesecake may bake unevenly. Mix slowly at the right temperature because trapped lumps affect the final structure.
Tip: Leave cream cheese at room temperature for about 60 minutes so it blends without overmixing.
Step 3: Cook the cinnamon apple topping
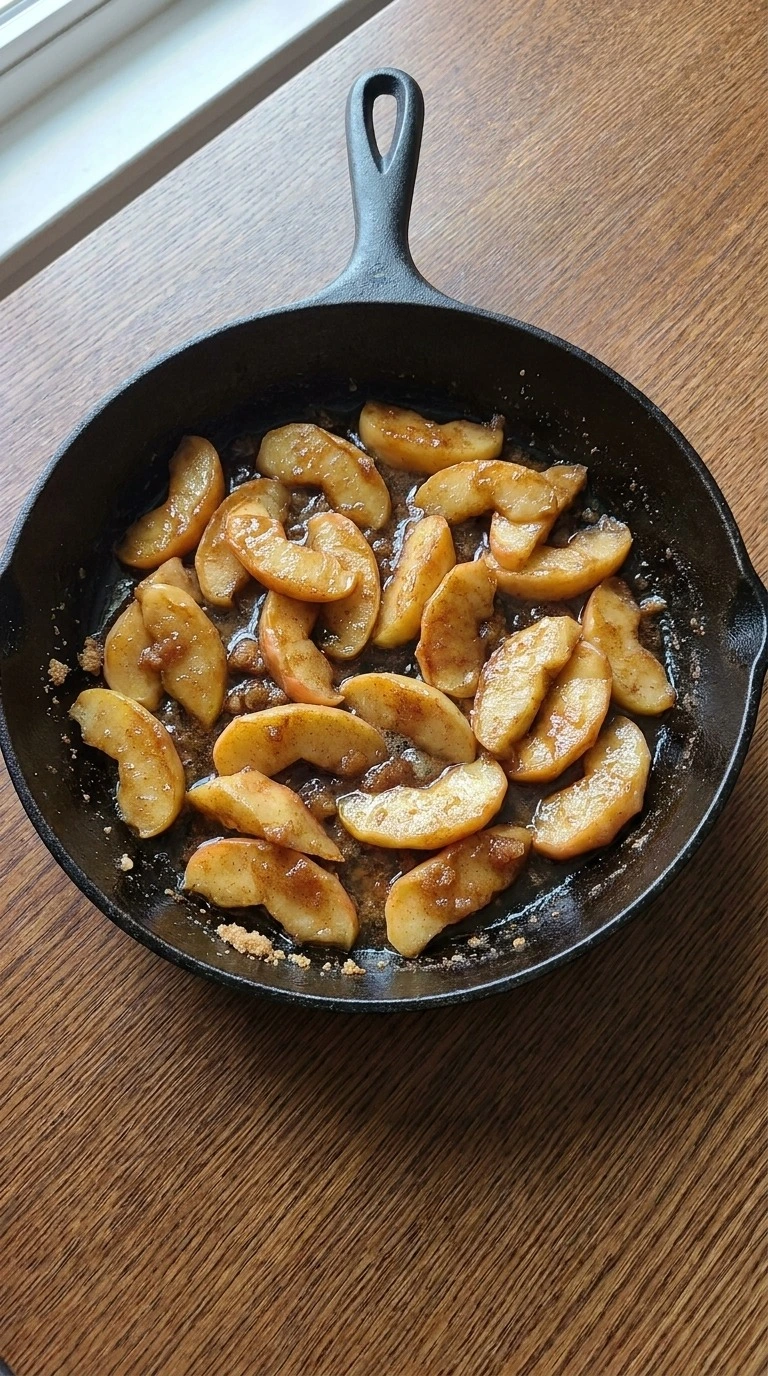
Cook 3 medium Honeycrisp apples with 2 tablespoons unsalted butter, 3 tablespoons brown sugar and 1 teaspoon ground cinnamon over medium-low heat for 8 to 10 minutes. Stir with a wooden spoon in slow circles until the apples soften but keep their shape. The apple pieces should shift from crisp pale slices to tender golden pieces.
You’ll smell cinnamon and see a glossy coating around the apples. Stop before they become mushy. Go past 10 minutes and the topping loses its fresh texture.
Control the heat and timing because gentle softening preserves the apple bite.
Tip: Choose firm Honeycrisp apples because softer varieties can release too much liquid during baking.
Step 4: Layer and bake the cheesecakes
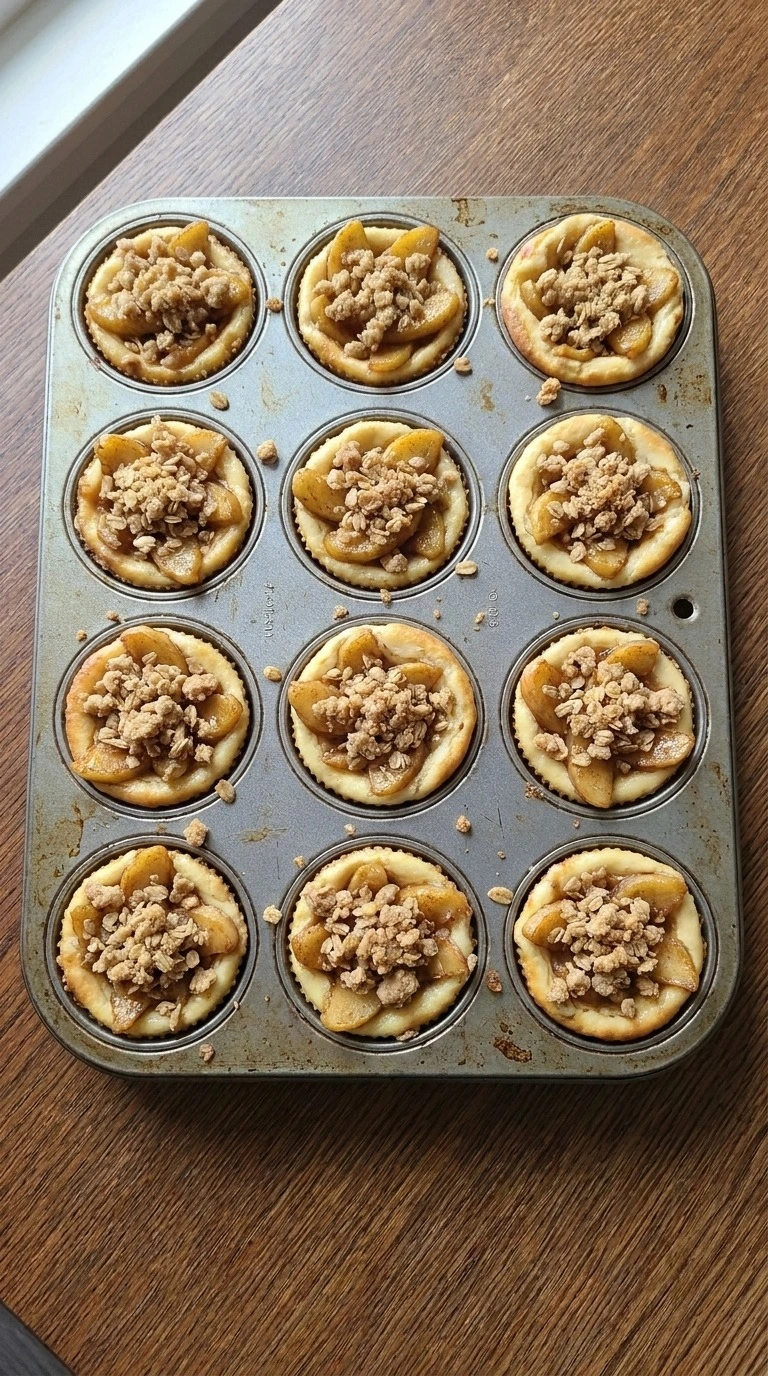
Divide the cheesecake filling over the cooled crusts, then add the cinnamon apple topping and a crumble made from 1/2 cup rolled oats, 1/3 cup all-purpose flour, 3 tablespoons brown sugar and 3 tablespoons cold unsalted butter. Bake at 325°F for 22 to 26 minutes until the centers slightly jiggle. Fold the crumble with your fingertips until coarse pieces form.
The tops should become lightly golden and the filling should look set around the edges. You’ll hear a faint crackle from the crumb topping. (My first batch used 350°F and the tops set too fast.
325°F keeps the center creamy. ) Bake at 325°F with gentle heat because slow baking protects the cheesecake texture.
Tip: Cool the cheesecakes for 30 minutes before chilling to prevent condensation on the surface.
Step 5: Chill and plate the portions
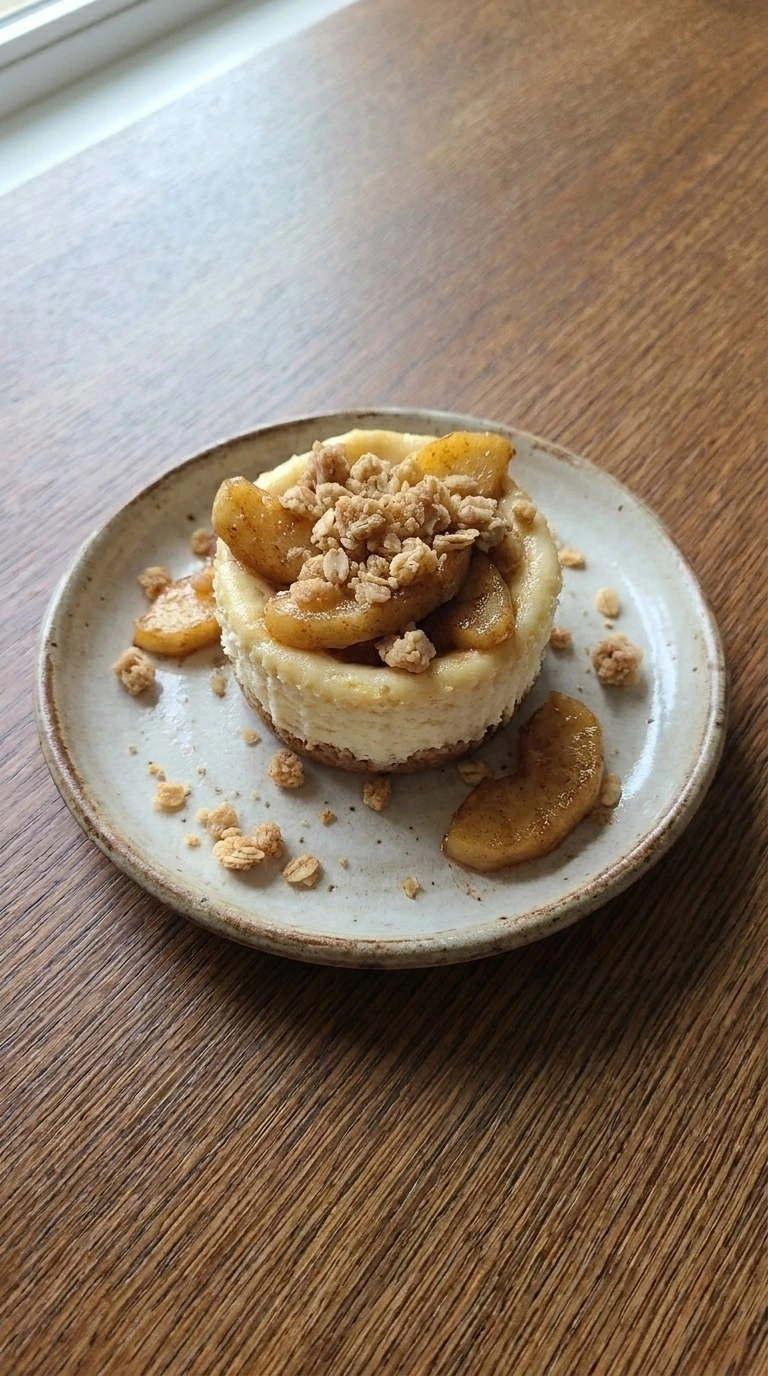
Transfer the baked mini cheesecakes to the refrigerator and chill for at least 4 hours before serving. Remove each portion carefully and place it on a plate with natural uneven spacing. Use a gentle lifting motion so the layers stay intact.
The chilled cheesecake should have a firm creamy center, visible apple pieces and crisp golden crumbs. The flavor becomes richer after resting. Skip the chill time and the filling may feel too soft.
Chilling for 4 hours allows the cheesecake proteins to set properly.
Tip: Serve the portions after 10 minutes at room temperature so the creamy texture returns slightly.
Pro Tips
- Bring cream cheese to room temperature for 60 minutes before mixing because cold blocks can leave small lumps in the filling.
- Choose firm Honeycrisp apples with smooth skin and avoid soft apples because they release too much liquid after 10 minutes of cooking.
- Bake the crusts at 350°F until minute 10 if needed, but remove them once the edges turn golden to prevent a bitter crumb base.
- Use a 12 cavity muffin tin with sturdy walls because thin metal pans can create darker crust edges before the cheesecake sets.
- Chill the finished mini cheesecakes for exactly 4 to 6 hours because the filling develops a cleaner slice and richer flavor.
- Add a small pinch of extra cinnamon, about 1/8 teaspoon, to the crumble if you want a stronger warm spice note without making it bitter.
- Don’t overmix after adding eggs because too much air can make the cheesecake rise and sink after baking at 325°F.
- Serve each portion after resting at room temperature for 10 minutes because the creamy center becomes smoother.
- Add 1/2 cup chopped walnuts to the crumble topping for a nutty apple dessert variation with extra crunch.
- Replace the cinnamon with 1 teaspoon pumpkin pie spice for a fall inspired flavor that pairs well with holiday tables.
- Mix 1/3 cup dried cranberries into the apple topping for a sweet tart version with more seasonal color.
- Use caramel flavored sauce made with 1/4 cup prepared caramel as a finishing drizzle for a richer dessert twist.
Substitutions
- cream cheese: Use dairy-free vegan cream cheese in the same 16 ounce amount. The filling will be slightly less tangy and may set softer, so chill for an extra 1 hour before serving.
- graham cracker crumbs: Use gluten-free graham style crumbs at a 1 to 1 ratio. The crust stays crisp but can be more delicate, so press it firmly and avoid removing the cheesecakes too early.
- large eggs: Use 1/2 cup plain unsweetened applesauce instead of the eggs. This egg-free option creates a softer cheesecake texture and needs at least 5 hours of chilling to firm properly.
- Honeycrisp apples: Use Granny Smith apples or Fuji apples in the same 3 medium apple amount. Granny Smith adds more tartness while Fuji creates a sweeter topping with a slightly softer texture.
- rolled oats: Use finely chopped pecans with the same 1/2 cup amount. The topping becomes nuttier and less chewy, but it won’t have the classic oat crumble texture.
Storage
Store Apple Crisp Mini Cheesecake in an airtight container in the refrigerator for up to 5 days. Freeze individual portions wrapped tightly for up to 2 months and thaw them overnight before serving.
Reheat is not required, but you can warm a portion at 250°F for 5 minutes if you prefer a softer texture. Discard any pieces with sour smells, watery filling, or visible mold.
FAQ
Yes, you can prepare these mini cheesecakes up to 2 days before serving. Keep them covered in the refrigerator and allow them to chill for at least 4 hours so the filling stays firm and creamy.
Store the cheesecakes for up to 5 days in an airtight container in the refrigerator. Keep the crumble protected from moisture because the topping can soften after several days.
A soft center usually means the cheesecakes needed more chilling time or the oven temperature was too high. Bake at 325°F and chill for 4 to 6 hours before judging the final texture.
Yes, freeze them without extra toppings for up to 2 months. Wrap each portion tightly and thaw overnight in the refrigerator before serving so the layers stay intact.
You can double the ingredients and prepare 24 portions using two muffin tins. Keep the baking temperature at 325°F and check the centers around 24 minutes because a fuller oven may cook differently.
Honeycrisp apples give a balanced sweet flavor and hold their shape during cooking. Granny Smith apples create a sharper taste and need the same 8 to 10 minute softening time.
Mini cheesecakes became popular because individual portions make classic baked desserts easier to serve at gatherings. The apple crisp topping combines two traditional textures in one small dessert.