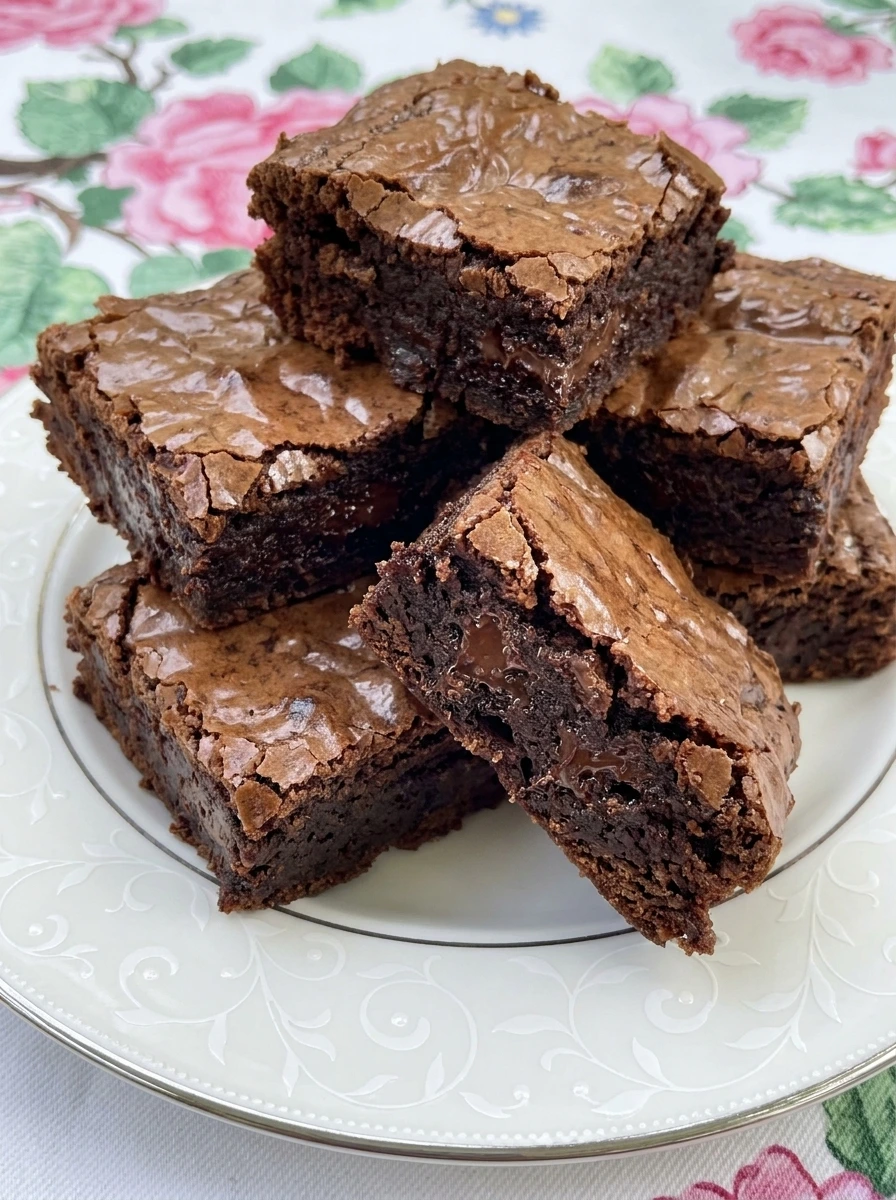
Seriously and no joke and this is the best Fudgy Chocolate Brownies recipe. It is the one my mom and before that my grandma has baked for years. It is a classic recipe with simple and delicious ingredients. Rich cocoa and melted butter and sugar and eggs come together into dense chocolate squares with crackly tops and soft centers.
Perfect for snacking after dinner or sharing at a party with a cold glass of milk on the side. A classic brownie recipe is one of my go to easy desserts. Not only does it make a super delicious treat but it also keeps everyone happy for days. Also there are no complicated methods or hard to find ingredients needed.
And baking a batch is a breeze. I often make these brownies on Sunday to enjoy a square after dinner on Monday and Tuesday. With just a few basic ingredients probably already in the pantry and fridge you can whip up a pan for dessert or pack pieces for a potluck or stack them on a platter for a holiday tray with almost no fuss at all.
Ingredients
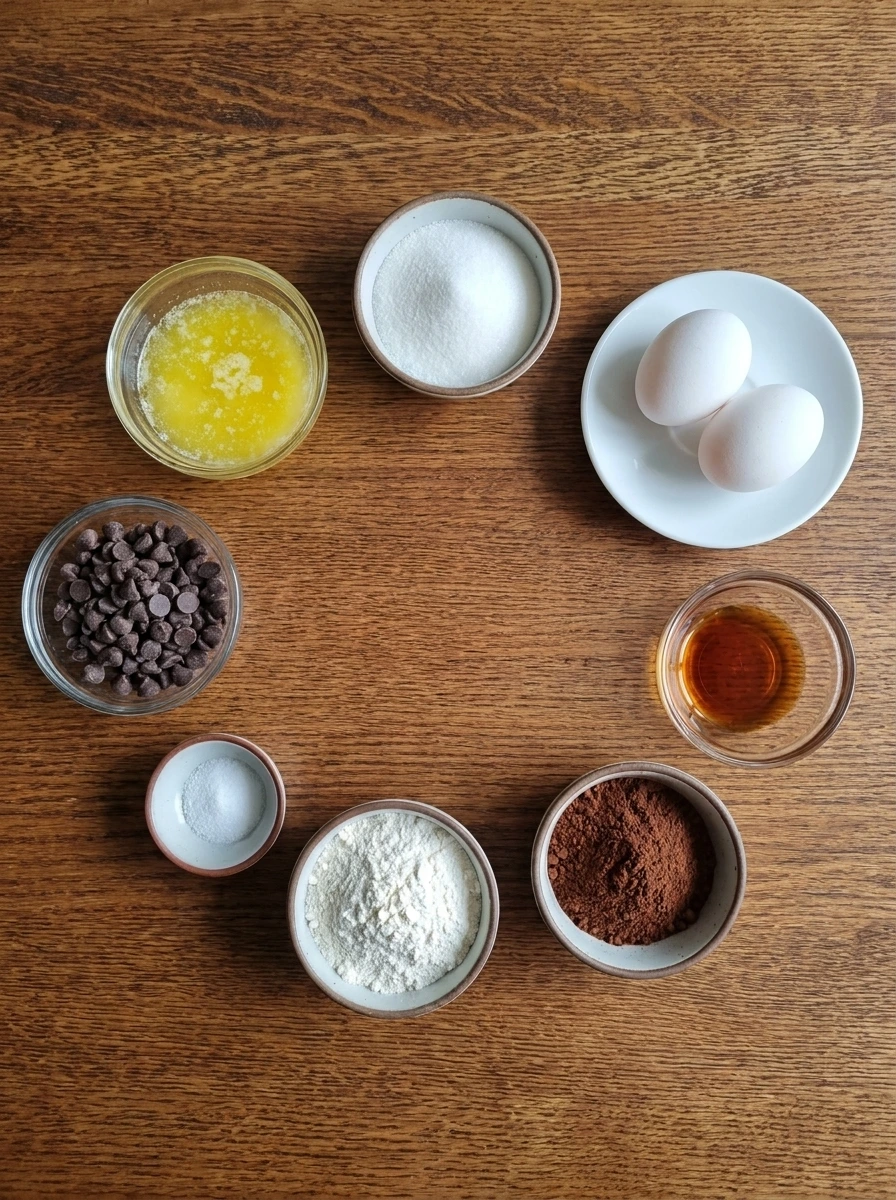
Here’s what I use for this recipe and you can always make substitutions if you prefer.
- Unsalted butter: Melted for richness and a dense fudgy crumb.
- Granulated sugar: Sweetens the batter and helps create a shiny crackly top.
- Large eggs: Bind the batter and add structure with a soft center.
- Vanilla extract: Rounds out the chocolate flavor.
- Unsweetened cocoa powder: Provides deep chocolate taste and dark color.
- All purpose flour: Gives the brownies enough structure while staying tender.
- Salt: Balances the sweetness and sharpens the cocoa flavor.
- Semi sweet chocolate chips: Melt into pockets of chocolate throughout the brownies.
Tools You’ll Need
- Mixing bowl: Used for combining the batter.
- Glass baking dish: Used for baking the brownies evenly.
- Small bowls and dishes: Used for holding measured ingredients.
- White plate: Used for serving the finished brownies.
Instructions
Step 1: Whisk the butter and sugar with the eggs

The melted butter and sugar start as separate layers and then turn into a thick glossy mixture once the eggs are worked in. The color shifts from pale yellow to a warmer golden brown and the surface looks smoother and slightly heavier. You should still see a few tiny bubbles and some uneven streaks at first and then the mixture settles into a shiny base with a loose ribbon like texture. It already looks richer and more structured than the raw ingredients did at the start.
Tip: Whisk until the sugar looks mostly dissolved so the top bakes up shiny.
Step 2: Fold in cocoa flour and salt
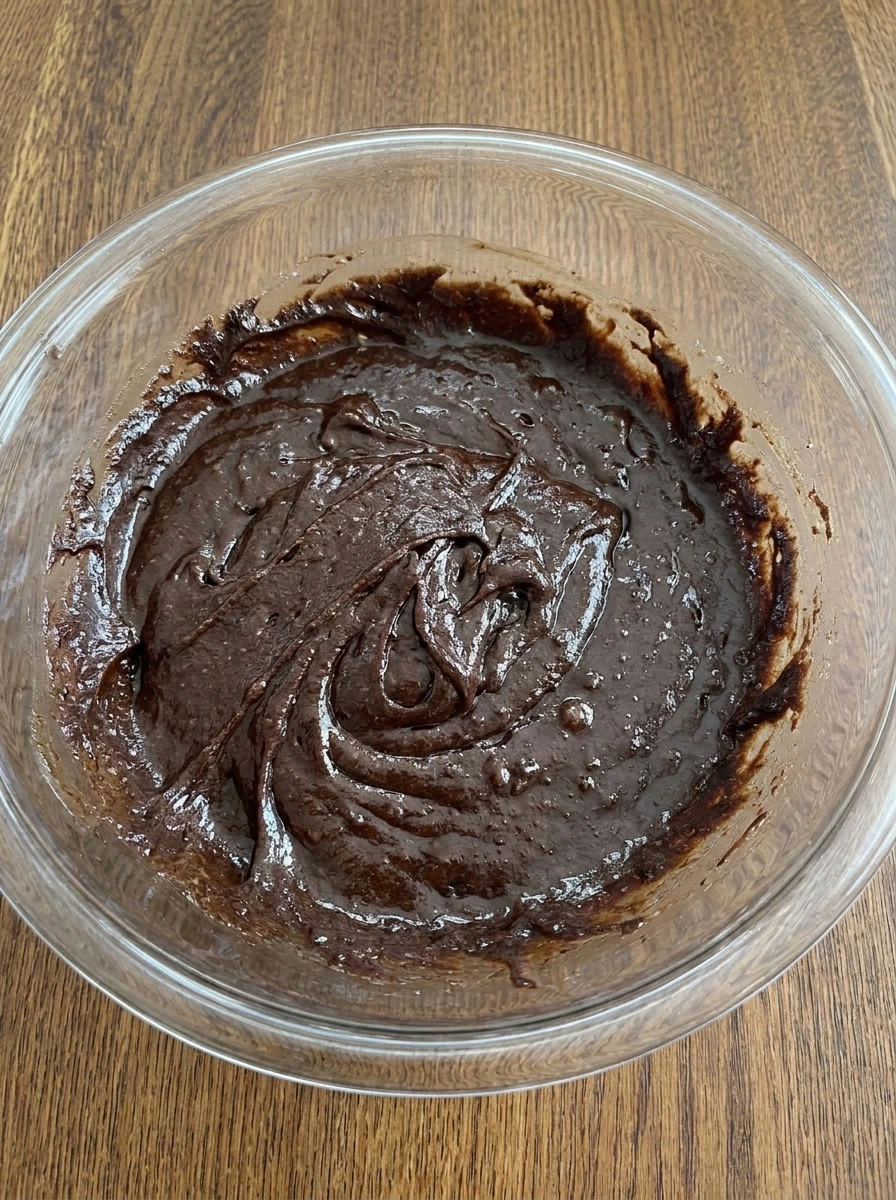
Once the dry ingredients are added the mixture changes fast from glossy and loose to thick and dark. The cocoa turns everything a deep brown and the flour pulls the batter together so it looks heavier and more velvety. Instead of flowing easily the batter now sits in soft mounds with visible drag lines and a few lighter streaks that disappear as everything comes together. This is the point where the batter starts to look like real brownie batter rather than a sweet egg mixture.
Tip: Stop folding as soon as the dry pockets disappear so the brownies stay dense and tender.
Step 3: Scatter in the chocolate chips and spread the batter in the dish
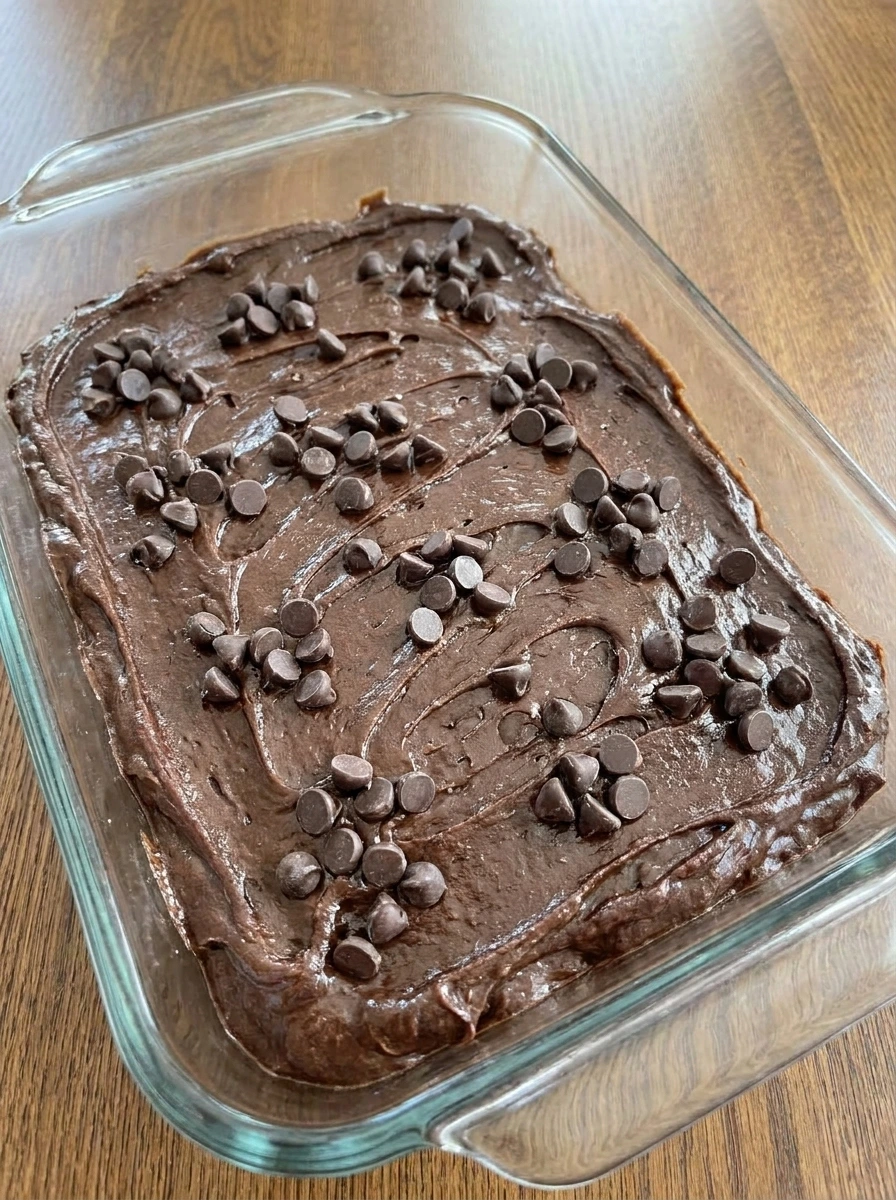
The chocolate chips break up the dark batter with small glossy spots and the texture becomes more uneven in the best way. After the batter is transferred it spreads thickly into the baking dish with shallow ridges and casual swirls across the top. Some chips sit near the surface and others are partly buried which gives the batter a natural homemade look. The top is not perfectly level and that slight unevenness helps the finished brownies look real and rich.
Tip: Leave a few chips on top so you get melted chocolate patches after baking.
Step 4: Bake until the top turns crackly
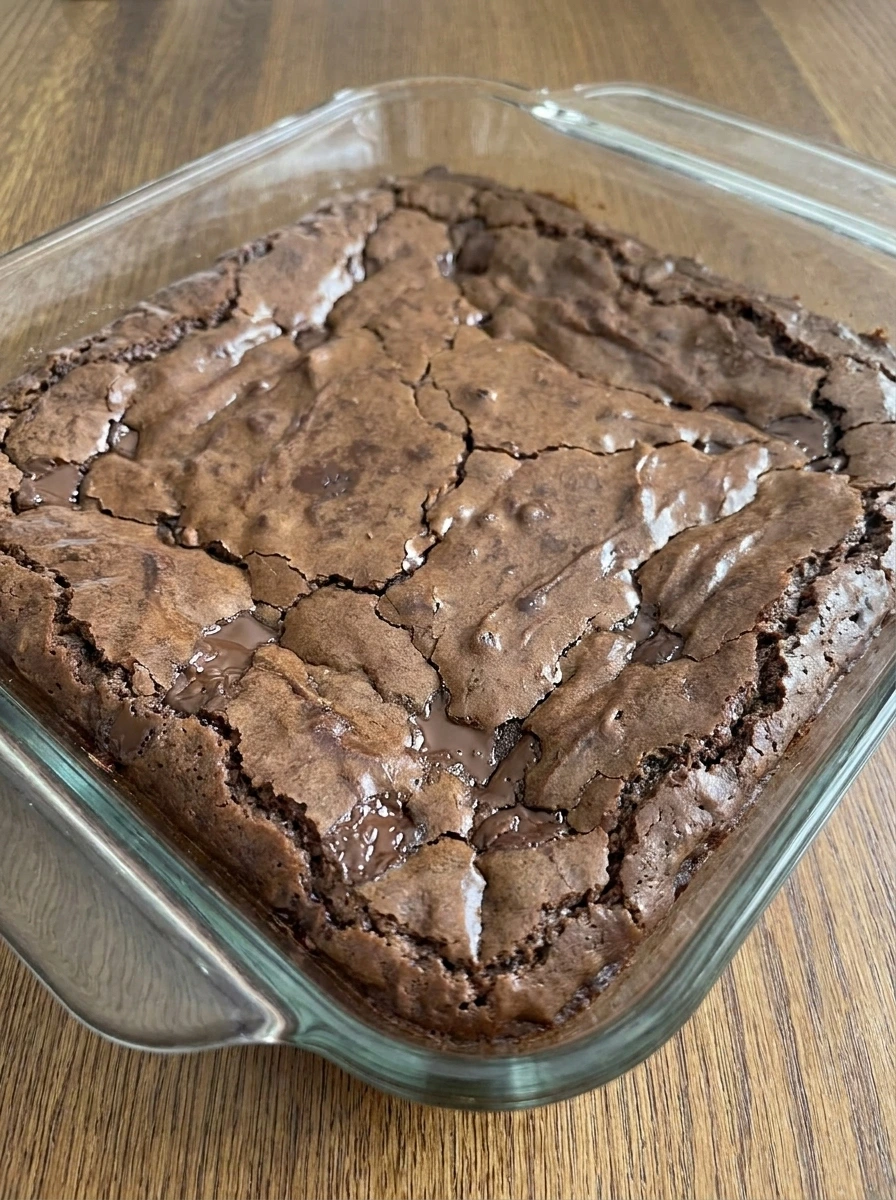
During baking the batter transforms from thick and matte into a set pan of brownies with a delicate crackled top. The color deepens further and the surface shows glossy patches where the chocolate chips have melted into the crust. The center should look set but still slightly softer than the edges and the top will have irregular lines rather than a smooth finish. That contrast between the firmer edges and softer middle is what gives these brownies their fudgy texture.
Tip: Pull the brownies when the middle is just set so they stay moist after cooling.
Step 5: Cut and serve the brownies
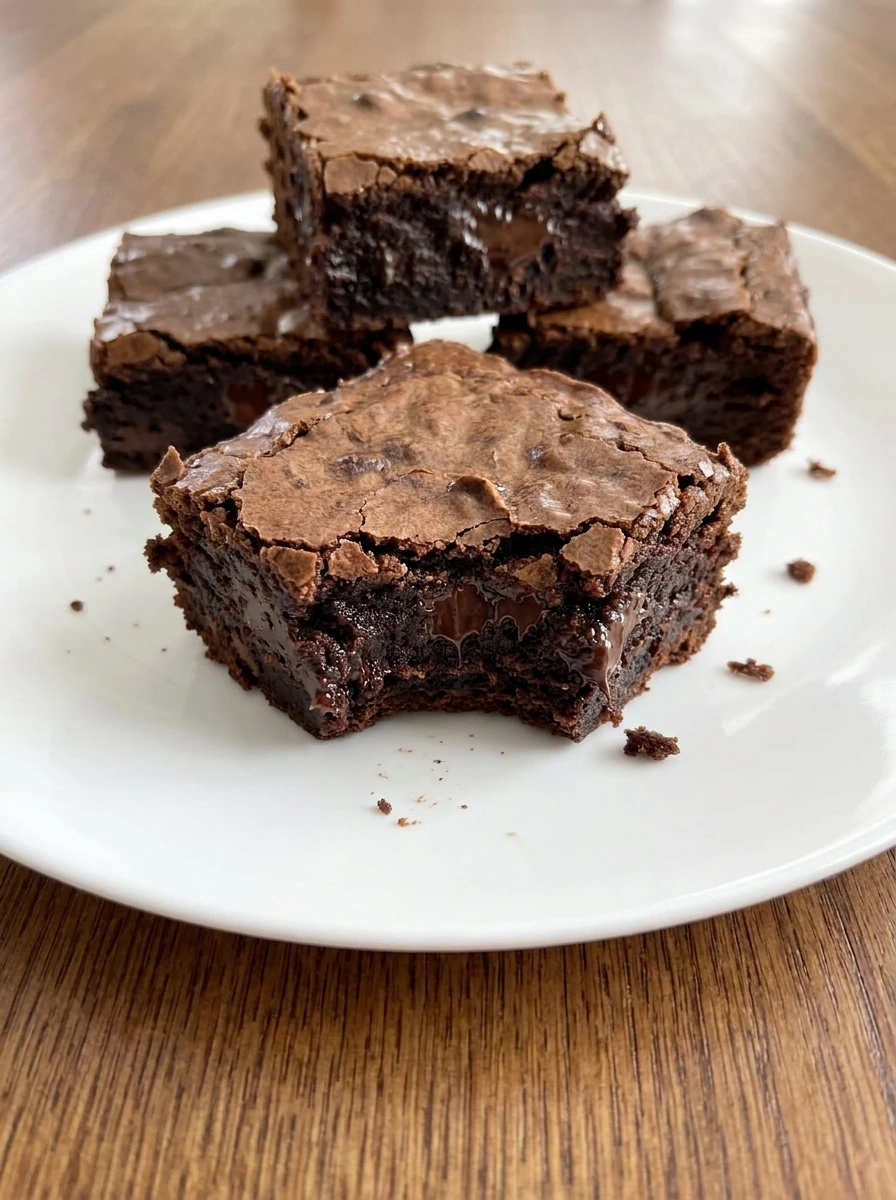
After cooling the brownies hold their shape and slice into thick squares with slightly jagged edges and soft dark centers. The tops stay crackly while the inside looks dense and moist with melted chocolate pockets running through a few pieces. On the plate the brownies look homemade and a little irregular with natural crumbs and uneven cuts. That imperfect finish is exactly what makes them feel fresh from the kitchen and ready to eat.
Tip: Let the brownies cool before cutting so the slices keep their fudgy shape.
Pro Tips
- Use room temperature eggs so the batter blends smoothly.
- Do not overmix once the flour goes in or the brownies can turn cakier.
- A few extra chips on top create glossy melted patches after baking.
- Cool the brownies fully before slicing for cleaner but still fudgy pieces.
Storage Instructions
Keep the brownies in an airtight container at room temperature for up to three days and they will stay soft and dense. If your kitchen runs warm then move them to the fridge so the chocolate stays set. For longer storage wrap individual squares and freeze them for up to two months. Let them thaw at room temperature so the centers soften again before serving.
Frequently Asked Questions
Use the exact flour amount and do not overbake them and pull the pan once the center looks just set and still slightly soft.
Yes and the brownies will taste deeper and a little less sweet while still keeping the same rich texture.
Too much flour or too much mixing can add extra structure and that shifts the texture away from dense and fudgy.
Absolutely and they hold well for a couple of days and slice nicely for a tray once fully cooled.
Final Thoughts
This is the kind of recipe I wish I had found years ago. It would have saved me so many disappointing dessert cravings.
But now that I have it I make it all the time and I think you will too. If you enjoyed this then check out some of my other popular recipes on the blog.
And leave a comment because I read every single one and it really makes my day.
Print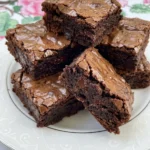
Fudgy Chocolate Brownies
- Total Time: 45 minutes
- Yield: 4 servings 1x
Description
These Fudgy Chocolate Brownies are the easy answer when you want quick chocolate ideas that still taste like the best homemade treat. This simple recipe gives you rich centers and crinkly tops with pantry basics and a healthy sense of portion friendly comfort. Bake a batch for a holiday table or party tray and enjoy a dessert that is easy to slice simple to serve and always one of the best brownie ideas to keep on hand.
Ingredients
- 1/2 cup Unsalted butter
- 1 cup Granulated sugar
- 2 Large eggs
- 1 teaspoon Vanilla extract
- 1/2 cup Unsweetened cocoa powder
- 3/4 cup All purpose flour
- 1/4 teaspoon Salt
- 3/4 cup Semi sweet chocolate chips
Instructions
- The melted butter and sugar start as separate layers and then turn into a thick glossy mixture once the eggs are worked in. The color shifts from pale yellow to a warmer golden brown and the surface looks smoother and slightly heavier. You should still see a few tiny bubbles and some uneven streaks at first and then the mixture settles into a shiny base with a loose ribbon like texture. It already looks richer and more structured than the raw ingredients did at the start.
- Once the dry ingredients are added the mixture changes fast from glossy and loose to thick and dark. The cocoa turns everything a deep brown and the flour pulls the batter together so it looks heavier and more velvety. Instead of flowing easily the batter now sits in soft mounds with visible drag lines and a few lighter streaks that disappear as everything comes together. This is the point where the batter starts to look like real brownie batter rather than a sweet egg mixture.
- The chocolate chips break up the dark batter with small glossy spots and the texture becomes more uneven in the best way. After the batter is transferred it spreads thickly into the baking dish with shallow ridges and casual swirls across the top. Some chips sit near the surface and others are partly buried which gives the batter a natural homemade look. The top is not perfectly level and that slight unevenness helps the finished brownies look real and rich.
- During baking the batter transforms from thick and matte into a set pan of brownies with a delicate crackled top. The color deepens further and the surface shows glossy patches where the chocolate chips have melted into the crust. The center should look set but still slightly softer than the edges and the top will have irregular lines rather than a smooth finish. That contrast between the firmer edges and softer middle is what gives these brownies their fudgy texture.
- After cooling the brownies hold their shape and slice into thick squares with slightly jagged edges and soft dark centers. The tops stay crackly while the inside looks dense and moist with melted chocolate pockets running through a few pieces. On the plate the brownies look homemade and a little irregular with natural crumbs and uneven cuts. That imperfect finish is exactly what makes them feel fresh from the kitchen and ready to eat.
Notes
Pro Tips:
- Use room temperature eggs so the batter blends smoothly.
- Do not overmix once the flour goes in or the brownies can turn cakier.
- A few extra chips on top create glossy melted patches after baking.
- Cool the brownies fully before slicing for cleaner but still fudgy pieces.
Storage: Keep the brownies in an airtight container at room temperature for up to three days and they will stay soft and dense. If your kitchen runs warm then move them to the fridge so the chocolate stays set. For longer storage wrap individual squares and freeze them for up to two months. Let them thaw at room temperature so the centers soften again before serving.
- Prep Time: 15 minutes
- Cook Time: 30 minutes
- Category: Dessert
- Cuisine: American
Nutrition
- Serving Size: 1 serving