

Christmas Cookie Bars are the kind of treat that brings holiday baking back to basics. These cookie bars christmas have a soft middle, golden edges and colorful candy pieces that make every square feel festive. They are simple enough for busy days but still look special on a dessert tray.
I love recipes that fit into real life. These christmas cookie bars easy to make squares can be sliced ahead for gatherings and shared beside other seasonal favorites like Blueberry Cream Cheese Bars. They also pair well with christmas cookies easy ideas when you build a full holiday spread.
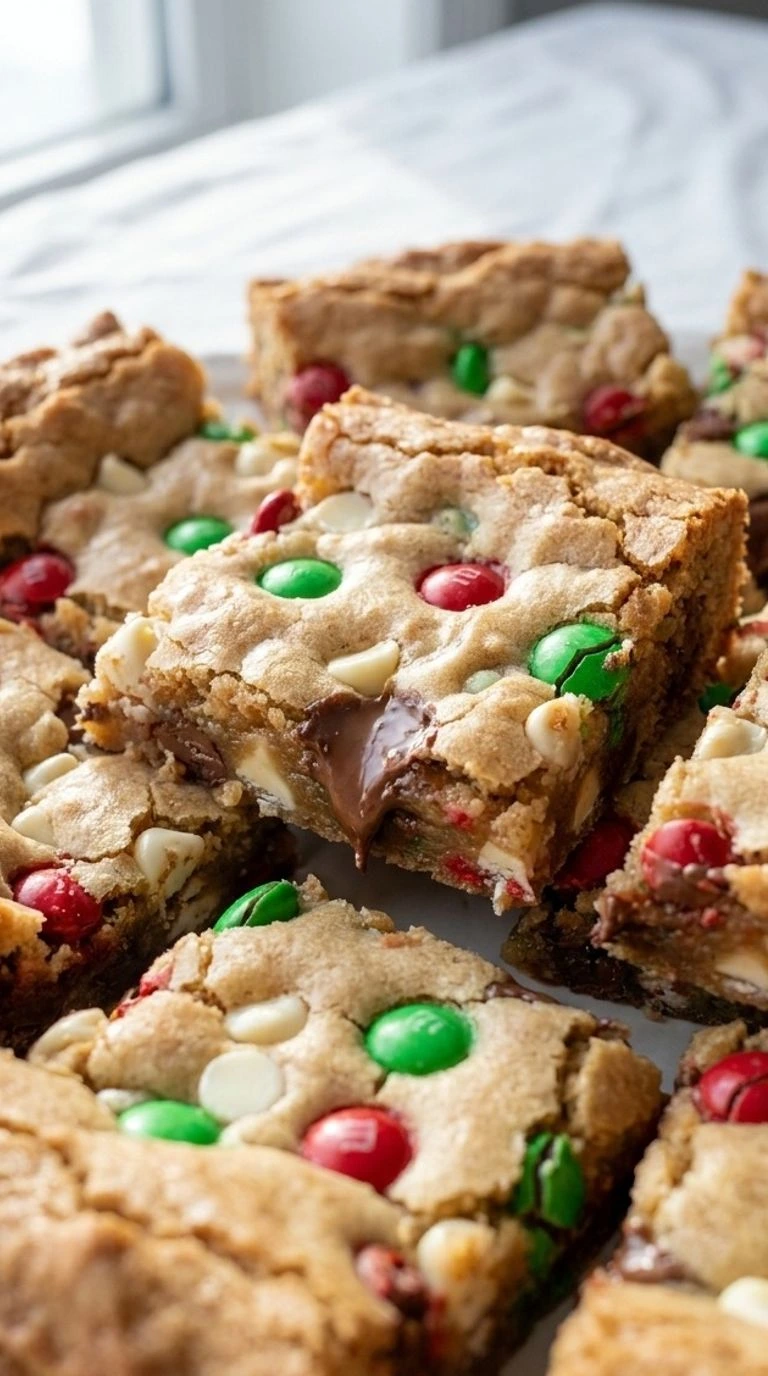
The dough uses everyday pantry staples and a careful bake time so the bars stay chewy instead of dry. If you need a sweet dish for guests, these Christmas Cookie Bars give you a reliable option without a long decorating session. They bring together the best parts of christmas cookies and simple baking.
Why This Recipe Works
The dough works because creaming butter and sugars for 3 to 4 minutes adds air before the flour enters. Baking at 350°F keeps the edges golden while the center stays soft.
Folding the flour gently prevents a tough crumb. For another bar-style dessert, try our Blueberry Cream Cheese Bars for a different texture and flavor.
Ingredients
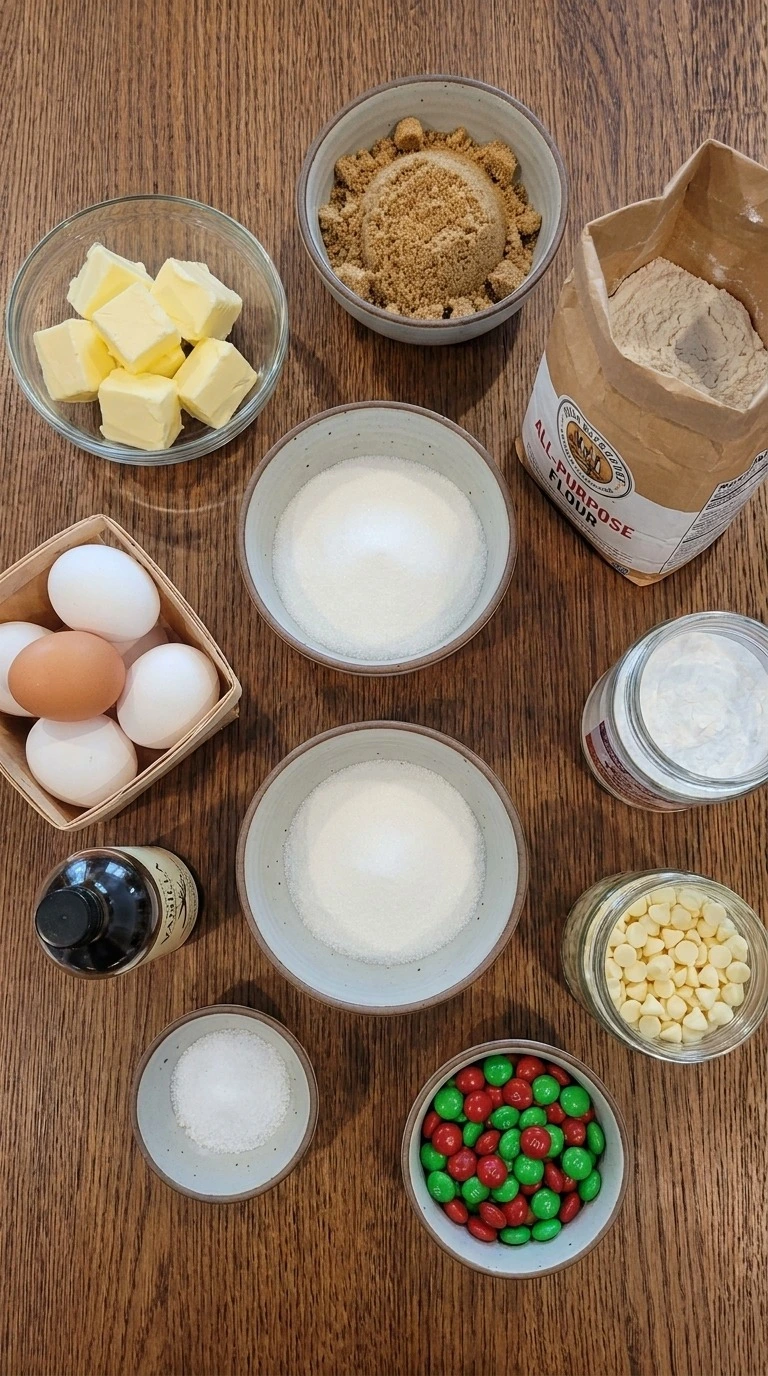
- unsalted butter: Softened before mixing to create a rich base and smooth cookie texture.
- brown sugar: Packed tightly to add moisture, caramel flavor and a chewy center.
- granulated sugar: Adds sweetness and helps the edges turn lightly crisp.
- large eggs: Added for structure and a tender crumb.
- vanilla extract: Adds warm flavor that balances the sweet dough.
- all-purpose flour: Measured carefully to build the bar structure without dryness.
- baking powder: Provides gentle lift for a softer texture.
- fine sea salt: Enhances the sugar and chocolate flavors.
- white chocolate chips: Folded through the dough for creamy sweet pockets.
- red and green candy pieces: Added for festive color and crunchy sweet bites.
Equipment
- 9×13 inch baking pan: A sturdy metal or glass 9×13 inch pan gives even heat for these bars, while a thin pan can create burnt edges before the center sets.
- Large mixing bowl: A large bowl gives room for creaming and folding the dough, and a wider shape helps prevent flour pockets.
- Rubber spatula: A flexible spatula folds the dough gently, while a stiff tool can overwork the mixture and make firmer bars.
Instructions
Step 1: Cream the butter and sugars
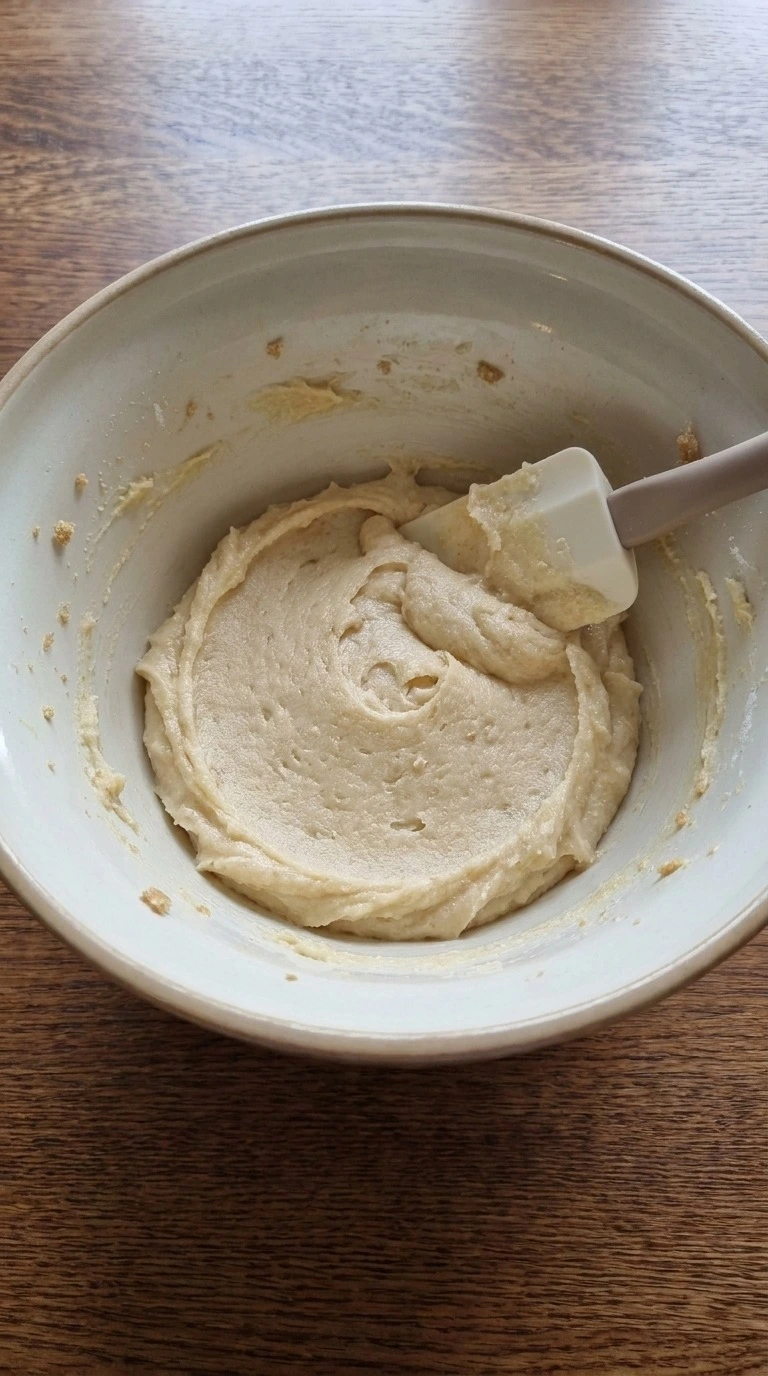
Beat 1 cup softened unsalted butter with 1 cup packed brown sugar and 1/2 cup granulated sugar at medium speed for 3 to 4 minutes. Scrape the bowl down halfway using a spatula and blend until the mixture turns pale and fluffy. (I tested a shorter mix once and the bars spread too much.
) The mixture should look creamy with no dry sugar pockets. You’ll smell the butter and caramel notes. Miss this stage and the texture gets heavy.
Creaming well traps air so the bars stay tender.
Tip: Use butter at about 65°F before mixing because colder butter won’t blend smoothly and warmer butter can make the dough greasy.
Step 2: Mix the cookie dough
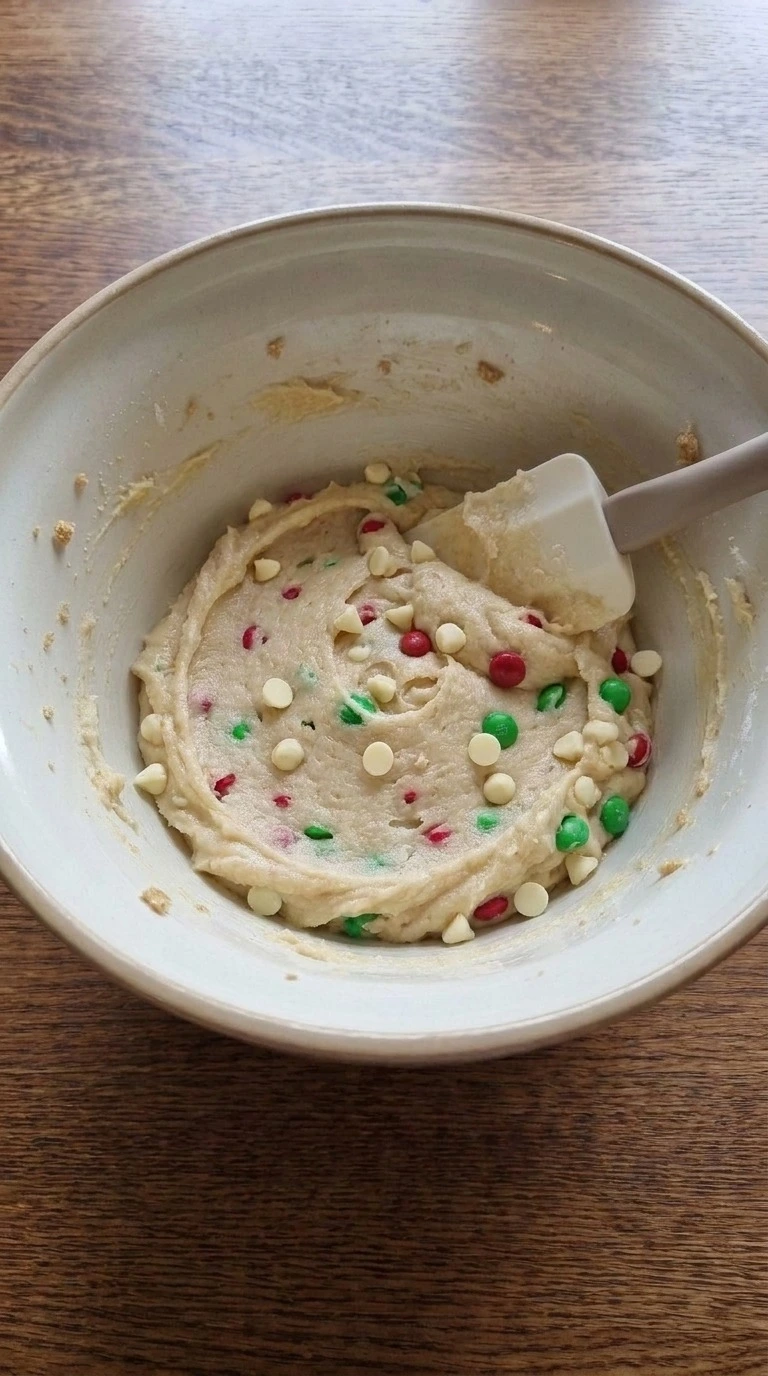
Add 2 large eggs and 2 teaspoons vanilla extract, then mix for 60 to 90 seconds. Fold in 2 1/4 cups all-purpose flour, 1 teaspoon baking powder and 1/2 teaspoon fine sea salt with a rubber spatula using slow turns until just combined. Add 1 cup white chocolate chips and 1/2 cup red and green candy pieces last.
The dough should look thick and hold soft ridges. You’ll see the candy pieces spread through the mixture. Overmix this and the bars become firm.
Gentle folding keeps the gluten structure from getting tight.
Tip: Reserve 2 tablespoons of candy pieces for the top so the finished bars have brighter color after baking.
Step 3: Press dough into the baking pan
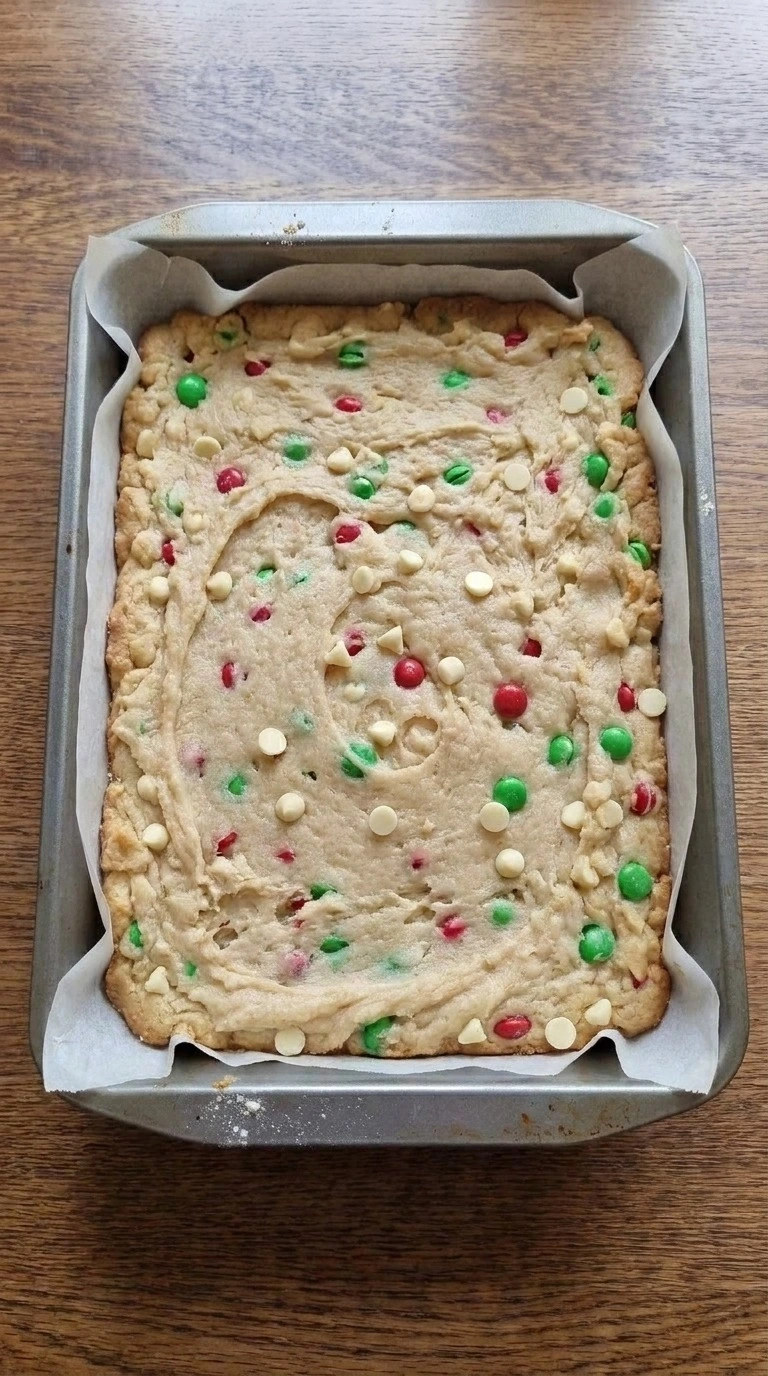
Spread the dough into a greased 9×13 inch baking pan and press it evenly with your fingertips for 2 to 3 minutes. Bake at 350°F for 28 to 32 minutes after arranging the reserved candy pieces on top. Use gentle pressure and leave small natural dips instead of flattening it perfectly.
The top will become lightly golden and the edges will set first. You’ll smell vanilla and toasted sugar near minute 28. Skip the timing and the center may dry out.
The steady oven heat sets the center while keeping the edges soft.
Tip: Line the pan before pressing the dough if you want cleaner slices after a full 30 minute cool.
Step 4: Bake and slice the cookie bars
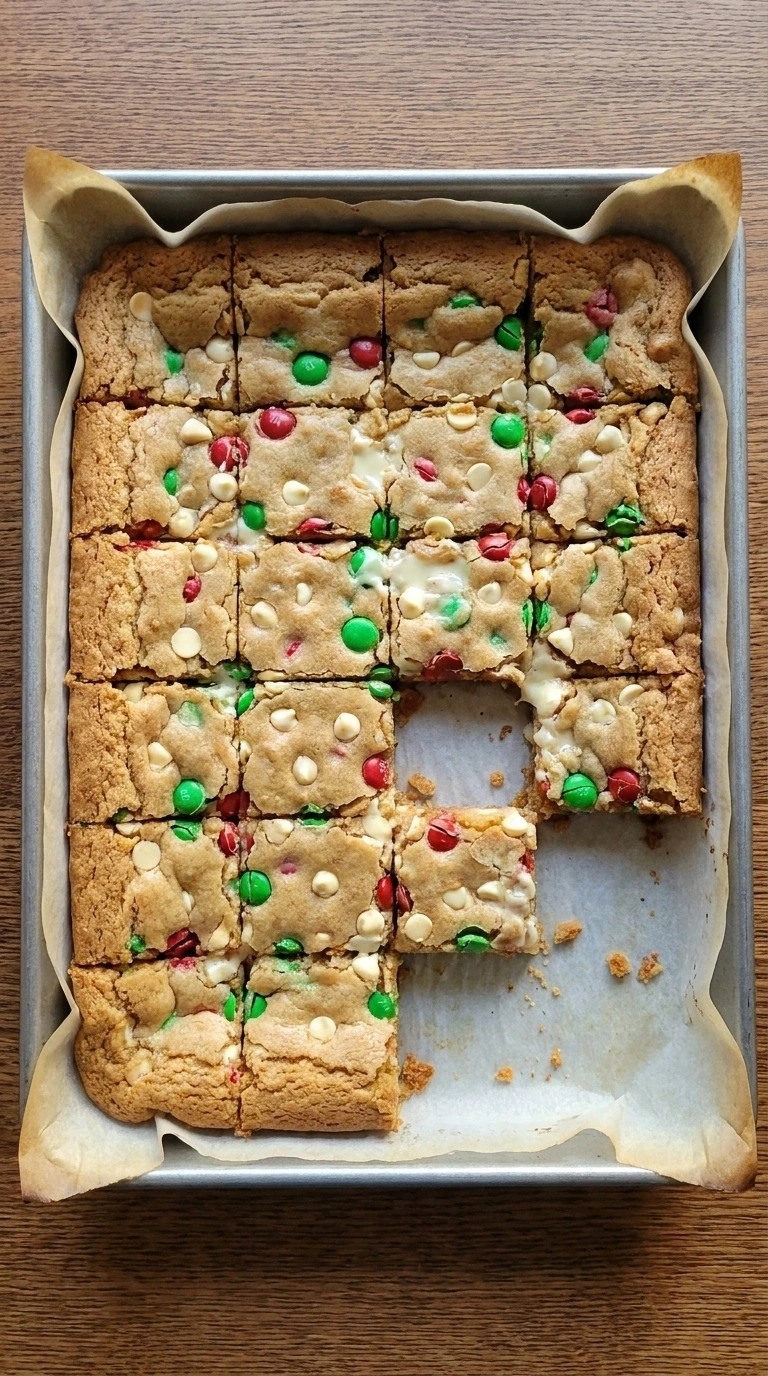
Bake the pan at 350°F for 28 to 32 minutes, then cool for exactly 60 minutes before cutting. Slice with firm downward pressure and turn the pan between cuts to create uneven homemade squares. (My first batch was cut warm and the center smeared across the knife.
) The surface should show golden edges, a soft center and melted chocolate spots. You’ll hear a slight crackle when the top settles. Cutting too soon makes the layers fall apart.
Cooling gives the structure time to set without losing chew.
Tip: For neat serving pieces, chill the cooled pan for 20 minutes before slicing into squares.
Pro Tips
- Measure the all-purpose flour with a spoon and level method instead of packing the cup. Too much flour can make the bars dry after the 350°F bake.
- Use quality white chocolate chips that hold their shape near 350°F because cheaper chips may melt unevenly and create oily pockets.
- Line the 9×13 inch pan with parchment before baking so the cooled bars lift cleanly after 60 minutes.
- Mix the dough only until the flour disappears. Stop after about 60 seconds of folding to keep the texture soft.
- Bake until the edges look golden around minute 28, but don’t wait for a dark top because the center keeps setting as it cools.
- Save a small handful of red and green candy pieces for the surface. Add them before baking for a brighter holiday finish.
- Cool the tray fully before slicing because a warm center can smear and hide the chewy texture you want.
- Add 1 teaspoon cinnamon and 1/2 cup chopped pecans for a warm spiced version with extra crunch.
- Swap the red and green candy pieces for crushed peppermint candies to create a minty holiday variation.
- Mix 1/2 cup dried cranberries into the dough for a tart flavor that balances the sweet chocolate.
- Use dark chocolate chips instead of white chocolate chips for a richer bar with less sweetness.
Substitutions
- unsalted butter: plant-based butter sticks. Use the same 1 cup amount for a dairy-free version. The bars may have a slightly softer texture and less rich butter flavor.
- all-purpose flour: gluten-free 1:1 baking flour blend. Replace with 2 1/4 cups gluten-free blend. Choose one with xanthan gum because the bars need extra structure.
- large eggs: flax eggs. Use 2 flax eggs made with 2 tablespoons ground flaxseed and 6 tablespoons water. The texture becomes a little denser and less chewy.
- white chocolate chips: semi-sweet chocolate chips. Replace 1 cup white chocolate chips with 1 cup semi-sweet chips for a deeper chocolate taste and slightly less sweetness. This pairs well with [Blueberry Cream Cheese Bars](https://thecozymom.com/blueberry-cream-cheese-bars/ ) if you want another dessert option.
Storage
Keep Christmas Cookie Bars in an airtight container for up to 5 days. Freeze individual squares wrapped tightly for up to 3 months, then thaw at room temperature before serving.
Warm frozen bars at 300°F for 5 to 7 minutes if you want a softer texture. Discard them if you notice mold, unusual odors or a sticky fermented smell.
FAQ
Yes, you can prepare the dough up to 24 hours ahead and keep it covered in the refrigerator. Let it sit for 20 minutes before pressing it into the pan so it spreads evenly and bakes at 350°F without a cold center.
Store the bars in an airtight container for up to 5 days at room temperature. For longer storage, freeze wrapped squares for up to 3 months and thaw them for 2 hours before serving.
Use a gluten-free 1:1 flour blend in the same 2 1/4 cup amount. Check that the blend contains xanthan gum because it helps the bars hold together after the 28 to 32 minute bake.
Dry bars usually come from too much flour or baking too long. Measure flour carefully and remove the pan when the edges are golden around the 30 minute mark because the center continues setting as it cools.
Yes, double the ingredients and bake in two separate 9×13 inch pans instead of making one deeper batch. A deeper pan changes the baking time and can leave the middle underdone.
Cut the squares after they cool fully and arrange them with other treats on a dessert tray. They pair well with coffee, cocoa or a scoop of vanilla ice cream warmed for 10 seconds in the microwave.
Cookie bars became popular because they offer cookie flavor with less shaping work. This style is often baked in one pan and sliced into shareable squares.