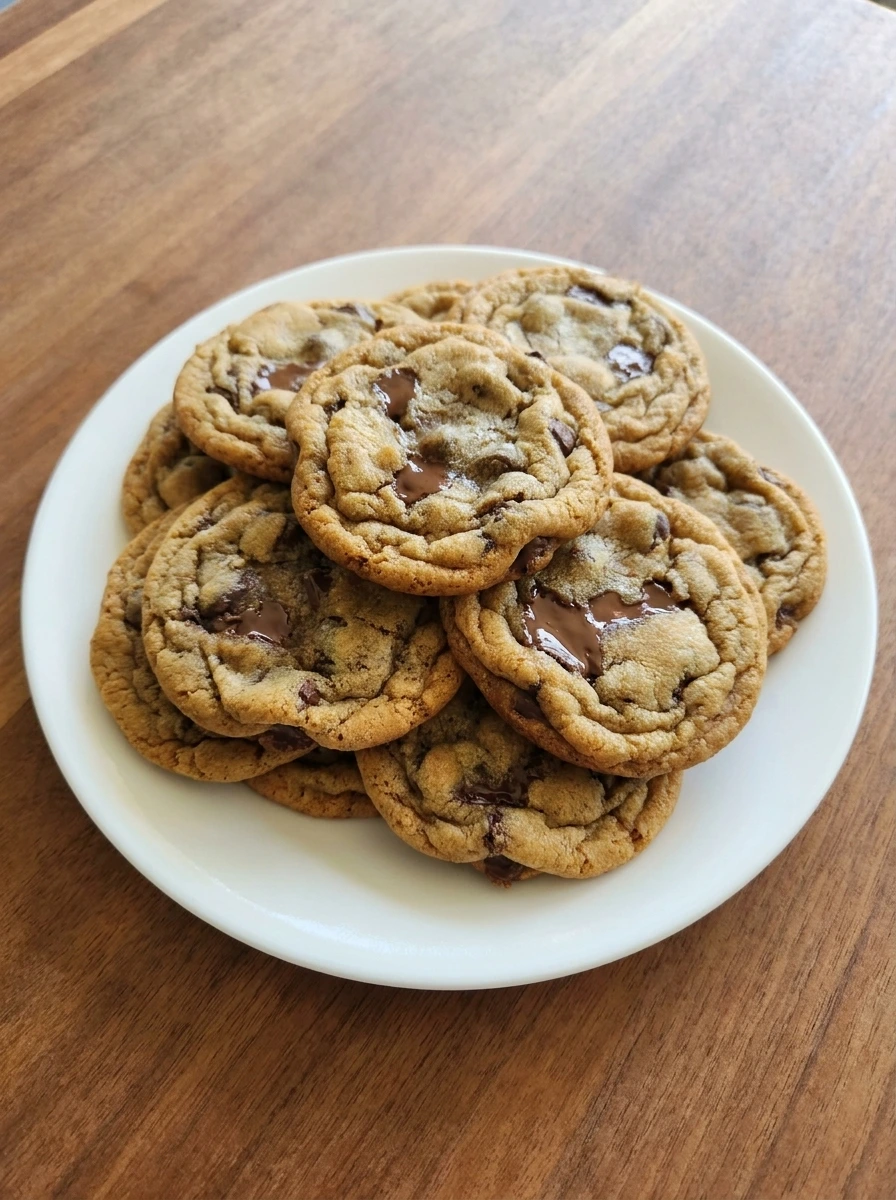
This Soft Chocolate Chip Cookies recipe is an easy comforting dessert that comes together so quickly with a simple dough and rich chocolate in every bite and soft centers with lightly golden edges.
We love cool afternoons because it means that easy bakes like these Soft Chocolate Chip Cookies are back on the table.
Comfort foods and especially those that feel homemade and warm from the oven are my favorite kinds of treats.
Ingredients
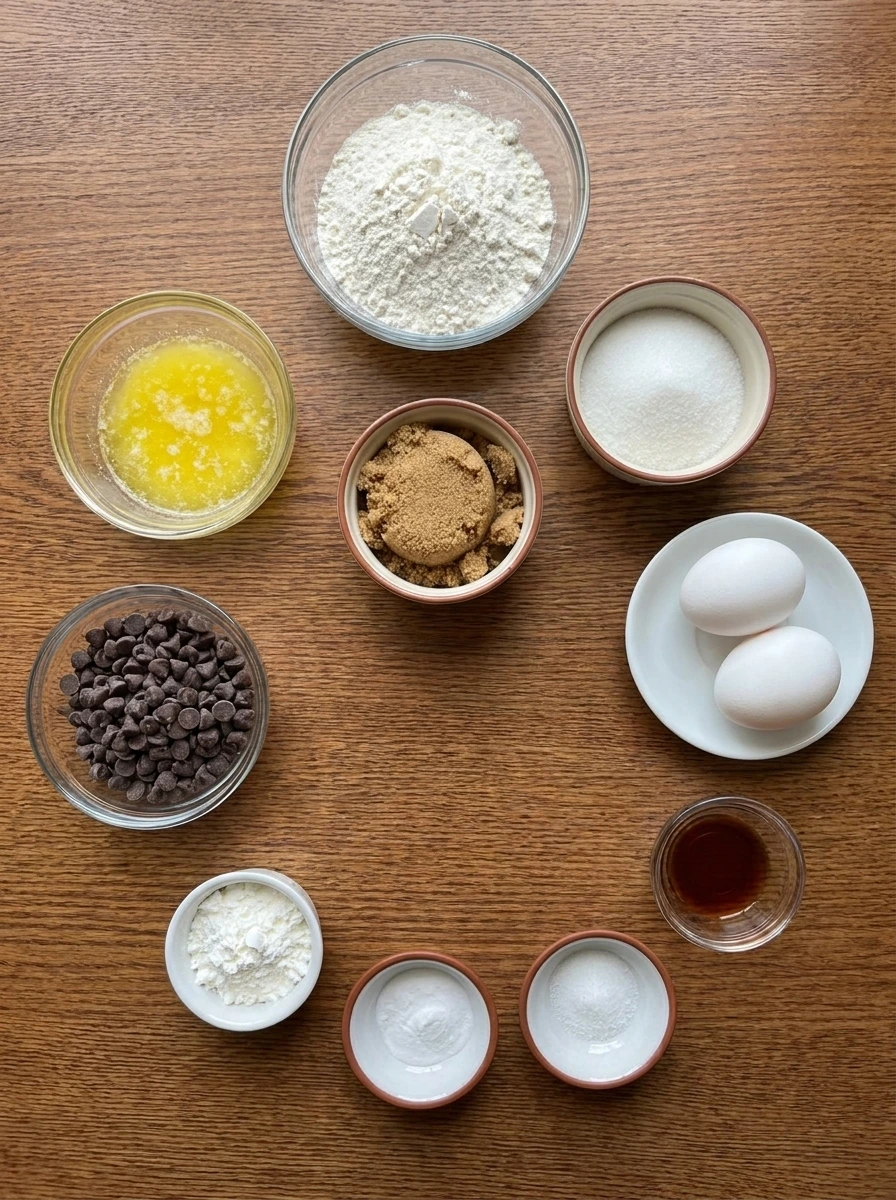
Here’s what I use for this recipe and you can always make substitutions if you prefer.
- unsalted butter: Adds rich flavor and helps create a soft tender cookie.
- brown sugar: Brings deep sweetness and extra moisture for chewy centers.
- granulated sugar: Balances sweetness and helps the edges lightly brown.
- large eggs: Bind the dough and add structure as the cookies bake.
- vanilla extract: Rounds out the chocolate flavor and sweet aroma.
- all purpose flour: Forms the base of the dough and gives the cookies body.
- cornstarch: Keeps the texture extra soft and tender.
- baking soda: Helps the cookies rise and spread gently.
- salt: Balances the sweetness and sharpens the chocolate flavor.
- semi sweet chocolate chips: Melt into pockets of chocolate throughout the dough.
Tools You’ll Need
- mixing bowl: Used to combine the dough ingredients.
- sheet pan: Used to bake the cookie dough portions.
- white plate: Used for the final served cookie.
Instructions
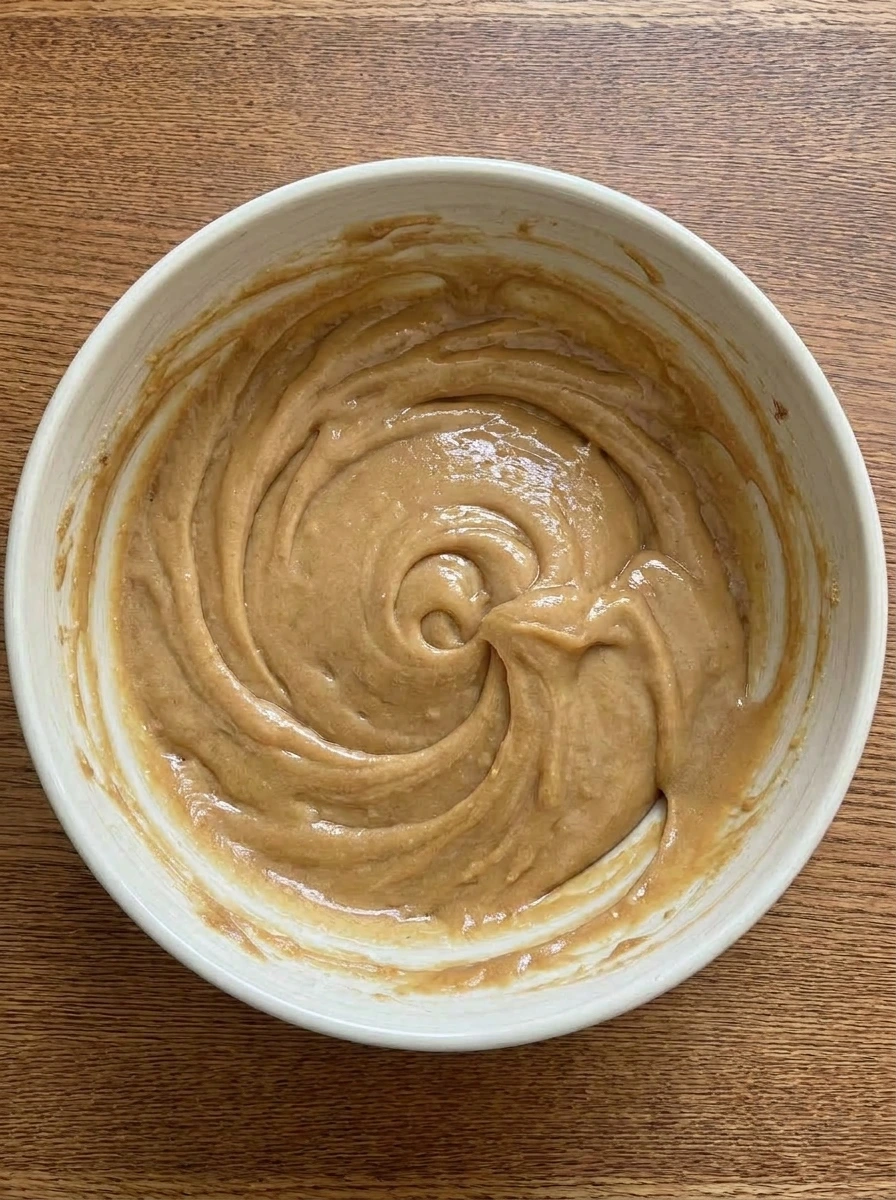
Step 1: Whisk the melted butter with both sugars
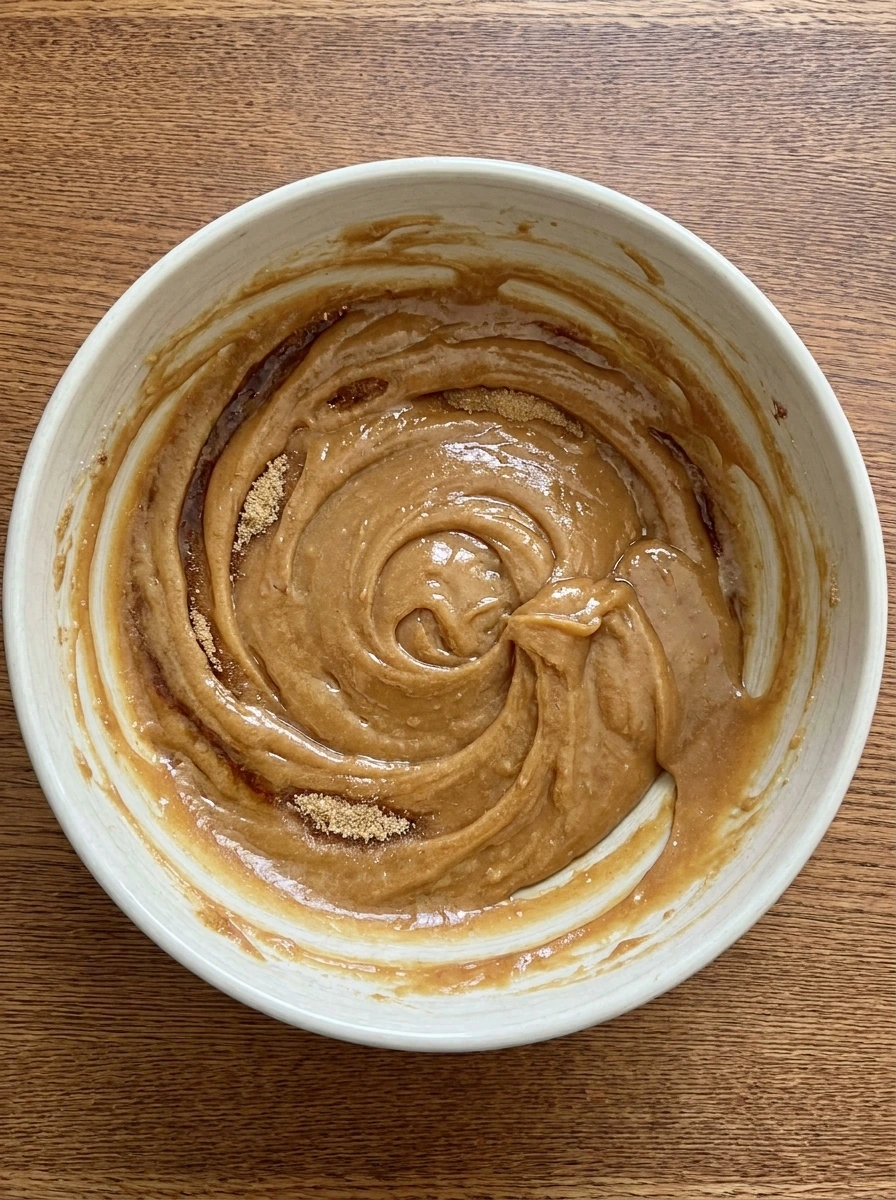
The melted butter and both sugars come together into a thick glossy mixture and the color shifts from pale gold to a deeper caramel tan while the grainy look starts to smooth out. At this stage the mixture still looks a little uneven and heavy and that is exactly right because the sugars are dissolving into the butter and building the base for a soft cookie.
Tip: Stop whisking once the mixture looks glossy and mostly smooth so the dough stays tender.
Step 2: Stir in the eggs and vanilla
The dough base loosens and turns silkier as the eggs and vanilla are fully mixed in and the color becomes lighter and more uniform with a smooth creamy sheen. What was thick and grainy now looks more fluid and cohesive and that visible change shows the dough is ready to hold the dry ingredients without turning dense.
Tip: Mix just until the eggs disappear into the dough so the texture stays soft after baking.
Step 3: Fold in the dry ingredients and chocolate chips
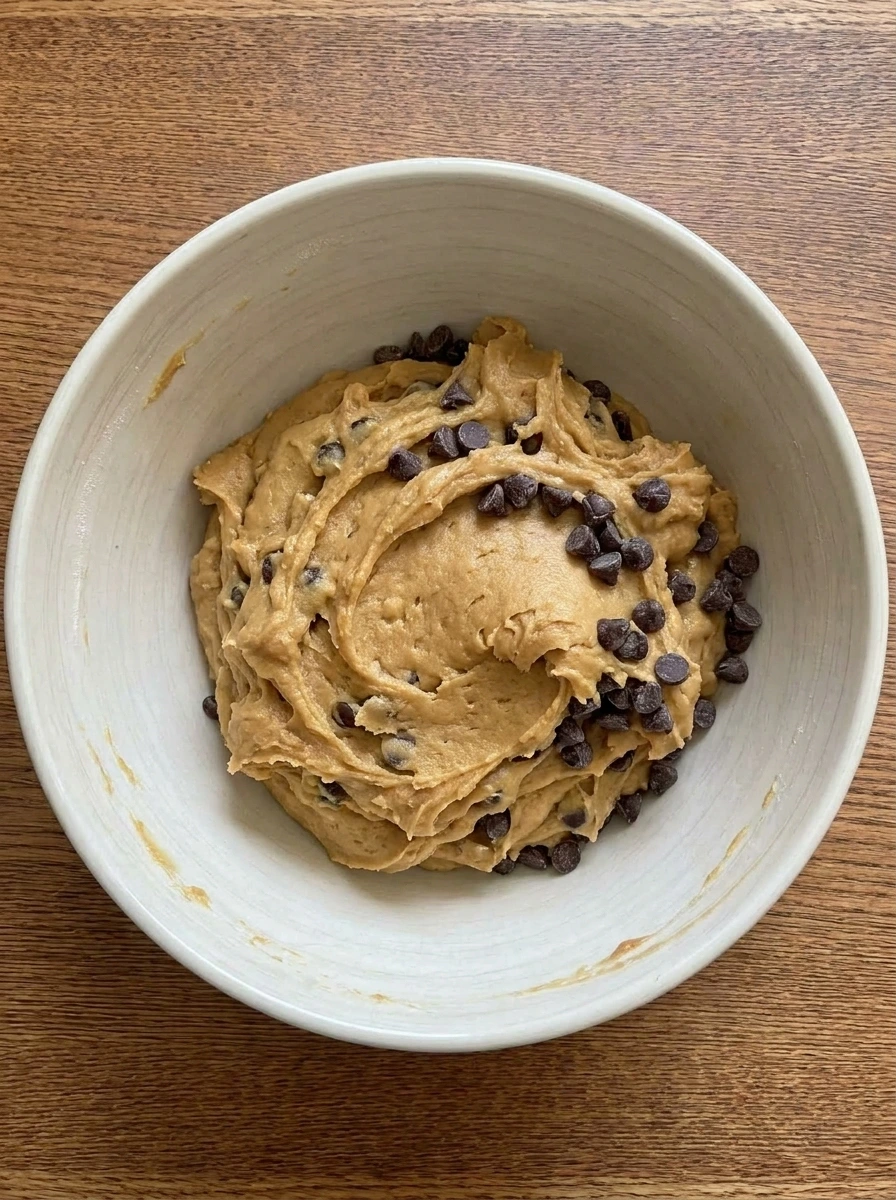
Flour and the rest of the dry ingredients thicken the batter into a soft dough and then the chocolate chips are folded through so the structure changes from loose and glossy to plush and scoopable. The dough looks naturally uneven with small ridges and slight lumps and the chocolate sits at different depths throughout the bowl which gives the finished cookies that homemade look.
Tip: Fold until you no longer see dry flour and then stop so the cookies stay soft.
Step 4: Portion the dough onto the baking tray
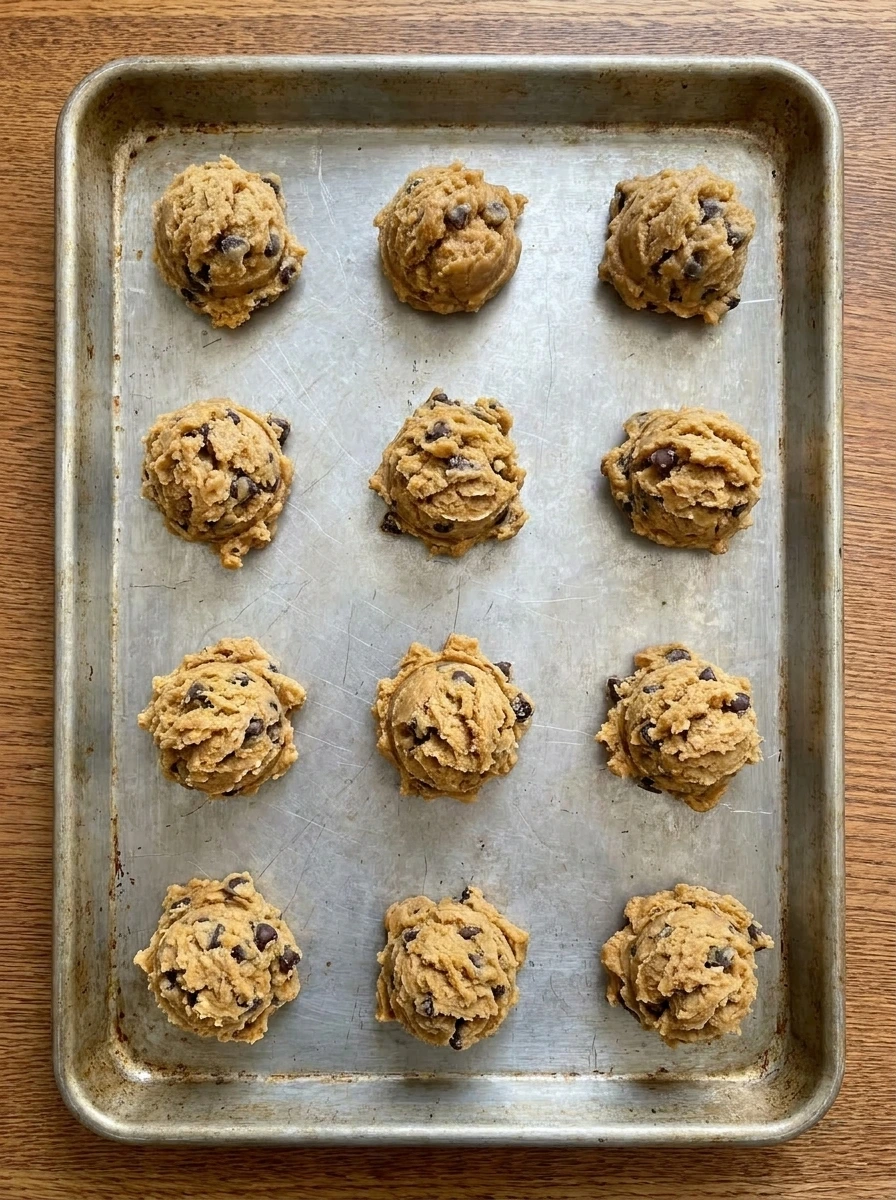
Scoops of dough are spaced across the tray and the structure changes again from one mass of dough to separate rounded mounds with rough tops and visible chocolate chips on the surface. The portions should look slightly irregular with natural spacing and a few chips sticking out more than others because that uneven shape helps the cookies bake with soft centers and crinkly tops.
Tip: Leave room between the dough mounds so the cookies can spread without touching.
Step 5: Bake until the edges turn lightly golden
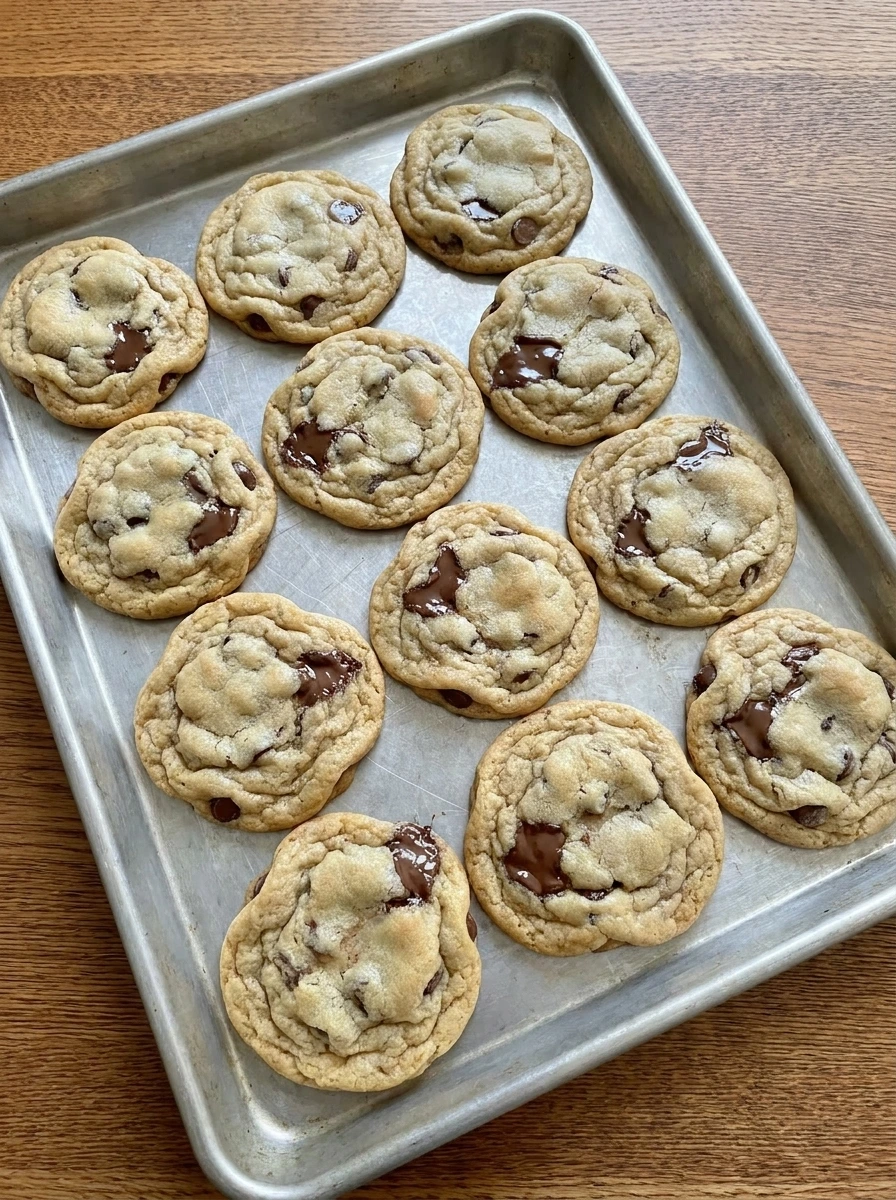
The dough spreads into round cookies and the tops settle into soft ripples while the edges turn lightly golden and the chocolate melts into glossy pockets across the surface. This is the big transformation where the cookies move from pale dough to baked treats with gentle browning and soft centers and slightly uneven shapes that look homemade and warm.
Tip: Pull the cookies when the centers still look a little soft so they finish setting without drying out.
Step 6: Serve one warm cookie on a plate
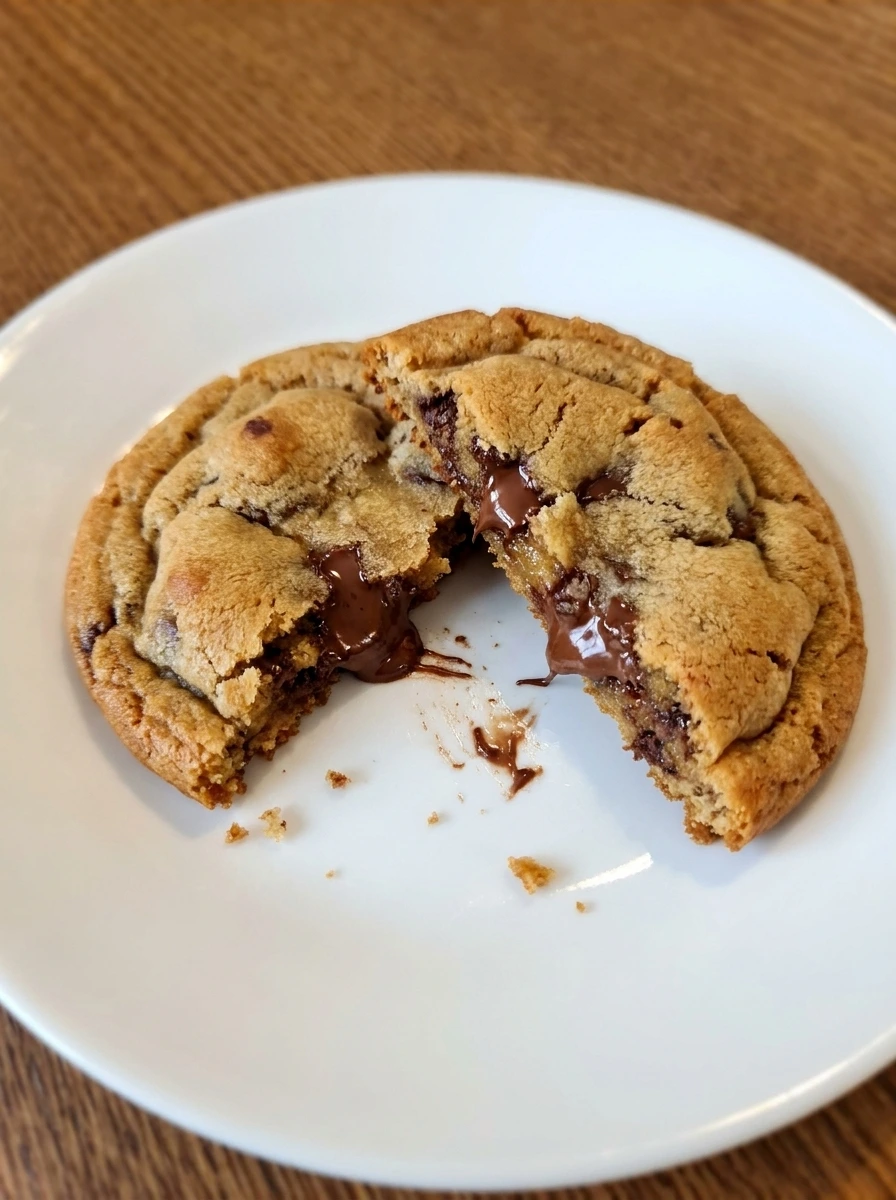
A single cookie is moved to the plate and broken open so the center texture becomes the focus with a tender interior and soft melted chocolate streaks against a lightly crisp edge. The final look is casual and imperfect and that is what makes it inviting because the cracks and uneven chocolate pockets show a real homemade cookie rather than a polished bakery display.
Tip: Let the cookies rest briefly before serving so the centers stay soft but hold together.
Pro Tips
- Use melted butter that is slightly cooled so the dough stays thick enough to scoop.
- Measure the flour carefully so the cookies stay soft instead of dry.
- Save a few chocolate chips for the tops so the baked cookies look generous and uneven.
- Take the cookies out when the centers still look soft because they finish setting as they cool.
Storage Instructions
Keep the cookies in an airtight container at room temperature and they should stay soft for several days as long as they are not overbaked in the first place. For longer storage freeze the baked cookies in layers and thaw them at room temperature and warm one briefly when you want that fresh baked texture again.
Frequently Asked Questions
Store them in a sealed container once cooled and avoid overbaking so the centers stay tender for days.
Yes and chilling the dough can give you thicker cookies with a slightly deeper flavor.
Yes and you can freeze the baked cookies or the scooped dough portions for an easy future treat.
That usually happens when the butter is too warm or the flour was measured lightly so try cooling the dough briefly before baking.
Final Thoughts
If you try this recipe I really hope you love it as much as my family does. It has become one of those treats we just keep coming back to and especially when we want something warm and simple.
And if you are looking for more easy dessert ideas make sure to bookmark this page. I am always adding new recipes that are simple and satisfying and perfect for busy weeknights.
Print
Soft Chocolate Chip Cookies
- Total Time: 45 minutes
- Yield: 4 servings 1x
Description
These Soft Chocolate Chip Cookies are the best easy treat for anyone who wants quick and simple dessert ideas with a cozy homemade feel. The centers stay tender while the edges turn lightly golden and the chocolate melts into every bite. This healthy-minded homemade favorite uses familiar pantry basics and works beautifully for a holiday tray and a party table and weekend brunch baking and sweet meal prep snacks all week long.
Ingredients
- 1 cup melted and slightly cooled unsalted butter
- 1 cup packed brown sugar
- 1/2 cup granulated sugar
- 2 large eggs
- 2 teaspoons vanilla extract
- 2 3/4 cups all purpose flour
- 2 teaspoons cornstarch
- 1 teaspoon baking soda
- 3/4 teaspoon salt
- 2 cups semi sweet chocolate chips
Instructions
- The melted butter and both sugars come together into a thick glossy mixture and the color shifts from pale gold to a deeper caramel tan while the grainy look starts to smooth out. At this stage the mixture still looks a little uneven and heavy and that is exactly right because the sugars are dissolving into the butter and building the base for a soft cookie.
- The dough base loosens and turns silkier as the eggs and vanilla are fully mixed in and the color becomes lighter and more uniform with a smooth creamy sheen. What was thick and grainy now looks more fluid and cohesive and that visible change shows the dough is ready to hold the dry ingredients without turning dense.
- Flour and the rest of the dry ingredients thicken the batter into a soft dough and then the chocolate chips are folded through so the structure changes from loose and glossy to plush and scoopable. The dough looks naturally uneven with small ridges and slight lumps and the chocolate sits at different depths throughout the bowl which gives the finished cookies that homemade look.
- Scoops of dough are spaced across the tray and the structure changes again from one mass of dough to separate rounded mounds with rough tops and visible chocolate chips on the surface. The portions should look slightly irregular with natural spacing and a few chips sticking out more than others because that uneven shape helps the cookies bake with soft centers and crinkly tops.
- The dough spreads into round cookies and the tops settle into soft ripples while the edges turn lightly golden and the chocolate melts into glossy pockets across the surface. This is the big transformation where the cookies move from pale dough to baked treats with gentle browning and soft centers and slightly uneven shapes that look homemade and warm.
- A single cookie is moved to the plate and broken open so the center texture becomes the focus with a tender interior and soft melted chocolate streaks against a lightly crisp edge. The final look is casual and imperfect and that is what makes it inviting because the cracks and uneven chocolate pockets show a real homemade cookie rather than a polished bakery display.
Notes
Pro Tips:
- Use melted butter that is slightly cooled so the dough stays thick enough to scoop.
- Measure the flour carefully so the cookies stay soft instead of dry.
- Save a few chocolate chips for the tops so the baked cookies look generous and uneven.
- Take the cookies out when the centers still look soft because they finish setting as they cool.
Storage: Keep the cookies in an airtight container at room temperature and they should stay soft for several days as long as they are not overbaked in the first place. For longer storage freeze the baked cookies in layers and thaw them at room temperature and warm one briefly when you want that fresh baked texture again.
- Prep Time: 15 minutes
- Cook Time: 30 minutes
- Category: Dessert
- Cuisine: American
Nutrition
- Serving Size: 1 serving