

Apple Crisp Cheesecake brings together two classic desserts in one slice. This apple crisp cheesecake recipe has a creamy center, soft spiced apples and a crunchy topping that feels familiar and special. The layers work together without making the dessert feel too heavy.
I created this version after testing how a cheesecake apple crisp style topping changes the texture. The result keeps the smooth filling while adding the bite people love from a crisp. If you enjoy simple baked treats, try our Classic Apple Pie for another fruit dessert idea.
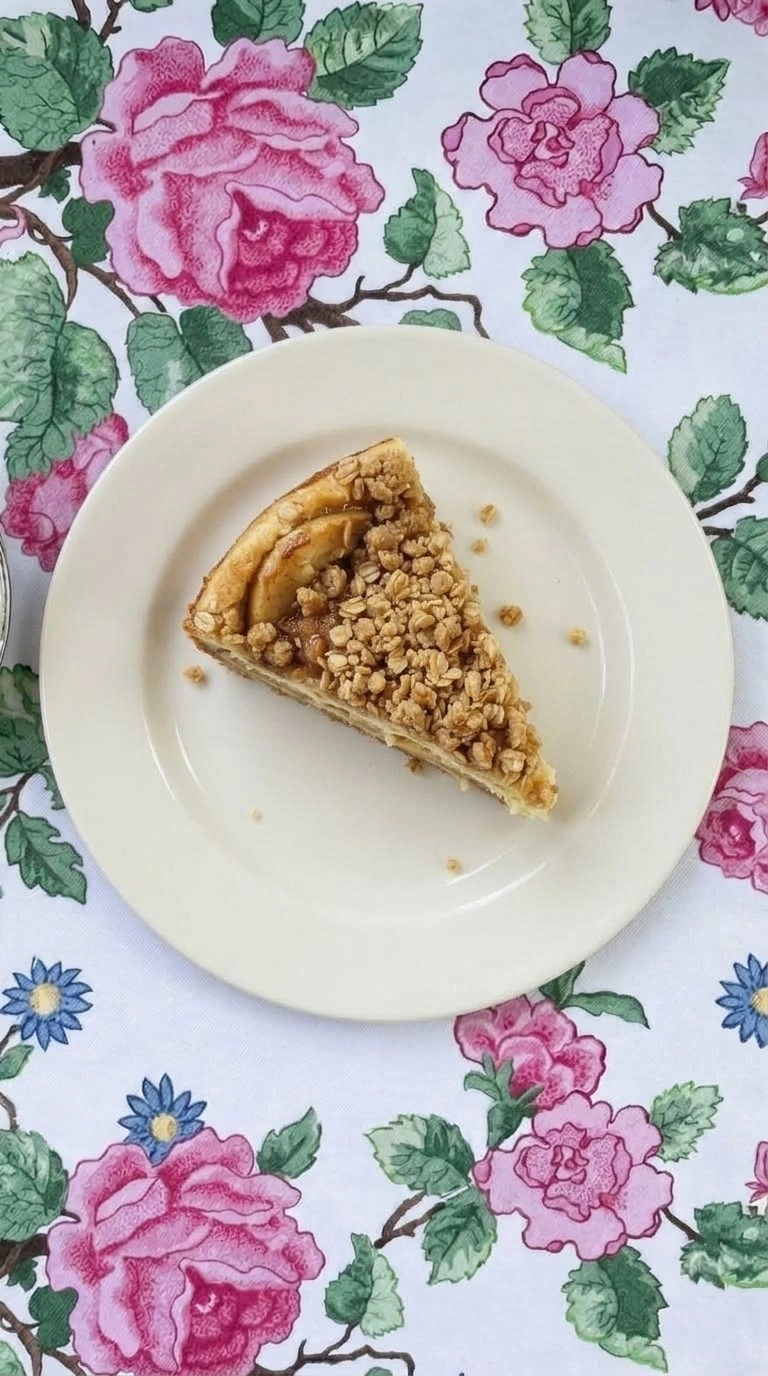
This Apple Crisp Cheesecake is made for gatherings, family meals and quiet weekends at home. It uses careful baking times so the center stays creamy and the topping gets a warm golden finish.
Why This Recipe Works
Apple Crisp Cheesecake works because the creamy filling and crisp topping need different handling. Baking at 325°F keeps the center gentle while the crumble develops color without burning.
The butter coated oats create a crisp layer after baking, and chilling for 4 hours improves the slice texture. For another fruit dessert idea, try our Classic Apple Pie too.
Ingredients
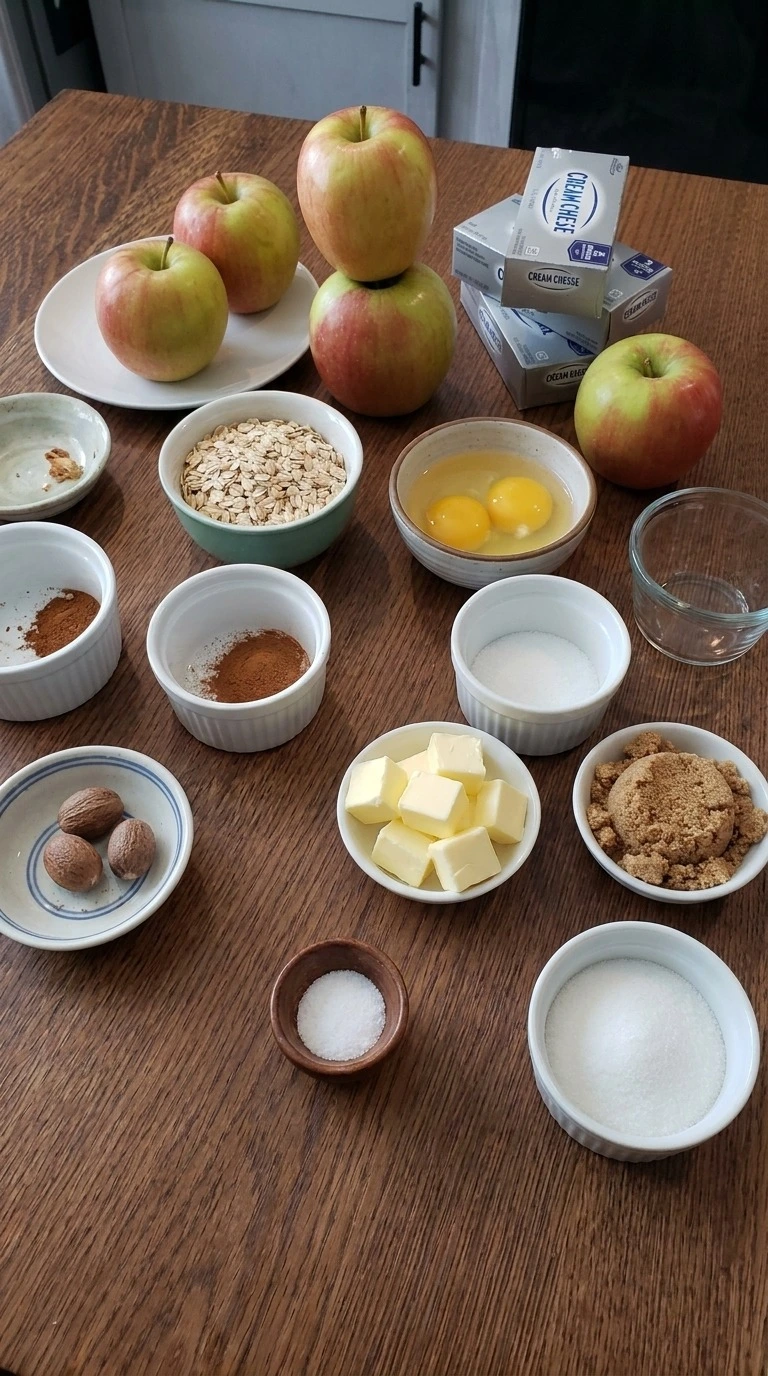
- Honeycrisp apple: Sliced into thin wedges to add sweet apple flavor and soft texture.
- rolled oats: Used in the crumble topping for a crisp texture.
- all-purpose flour: Helps bind the crumble mixture.
- brown sugar: Adds caramel notes to the topping.
- ground cinnamon: Provides warm spice flavor.
- fine sea salt: Balances the sweetness.
- unsalted butter: Creates buttery crumble clusters.
- cream cheese: Forms the creamy cheesecake base.
- granulated sugar: Sweetens the filling.
- large eggs: Adds structure to the cheesecake.
- vanilla extract: Adds a warm aromatic note.
- sour cream: Makes the filling smooth and rich.
Equipment
- 9 inch springform pan: A springform pan releases the cheesecake cleanly and should have a tight latch to prevent leaks, while a loose pan can lose filling during baking.
- large mixing bowl: A large mixing bowl combines the filling and crumble with enough space to scrape well, while a small bowl makes mixing uneven.
- rubber spatula: A rubber spatula folds and scrapes ingredients smoothly, and a flexible edge helps avoid leaving thick pockets of filling behind.
Instructions
Step 1: Slice the apples and build the crumble mixture
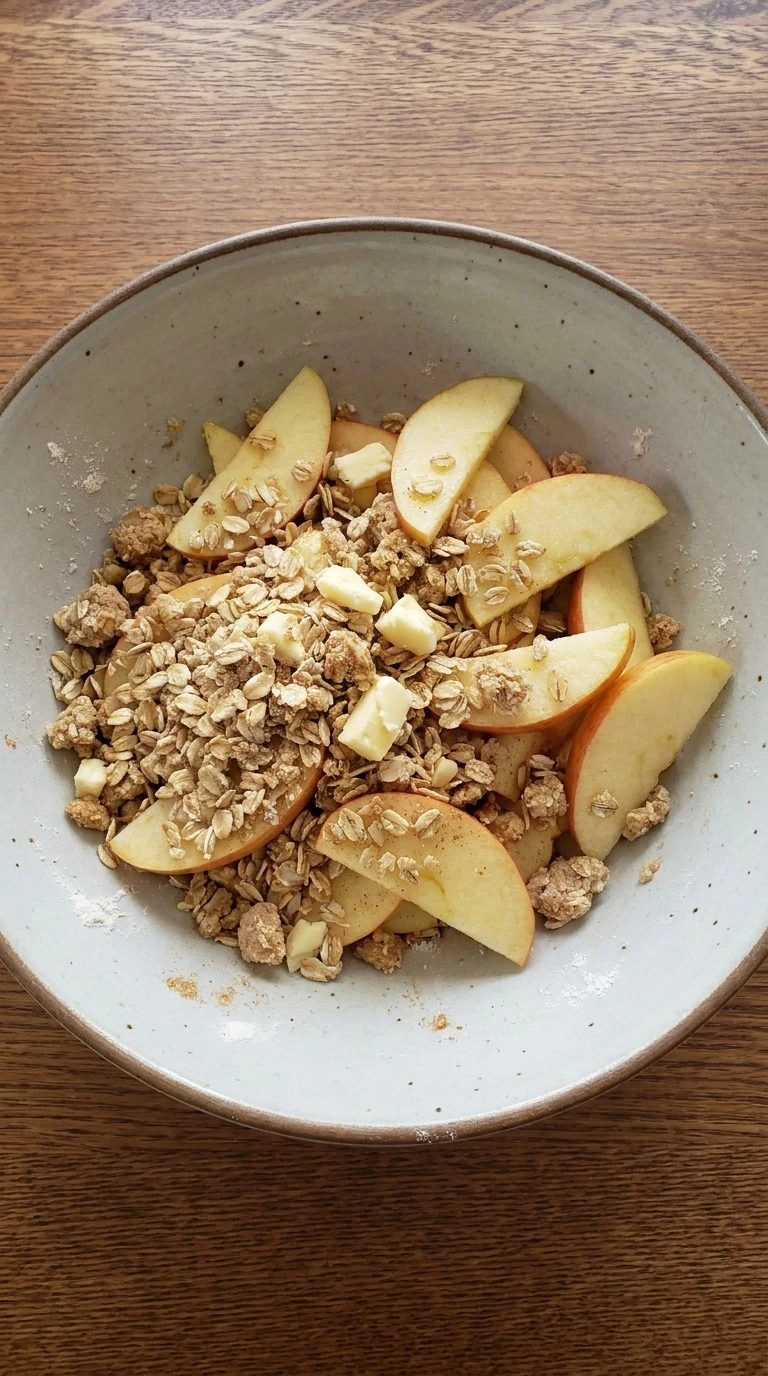
Slice 3 Honeycrisp apples into thin wedges and combine 1 cup rolled oats, 3/4 cup all-purpose flour, 1/2 cup brown sugar, 1 teaspoon ground cinnamon and 1/2 teaspoon fine sea salt. Work 6 tablespoons unsalted butter into the mixture with your fingertips until loose crumbs form. Use a medium bowl and press the mixture gently between your fingers for 3 to 4 minutes.
The crumbs should look clumpy. Miss this step and the topping turns dusty instead of crisp. Keep the apple slices uneven because natural pieces soften better.
You’ll smell the cinnamon after a few minutes. Skip the careful mixing and the butter won’t coat the oats well. The butter coats the oats so the crumble bakes evenly.
Tip: Chill the crumble for 20 minutes before baking so the butter stays firm and creates larger crisp clusters.
Step 2: Mix the cheesecake filling
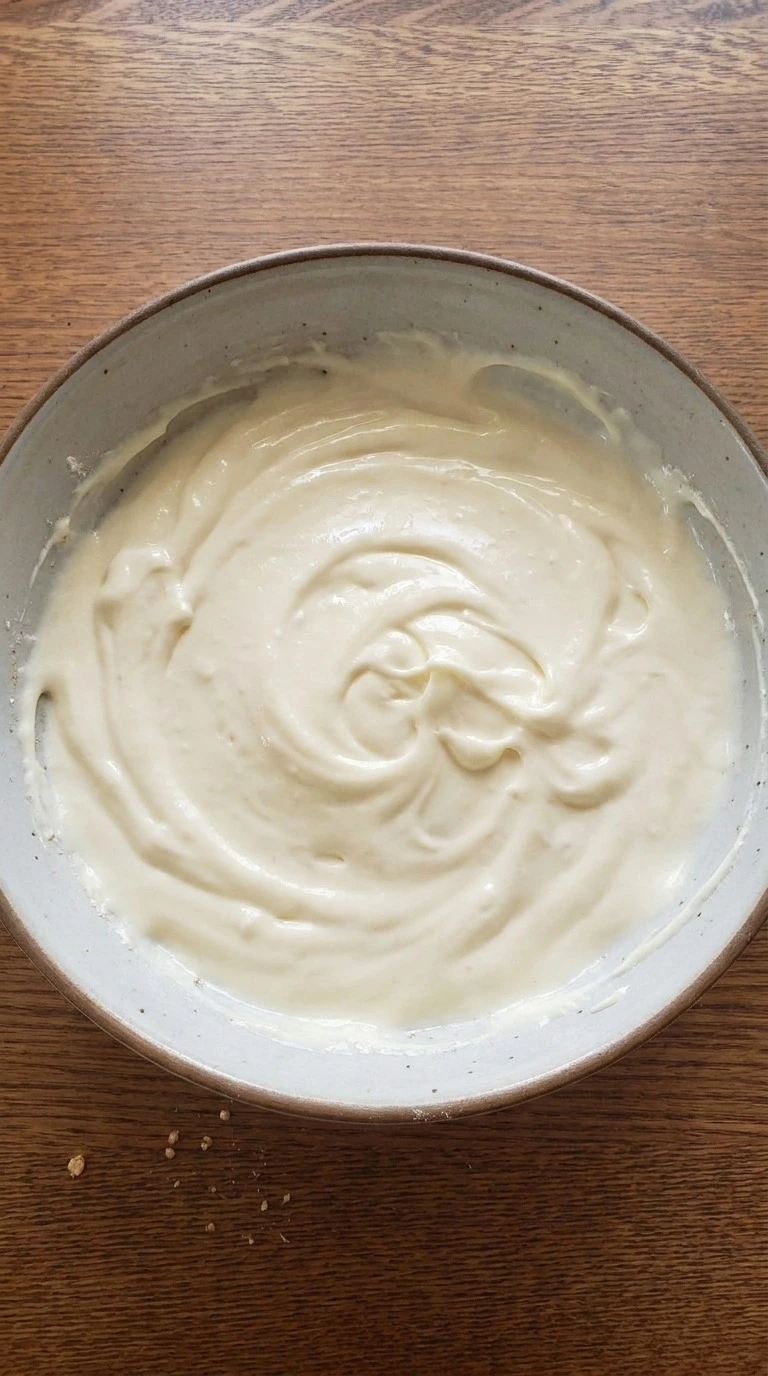
Beat 24 ounces cream cheese with 3/4 cup granulated sugar for 2 minutes at medium speed until smooth, then add 3 large eggs, 1 teaspoon vanilla extract and 1 cup sour cream. Scrape the bowl halfway through with a spatula and mix for another 60 seconds. The filling should look thick and glossy.
Miss the full mixing time and lumps can remain in the cheesecake. Bake the finished cheesecake later at 325°F for 45 to 55 minutes. You’ll know the filling is ready when the edges look set but the center still moves slightly.
(I tried rushing the mixing once and the center had small cream cheese pockets. ) Smooth filling keeps the cheesecake structure stable.
Tip: Use full-fat cream cheese because reduced fat versions can create a softer filling that releases more moisture.
Step 3: Layer the filling and apples in the pan
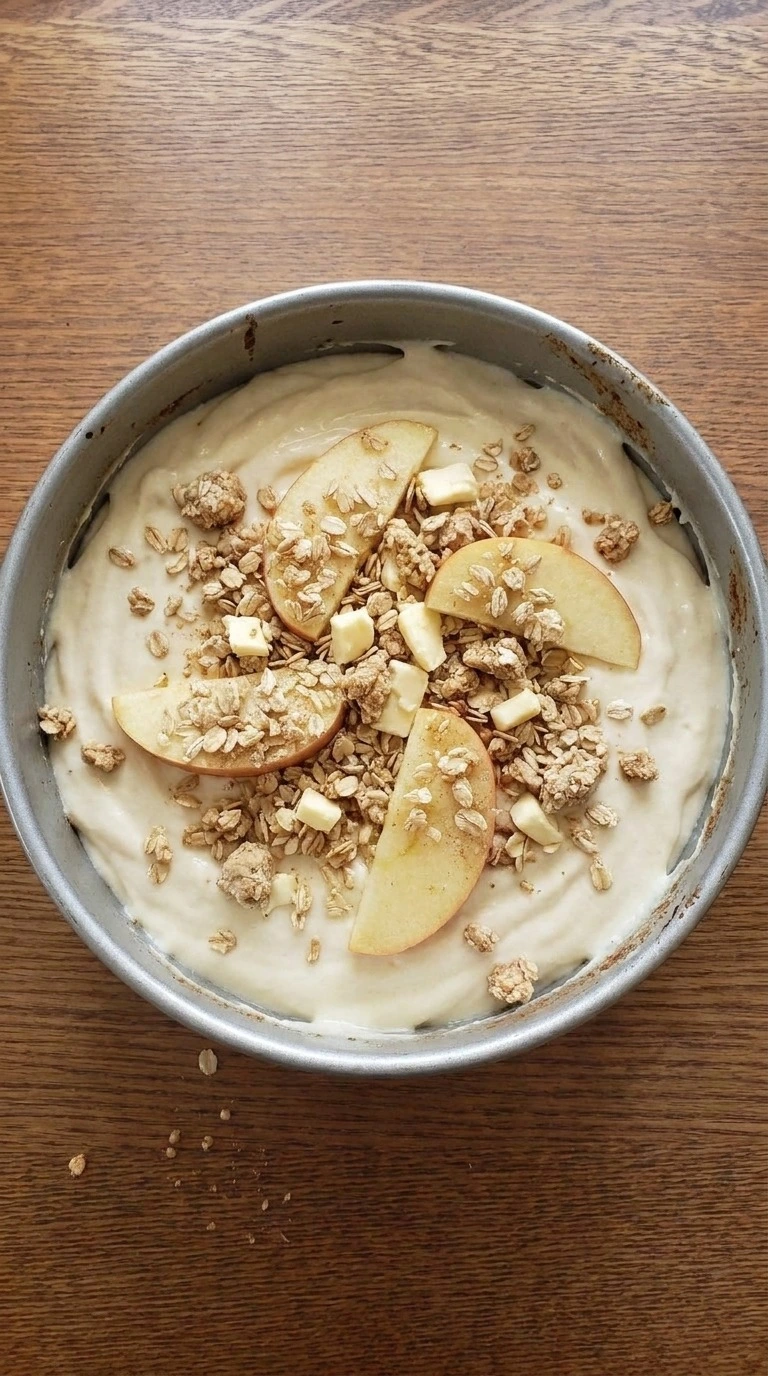
Pour the cheesecake filling into a 9 inch springform pan lined for baking, then arrange 3 Honeycrisp apple wedges across the surface and add the crumble mixture on top. Spread each layer gently with a spatula for 5 minutes while keeping the apple pieces slightly uneven. The layers should remain visible.
Miss the gentle spreading and the topping can sink into the filling. Bake at 325°F for 45 to 55 minutes until the top feels firm and the edges are lightly golden. You’ll see small cracks near the edge and smell baked cinnamon.
Avoid overfilling the pan because the center may not set. Layer carefully so the cheesecake and crisp keep their separate textures.
Tip: Leave a small gap around the pan edge when adding apples because the filling expands during baking.
Step 4: Bake and cool the cheesecake
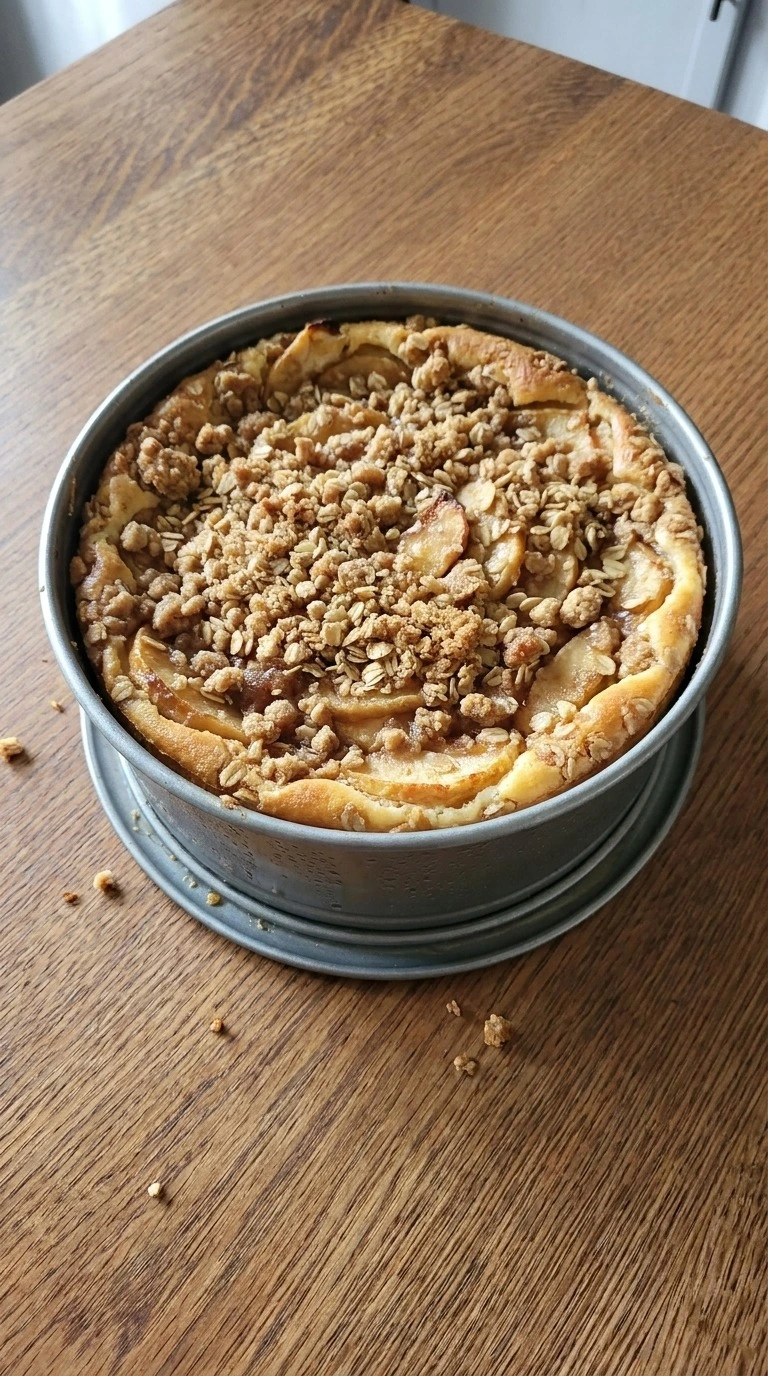
Bake the layered cheesecake at 325°F for 45 to 55 minutes and check the center at minute 45. Let it cool for 1 hour at room temperature before chilling for 4 hours. Use a gentle oven check without shaking the pan hard.
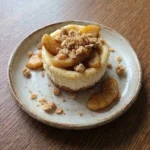
The topping becomes deeper golden and the filling changes from loose to set. Miss the cooling window and the first slice can collapse. The finished surface should have golden oat clusters, soft apple pieces and a slight cheesecake wobble.
You’ll notice a warm baked apple smell. Don’t cut early. Cooling allows the proteins to set and the slice to hold its shape.
Tip: Chill overnight when possible because the texture becomes firmer and cleaner after 8 hours.
Step 5: Slice and serve the cheesecake
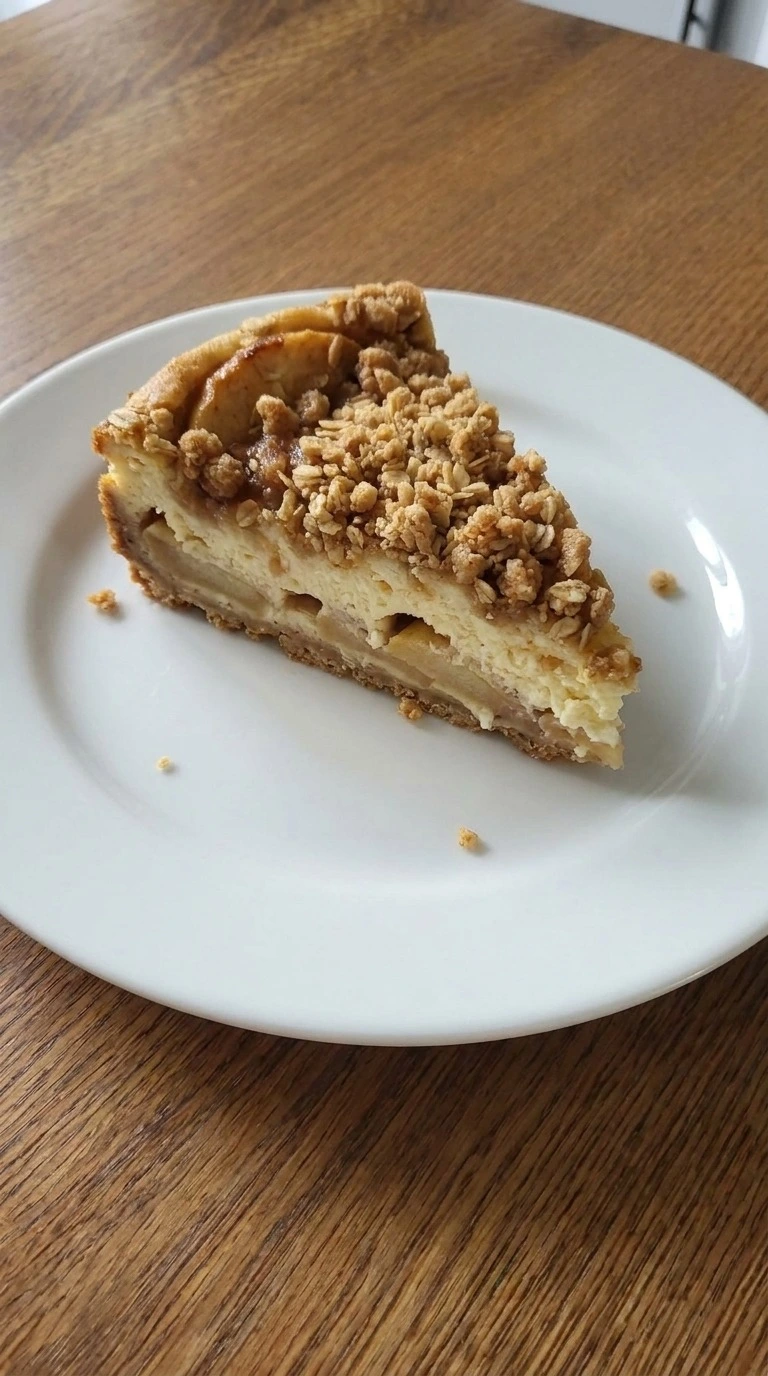
Remove the chilled cheesecake from the pan and cut one portion with a sharp knife after 8 hours of chilling. Warm a slice for 10 minutes at room temperature if desired and place it on a plate with the crumble side facing upward. The cut should reveal creamy filling, apple pieces and crisp layers.
Miss the clean cut and the layers may smear. The slice should show uneven crumbs and natural homemade edges. You’ll see the soft center beside the crisp topping.
Serve it cold or slightly tempered. A clean slice shows the contrast between creamy filling and crunchy topping.
Tip: Add a small spoon of whipped cream just before serving if you want extra richness without changing the bake.
Pro Tips
- Use room-temperature cream cheese for 60 minutes before mixing because cold blocks can leave small lumps in the filling.
- Choose firm Honeycrisp apples with crisp flesh because softer apples release more juice and can make the cheesecake layer watery after baking.
- Bake on the middle oven rack at 325°F and avoid opening the door during the first 35 minutes because sudden heat loss can create deep cracks.
- Chill the finished cheesecake for at least 4 hours before slicing, and use a warm knife dipped in hot water for cleaner cuts.
- Keep the crumble pieces irregular by squeezing the butter mixture into small clusters instead of rubbing it until completely sandy.
- Add 1/2 teaspoon extra cinnamon or a pinch of nutmeg if you want a warmer spice note without changing the baking time.
- Don’t overbake the center past 55 minutes because the creamy texture can turn dry and grainy as the eggs tighten.
- Serve slices with a small spoon of whipped cream or caramel sauce after chilling for 8 hours to add a fresh finishing touch.
- Add 1/2 cup chopped pecans to the crumble topping for a nutty version with extra crunch and a toasted flavor.
- Replace Honeycrisp apples with Granny Smith apples for a sharper tart flavor that balances the sweet cheesecake filling.
- Make individual apple crisp mini cheesecake portions by dividing the filling into lined muffin cups and baking for about 25 minutes at 325°F.
- Create a holiday version by adding 1/4 teaspoon ground cloves and a few dried cranberries to the apple layer.
Substitutions
- cream cheese: dairy-free vegan cream cheese. Use the same 24 ounces for a dairy-free version, but choose a firm brand because some varieties create a softer filling with more moisture after baking.
- all-purpose flour: gluten-free 1-to-1 baking flour. Replace it cup for cup in the crumble topping. The texture may be slightly more delicate, so chill the topping for 30 minutes before baking.
- large eggs: 1/3 cup unsweetened applesauce. This egg-free swap changes the cheesecake texture and makes it less firm. Use it only if a softer apple dessert is preferred.
- sour cream: plain Greek yogurt. Use the same amount for a tangy filling with a slightly thicker texture. Full-fat yogurt gives the closest result.
- Honeycrisp apple: Pink Lady apple. Pink Lady apples add a brighter tart flavor and hold their shape well, but the finished dessert will taste less honey sweet.
Storage
Store leftover Apple Crisp Cheesecake in a sealed container in the refrigerator for up to 5 days. You can freeze wrapped slices for up to 2 months, then thaw them overnight in the fridge before serving.
Warm individual slices at 250°F for 8 to 10 minutes if you want softer apples and a gentle texture. Discard any portion with sour smells, mold spots or a wet separated filling.
FAQ
Yes, prepare this dessert up to 2 days before serving and keep it covered in the refrigerator. The filling becomes more stable after 8 to 24 hours of chilling, and the crumble keeps its texture best when the cheesecake stays cold until serving time.
A watery layer usually comes from apples with high moisture or slicing before the cheesecake sets. Bake at 325°F until the center gently wobbles, then chill for at least 4 hours so the filling can firm properly.
Freeze individual slices for up to 2 months by wrapping each piece tightly with plastic wrap and placing them in a freezer container. Thaw overnight in the refrigerator and avoid reheating because the cheesecake texture can separate.
Yes, use firm apples like Pink Lady or Granny Smith instead of Honeycrisp. Cut them into similar wedges and keep the same baking time because soft apples can release extra liquid and change the final texture.
Double the ingredients and bake in two separate 9 inch pans instead of one deeper pan. Keep the oven at 325°F and check each cheesecake around the 45 minute mark because a thicker filling needs more time to set.
Serve chilled slices after they rest for 10 minutes outside the refrigerator. A small drizzle of caramel or a spoon of whipped cream pairs well with the apple layers without hiding the crisp topping.
Cheesecake and apple crisp became popular together because both desserts balance rich dairy notes with baked fruit. The crumble topping adds a rustic texture that makes each slice different.