


When the weather turns cool, few meals feel as satisfying as a warm Homemade Chicken Pot Pie fresh from the oven. This chicken pot pie recipe combines tender chicken, creamy vegetables and a flaky crust into a family meal that feels familiar and comforting.
I love making this easy chicken pot pie recipe when I need something filling but simple. The creamy filling has the same home-style feeling as our Chicken Burrito Casserole and it fits busy evenings when everyone wants a hearty dinner.
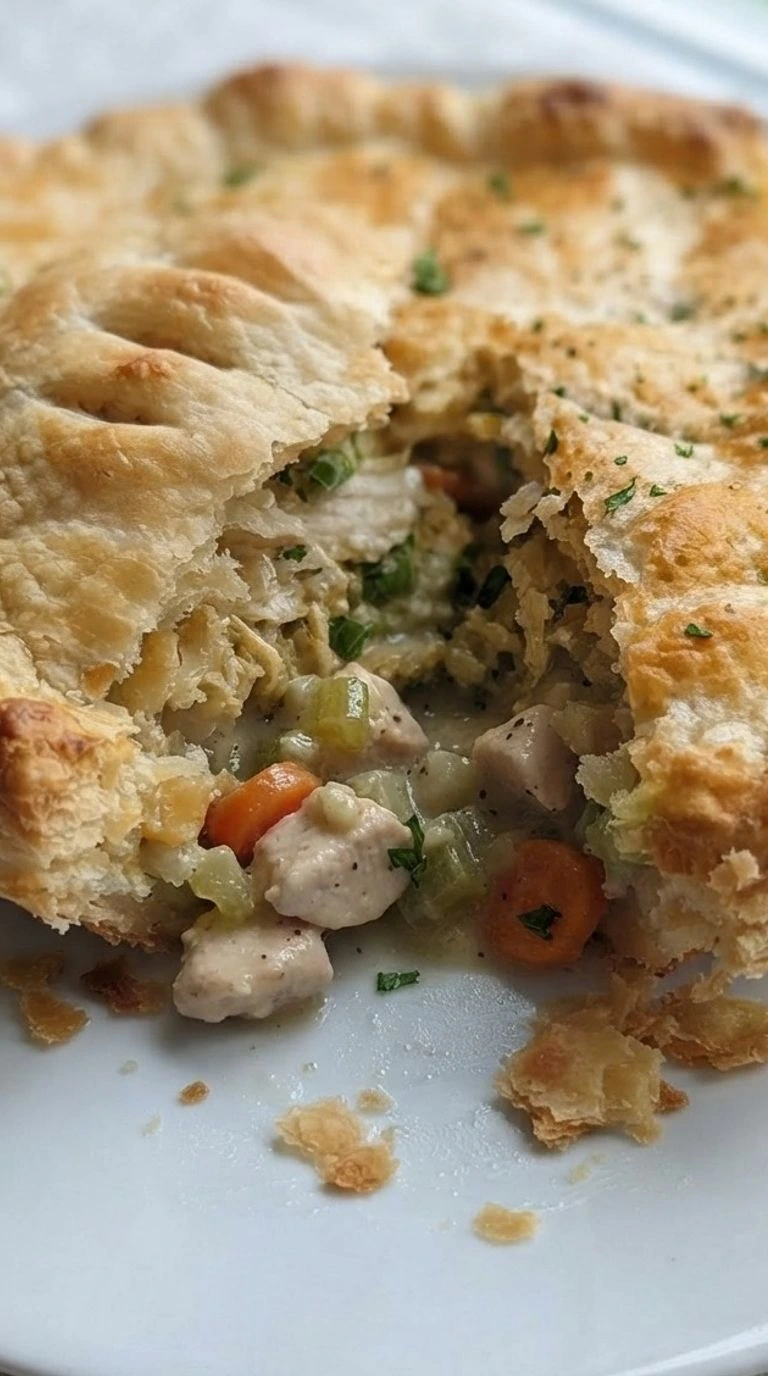
A homemade chicken pot pie recipe doesn’t need complicated steps. With a few smart techniques, you can build a rich filling and a golden crust that holds together beautifully.
Why This Recipe Works
The filling works because flour and butter form a roux before liquids are added, so the sauce thickens without becoming lumpy. Cooking the mixture for 12 to 15 minutes lets the chicken flavor blend with the vegetables.
Baking at 375°F keeps the puff pastry golden while the center warms through. For another comforting meal idea, try our Crockpot Ham and Potato Soup with a similar hearty style.
Ingredients
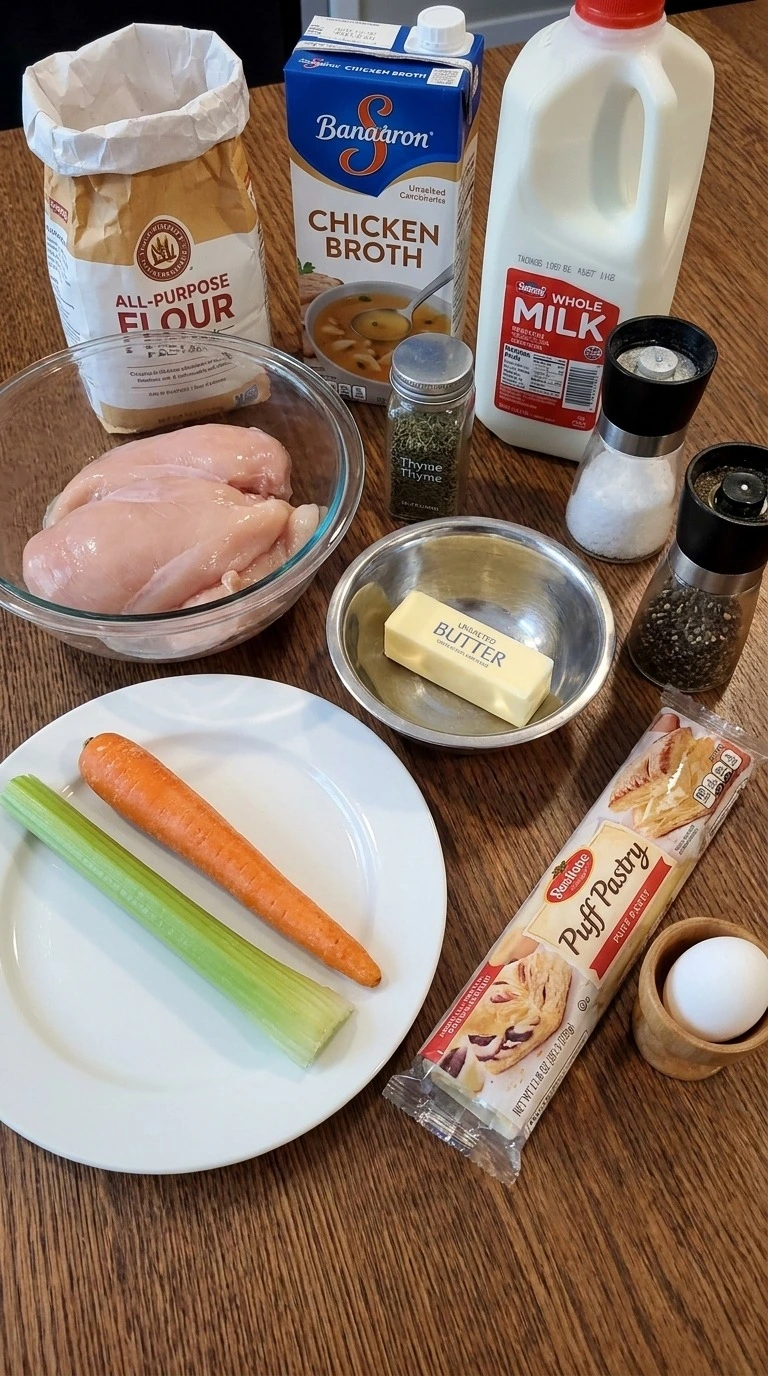
- boneless chicken breast: Cut into 1-inch cubes to create tender bites throughout the filling.
- carrot: Sliced into small pieces for natural sweetness and color.
- celery stalk: Sliced into small pieces for a fresh savory base.
- unsalted butter: Used to build the creamy sauce foundation.
- all-purpose flour: Creates the thick structure of the filling.
- chicken broth: Adds savory flavor and loosens the sauce.
- whole milk: Makes the filling creamy and smooth.
- dried thyme: Adds an earthy herbal note.
- salt: Balances the flavors in the filling.
- black pepper: Adds gentle spice and depth.
- puff pastry: Creates the flaky golden topping.
- egg: Beaten and brushed over the pastry for color.
Equipment
- 10-inch round cast iron skillet: A heavy skillet helps cook the filling evenly and holds steady heat, while a thin pan can create hot spots that scorch the sauce.
- 9×13 ceramic baking dish: This size gives the filling room under the crust and helps the pastry bake evenly, while a smaller dish can overflow.
- Wooden cutting board: A stable cutting surface makes chicken and vegetable prep safer, and a larger board prevents ingredients from falling off.
Instructions
Step 1: Cut the chicken and vegetables for the filling
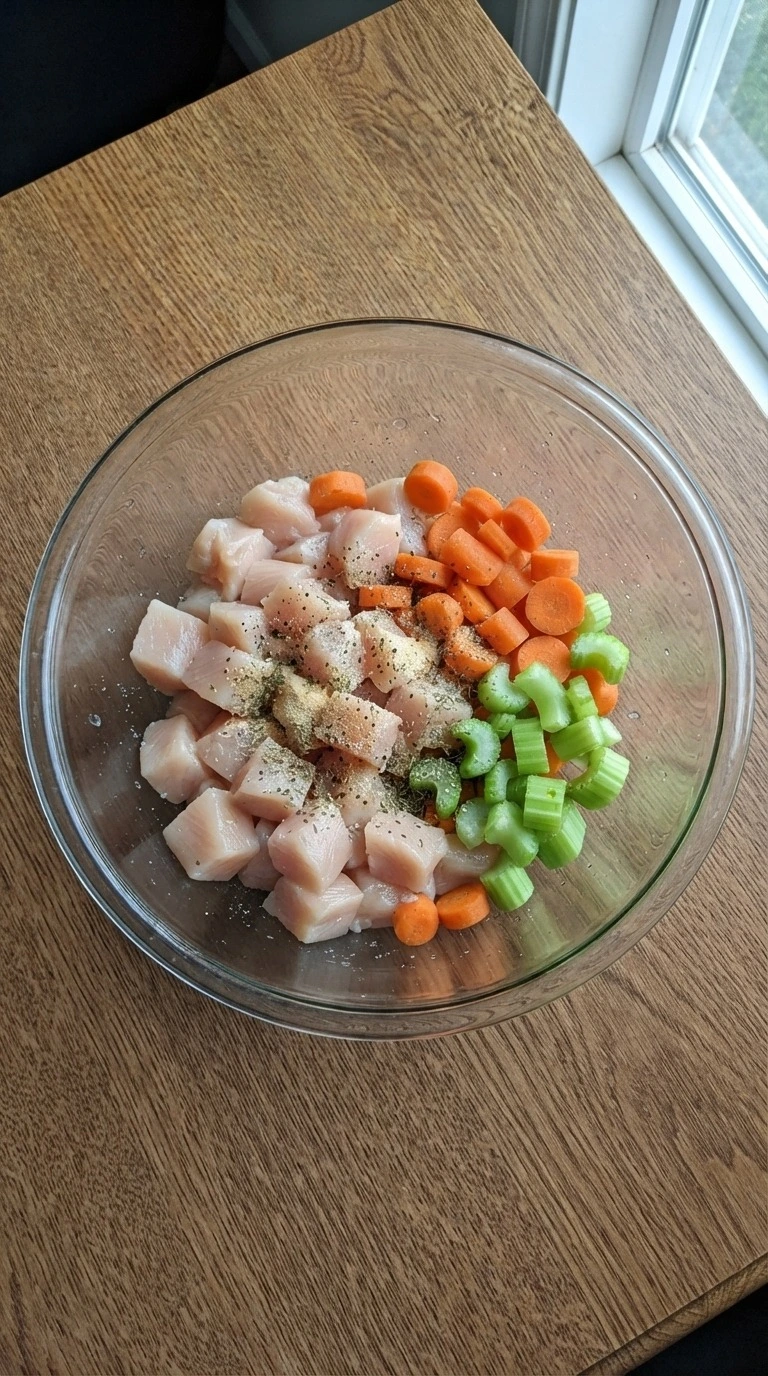
Cut 1 pound boneless chicken breast into 1-inch cubes and slice 2 medium carrots and 2 celery stalks into small pieces. Work on a cutting board for 10 minutes while the oven reaches 375°F for the later bake. Toss the pieces with 1 teaspoon salt, 1/2 teaspoon black pepper and 1 teaspoon dried thyme using your hands.
Keep the cuts uneven and natural. Don’t rush. You’ll see pale chicken cubes, bright orange carrots and green celery pieces with a fresh smell from the herbs.
Miss this prep balance and the filling cooks unevenly. (I tested larger chicken chunks once and the vegetables softened before the chicken reached the right texture.
Tip: Cut the vegetables into similar sizes around 1/2 inch so each bite has the same balance of flavor and texture.
Step 2: Cook the creamy chicken filling
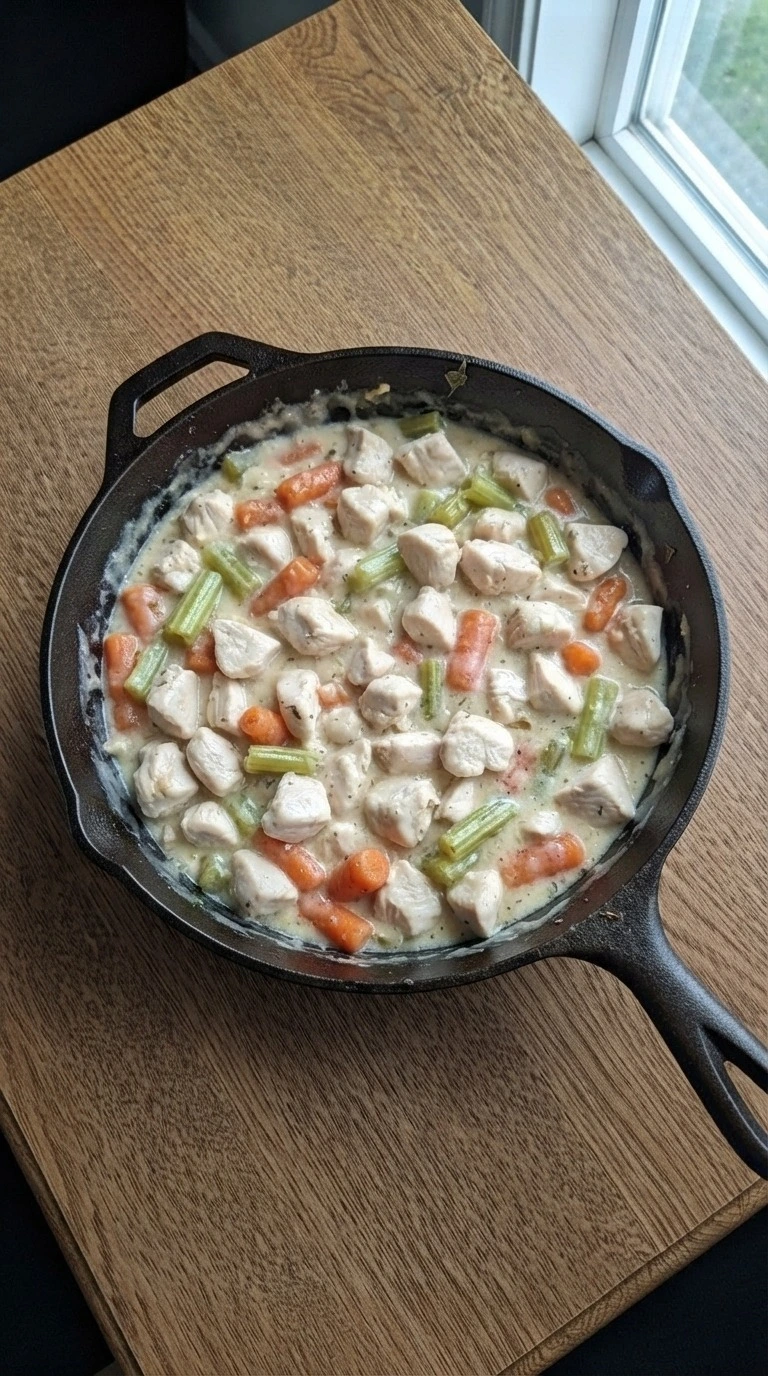
Melt 4 tablespoons unsalted butter over medium-low heat about 4 on a 10-dial for 2 minutes, then stir in 1/3 cup all-purpose flour with a whisking motion for exactly 90 seconds. Slowly add 1 1/2 cups chicken broth and 1 cup whole milk while scraping the bottom in circles. Add the chicken, carrots and celery, then simmer for 12 to 15 minutes until the sauce thickens.
Stir with a wooden spoon and fold the mixture gently so the vegetables stay intact. The sauce should coat the spoon and leave a clean line when you drag a finger through it. You’ll smell the thyme as the filling becomes creamy.
Go past 15 minutes and the chicken dries out. The thick sauce holds the filling together.
Tip: Use low-sodium chicken broth if possible because you can control the final salt level after the filling thickens.
Step 3: Add the filling and top with crust
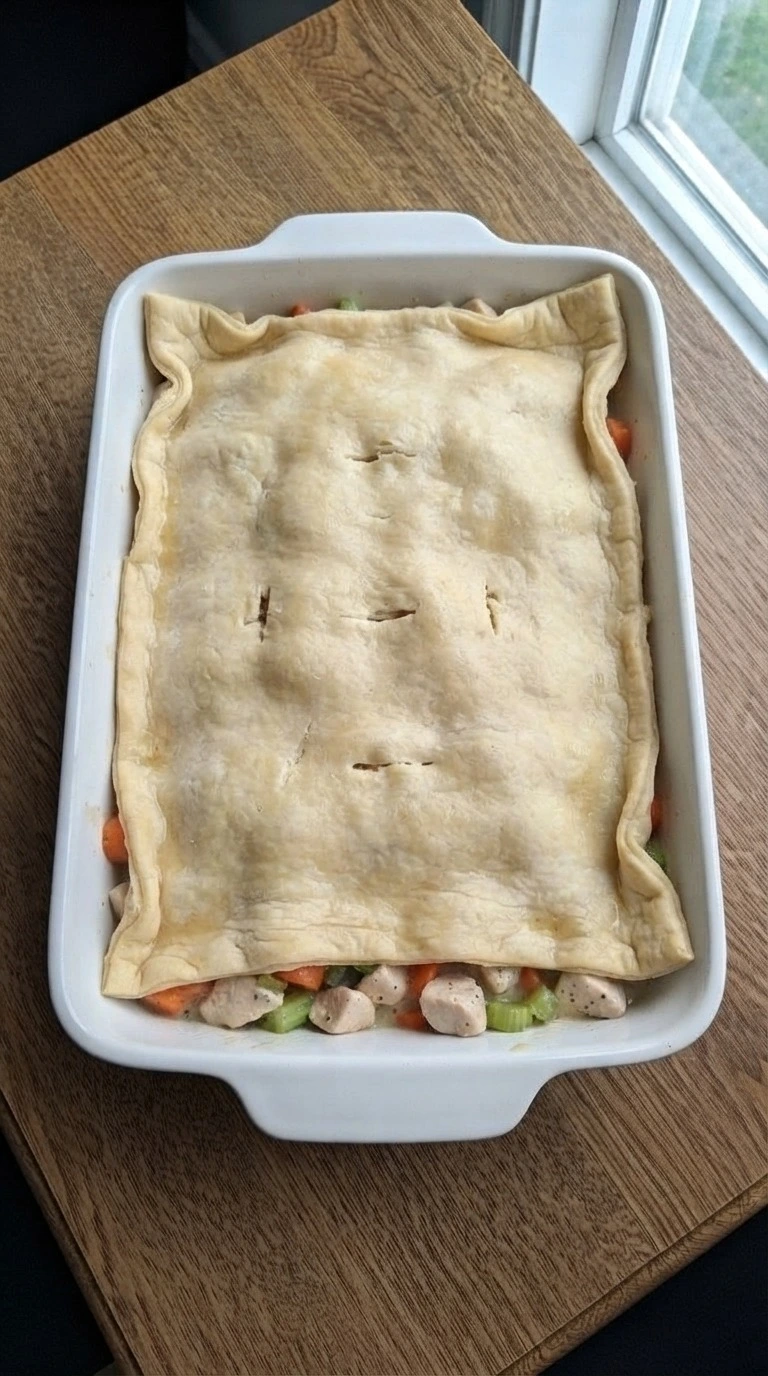
Transfer the thick filling into a 9×13 ceramic baking dish and cover it with 1 sheet puff pastry, leaving natural uneven edges. Brush the top with 1 large beaten egg and cut small vents using a knife.
Bake at 375°F for 25 to 30 minutes until the pastry rises and turns golden. Keep the crust loose instead of pressing it flat so the steam can escape.
The top becomes flaky with darker golden corners and you can hear a light crackle when the crust settles. Skip the vents and the pastry can turn soggy underneath.
Tip: Chill the puff pastry for 15 minutes before placing it over the filling so it keeps a better shape while baking.
Step 4: Bake and serve the finished pie
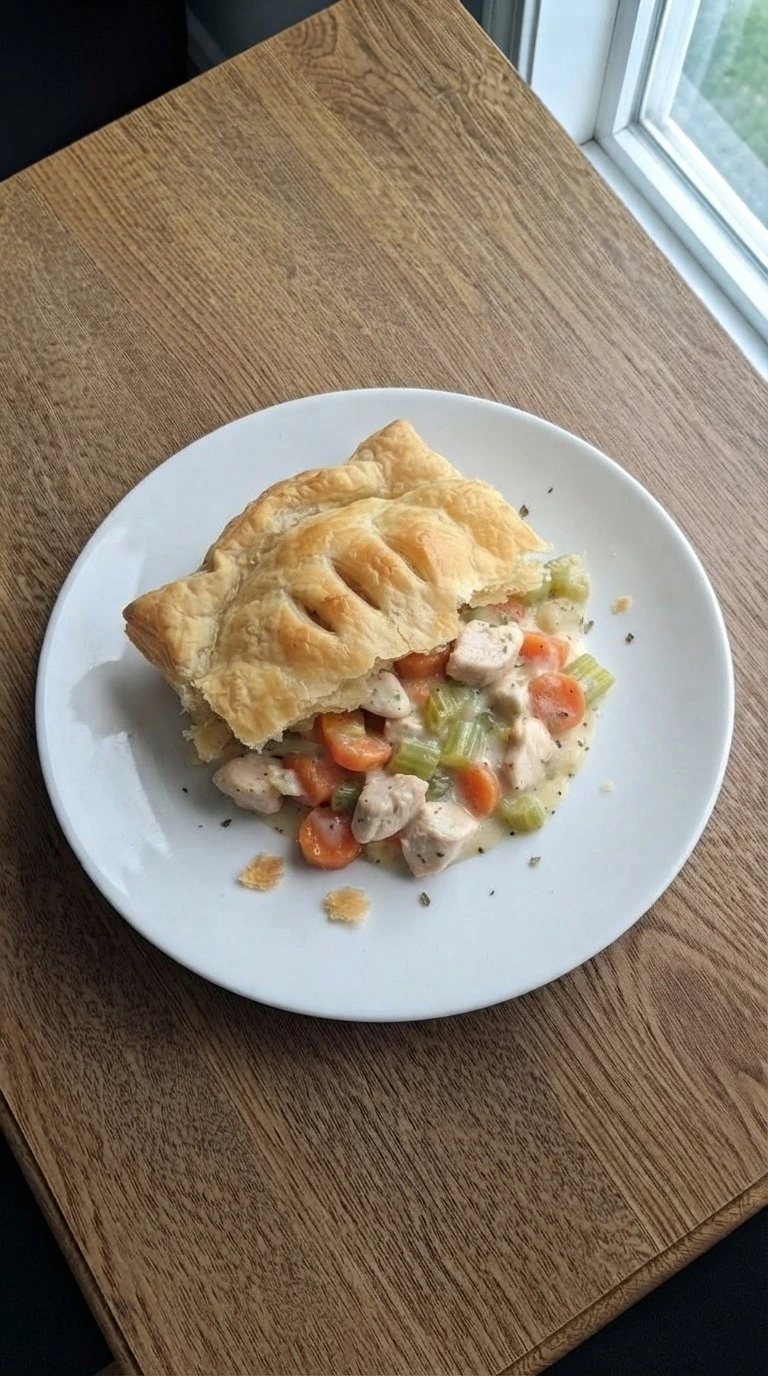
Bake the assembled pie at 375°F for another 5 minutes if needed after checking the crust color. Let it rest for 15 minutes before cutting so the creamy filling can set.
Scoop one portion with the crust and filling together using a gentle downward motion. The crust should show golden patches, flaky layers and slight uneven cracks while the filling stays thick.
The aroma turns buttery and savory. Cutting too soon makes the sauce run out.
Tip: Resting the pie for 15 minutes gives cleaner portions without making the crust lose its crisp texture.
Pro Tips
- Cook the filling until the sauce coats a spoon after 12 to 15 minutes because a thin base can make the crust soggy during baking.
- Choose a puff pastry sheet with visible layers and keep it chilled below 40°F until assembly so the topping rises better in the oven.
- Use a 9×13 baking dish for this recipe because the filling spreads evenly and prevents the crust from staying undercooked in the center.
- Let the baked pie rest for 15 minutes before serving because the filling settles and gives cleaner portions instead of spilling onto the plate.
- Avoid adding extra broth after the sauce thickens because even 1/4 cup too much liquid can make the center watery after baking.
- Add 1/2 teaspoon extra dried thyme or fresh herbs after cooking if you want a stronger savory aroma without changing the filling texture.
- Check the crust color around minute 25 because golden edges and flaky layers show the pastry has baked through.
- Add 1 cup frozen peas and 1/2 cup diced mushrooms to the filling for a classic vegetable-packed version with more texture.
- Replace half of the chicken with cooked turkey after holidays for a seasonal variation that uses leftover meat.
- Add 1 teaspoon smoked paprika and 1/2 cup cooked bacon pieces for a deeper savory flavor with a smoky note.
- Make mini pot pies by dividing the filling into four ramekins and reducing the baking time by about 5 minutes.
Substitutions
- boneless chicken breast: boneless chicken thigh. Use the same 1 pound amount for a juicier filling with a richer flavor. Chicken thigh needs similar cooking time but gives a softer texture.
- whole milk: unsweetened almond milk. Replace with 1 cup for a dairy-free option. The sauce will be slightly lighter, so simmer an extra 2 to 3 minutes if it seems thin.
- all-purpose flour: gluten-free all-purpose flour blend. Use the same 1/3 cup amount if the blend contains xanthan gum. The filling may have a slightly different texture but still thickens well.
- puff pastry: gluten-free pie crust. Use one crust layer instead of puff pastry for a gluten-free version. The topping will be less flaky and more tender.
- whole milk: half-and-half. Use 1 cup half-and-half for a richer filling. It creates a creamier texture, so watch the simmer time to avoid over-thickening.
Storage
Store leftovers in an airtight container for up to 4 days in the refrigerator. Freeze the baked or unbaked pie for up to 2 months by wrapping it tightly with plastic wrap and foil to protect the crust.
Reheat slices at 350°F for 15 to 20 minutes until warmed through, and add a small splash of milk to the filling if it becomes too thick. Discard the pie if you notice sour smells, mold, or a slimy texture.
FAQ
Yes, prepare the filling up to 2 days ahead and keep it covered in the refrigerator. Add the puff pastry right before baking at 375°F because assembling it too early can soften the crust and reduce the flaky texture.
Store leftovers in an airtight container for up to 4 days in the refrigerator. Reheat individual portions at 350°F for 15 to 20 minutes until the center reaches a hot temperature and the crust becomes crisp again.
You can freeze the assembled pie before baking for up to 2 months when wrapped tightly with plastic wrap and foil. Bake from frozen at 375°F for about 50 to 60 minutes and check that the filling is hot throughout.
A watery filling usually means the sauce did not thicken enough before baking. Simmer the mixture for 12 to 15 minutes and make sure the flour cooks with butter first so it creates a stable sauce.
Yes, refrigerated pie crust can replace puff pastry for a different texture. The crust will be more tender than flaky, and you may need to bake around 30 to 35 minutes at 375°F for a golden top.
Double the ingredients and divide the mixture between two 9×13 baking dishes instead of making one deeper pie. This keeps the center from staying cold and helps both crusts bake evenly.
Chicken pot pie became popular as a way to stretch small amounts of meat with vegetables and a filling crust. The dish has appeared in many forms across different cultures, but the creamy version remains a family favorite.